Not too long back I picked up a Ross-Ensign Ful-Vue Super on a whim from an antiques shop. That particular camera needed extensive restoration and I bought it as a project more than anything to see if I would get anywhere trying to repair and revitalise it.
Knowing absolutely nothing about the Ensign company nor their cameras, I spent a significant amount of time reading and researching to learn more. Their best selling classic was the 1946 Ful-Vue Model 2, designed for the “Britain Can Make It” exhibition, a showcase of what was meant to be a future vision for the repair and recovery of post war Britain. The Ful-Vue 2 employed a streamlined design, popular at the time, when many products were changing from function over form to form and function styling.
Unlike the Super which uses 620 film, the Model 2 takes the widely available 120 roll film making it a lot more accessible and usable in the present day. According to Ensign, they sold over a million of these cameras so they are easy to find in good condition and better still is that prices are extremely low.
The stage was set, at these prices I’d have little excuse to not get one and have a go at shooting and developing 120 film for the first time.
In this post:
What, no ebay?!
The Ful-Vue II is not a collectors item, perhaps due to its simplicity or that they were produced in such large numbers, but they are absolutely a thrifty photographers item. They are regularly available for as little as £5 from dealers, ebay and other market places.
The sentimental side to me thinks it is a real shame they are now almost throw away items when you stop to think about the fond memories that these cameras will have created in post war Britain. I’d love to hear from anyone who had one or had relatives that used one, especially to see the kinds of prints these produced in the late 40’s and early 50’s.
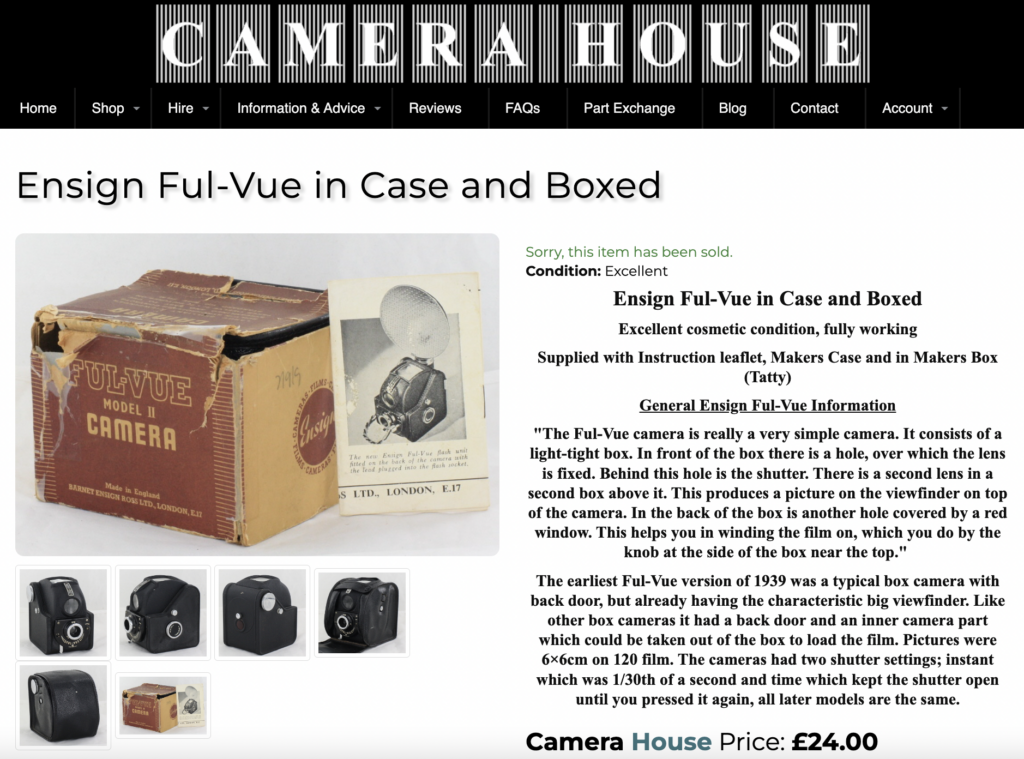
Following my previous restoration experience, I felt confident that I could quite easily bring one of these back to life, especially as there are fewer parts, arguably a better shutter mechanism and most importantly an all glass construction of the lenses and viewfinder. This time, though, considering the low prices it just didn’t make sense to buy a wreck when I found one that was in the best imaginable condition, boxed and for only £24. That, in my humble opinion, is the definition of value for money.
Clever design
I unashamedly love the design of this camera. It’s a really neat, compact little box with absolutely nothing but the bare minimum required to create pictures on film. It is simplicity itself and this is both a charm and a curse when you have to blindly guess the focus range and just hope for the best in terms of shutter speed.
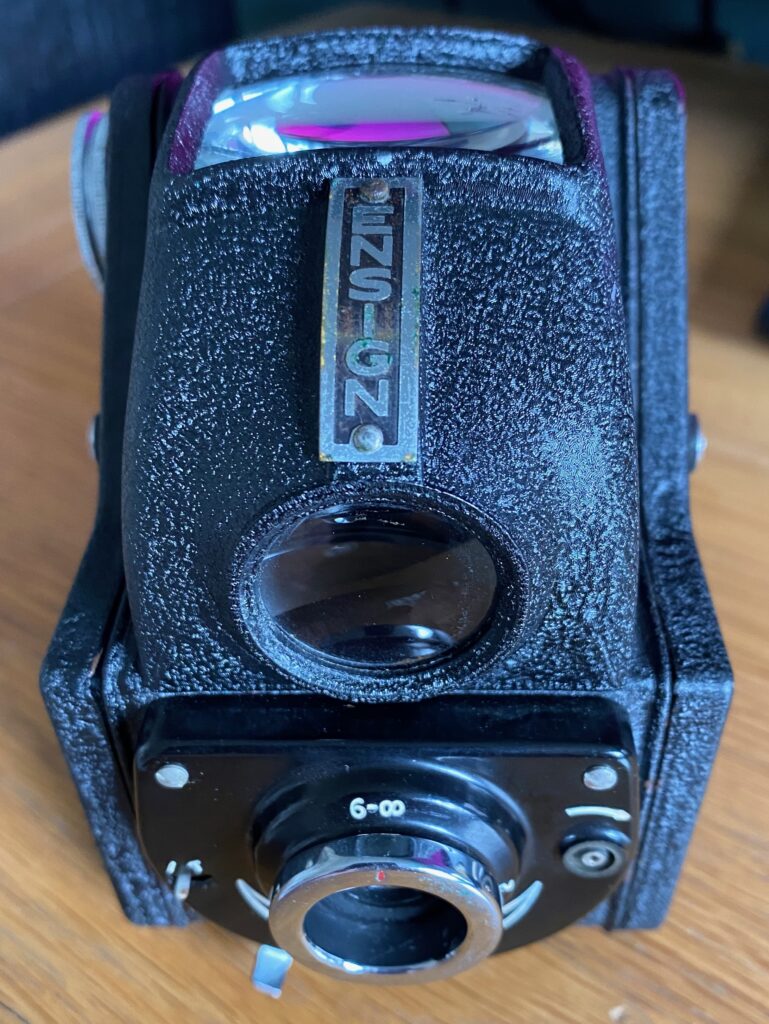
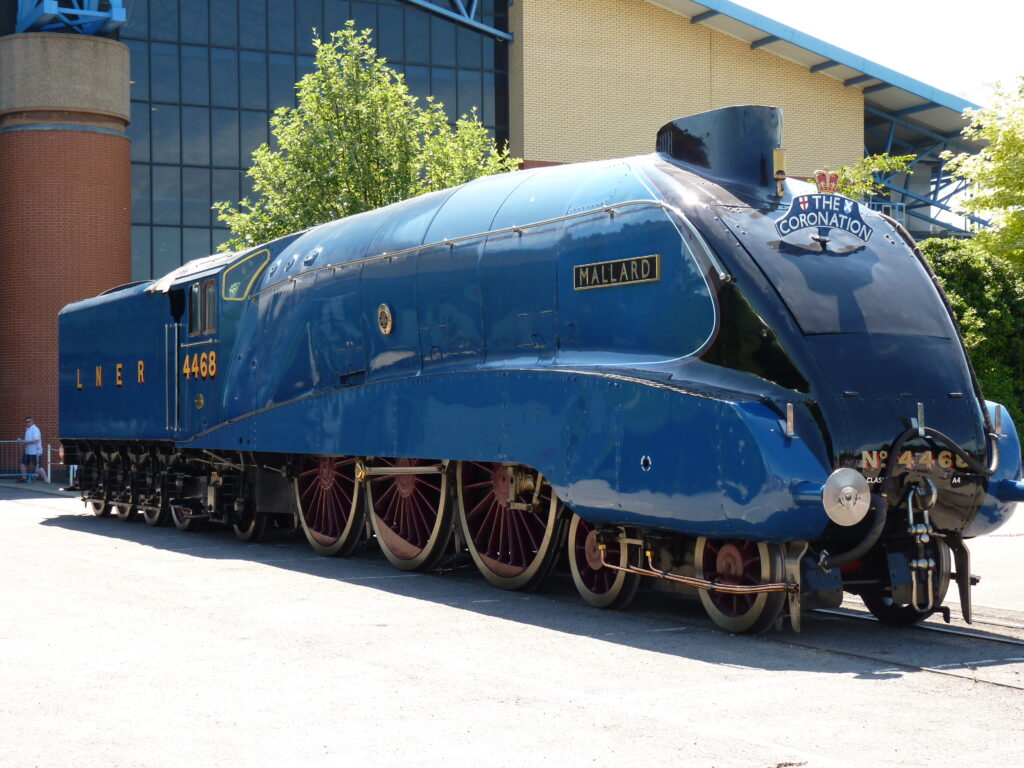
The shape of the upper half and viewfinder could not be more streamlined art-deco if it tried. It reminds me of a Sir Nigel Gresley designed A4 Pacific Steam engine.
What is brilliant about the Ful-Vue is the thought that has gone into not only functional aspects, but also to ease of maintenance. The top view finder looks completely fixed in place, but it is designed to be fully removable and serviceable by the user. There is a clever clip arrangement inside the film chamber and when removed the top simply comes away from the body revealing the mirror (which is actually polished metal plate), front lens and upper lens/viewfinder.
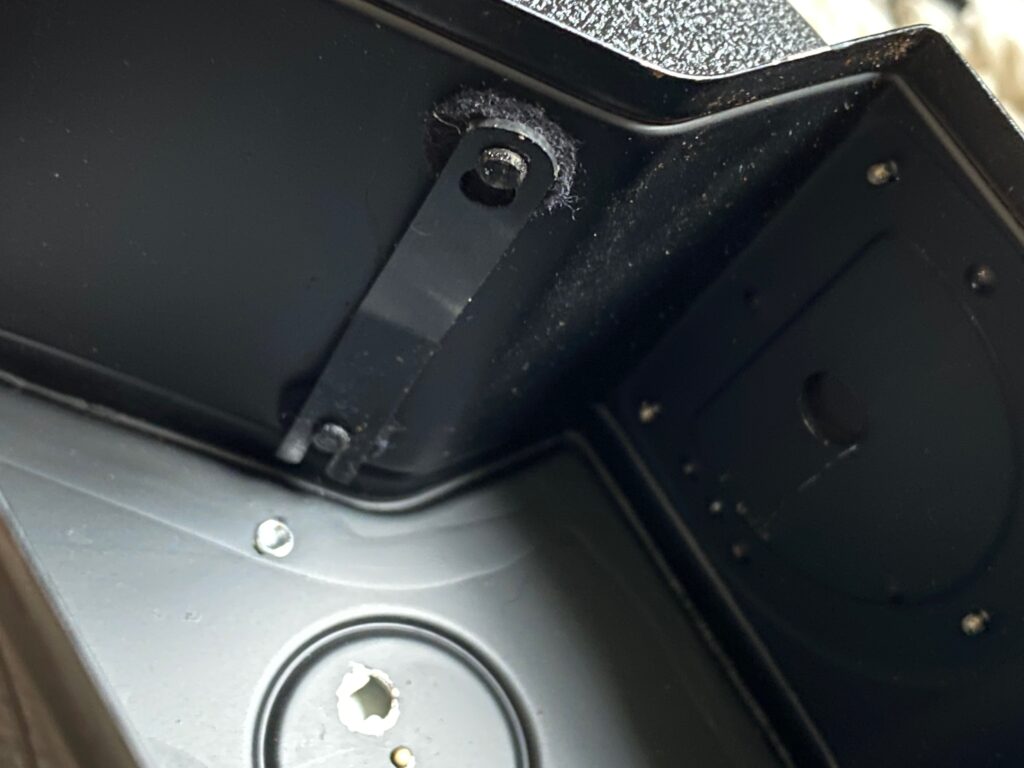
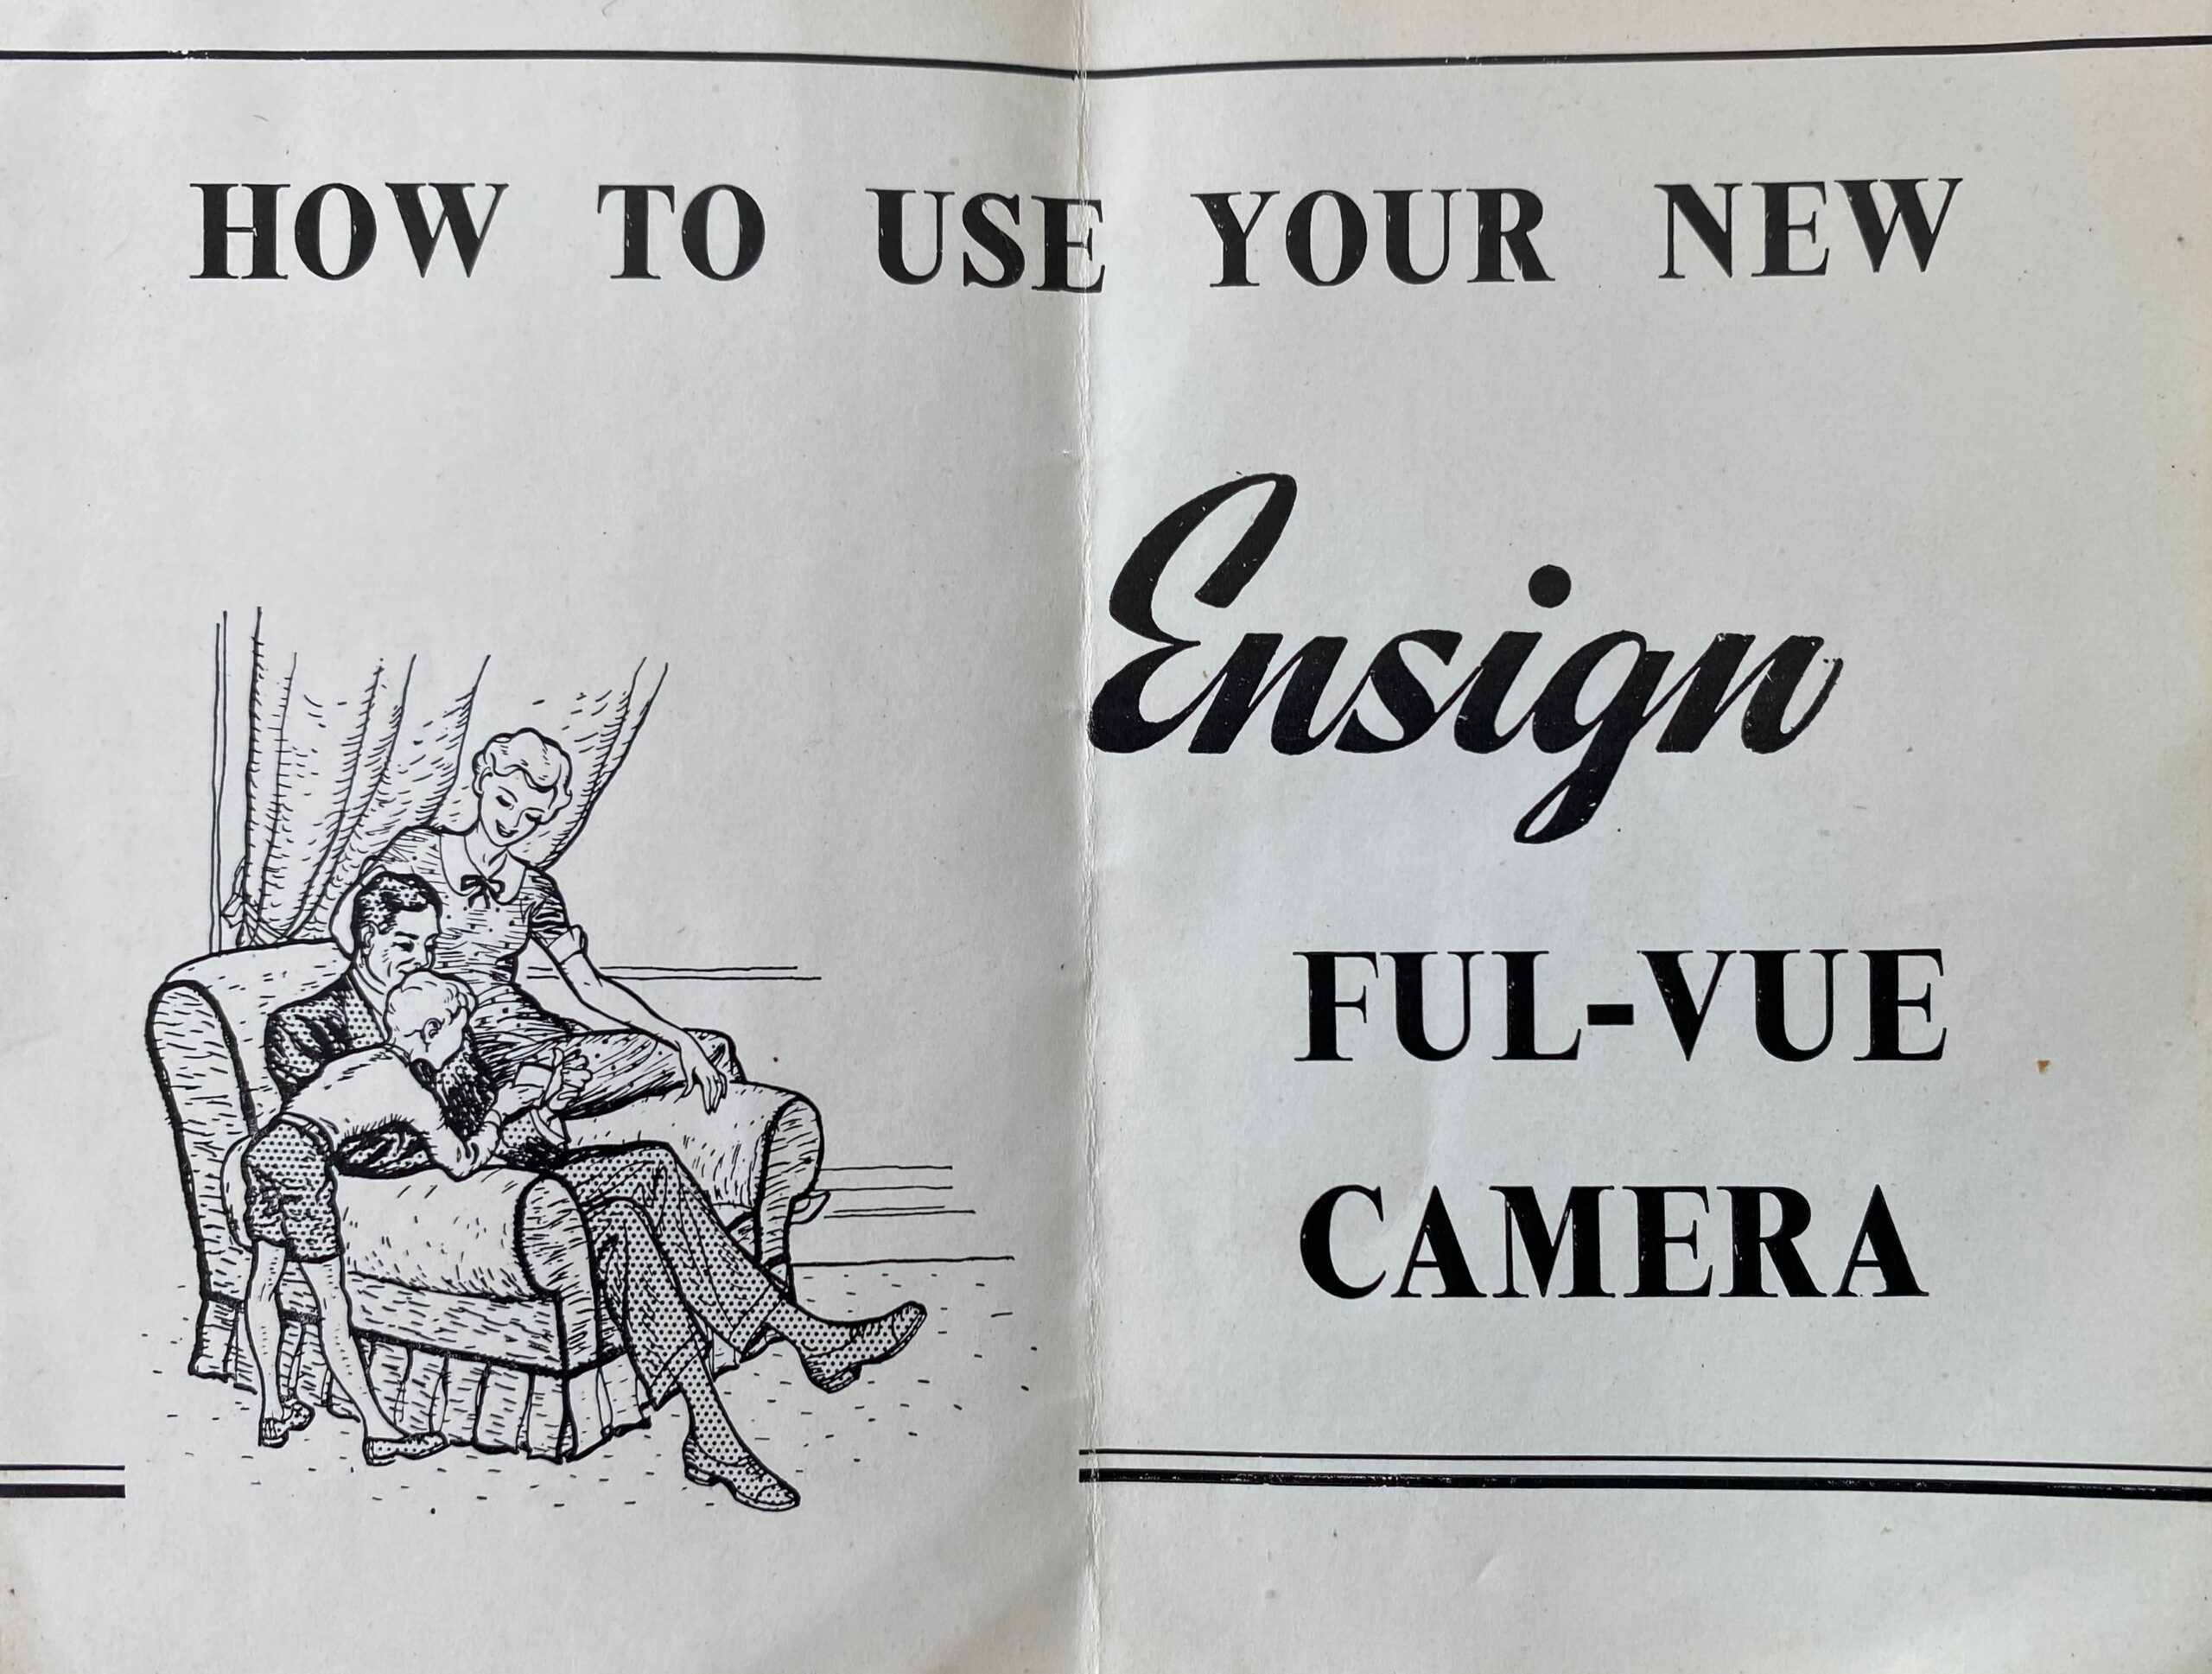
It’s so useful to be able to disassemble a machine like this because inevitably over time it will become filled with dust or just need a really good clean. When it arrived, although in excellent condition, my viewfinder was covered in specks of dust and also tiny fibres of paper from the decaying box. Cleaning it made it look good as new again. Curiously, the manual makes no mention of this feature.
In my rush to use the Ful-Vue, I’d already loaded it with film before I realised the whole front lens and shutter arrangement comes off with only two small screws enabling that to receive a bit of polish as well. fortunately the lens was in decent shape and it didn’t seem to affect the images that came out after development.
Shooting in the dark
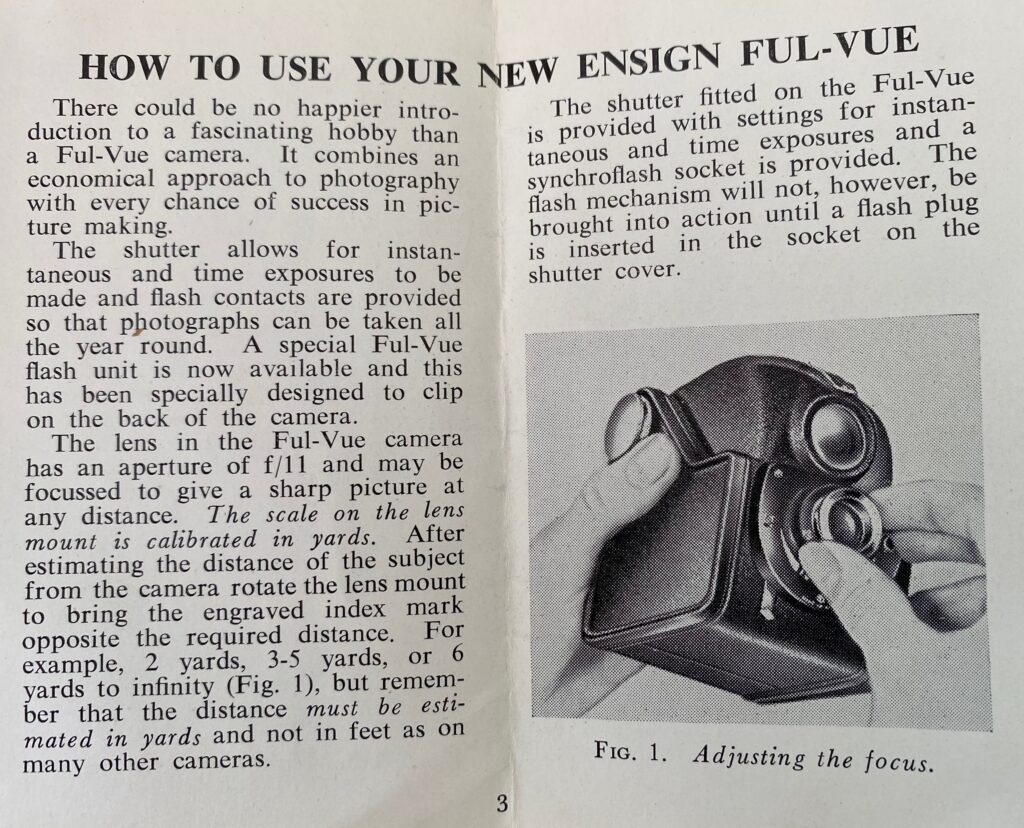
The 40’s were firmly entrenched in imperial measurement and the Ful-Vue manual is at pains to tell you that the focussing is measured in yards and not feet. I grew up with a mix of metric and imperial, with no logic to which system would be used in different circumstances. It seems that if you were doing maths, measuring things with a ruler or tape then you were metric, but if you were doing long distances or measuring the height and weight of a person then that was imperial. Bonkers.
Looking at the origin of yards makes their use in modern times even more crazy. One of the earliest definitions of a yard is as follows:
It is ordained that 3 grains of barley dry and round do make an inch, 12 inches make 1 foot, 3 feet make 1 yard, 5 yards and a half make a perch, and 40 perches in length and 4 in breadth make an acre.
“Yard” – Wikipedia – https://en.wikipedia.org/wiki/Yard
Three grains of barley. We were measuring things in barley. All measurements are slightly cosmic when you look in to where they came from, but at least metric measurements like the metre come from something more precise like time and the speed of light. Next time someone argues that there’s nothing wrong with imperial measurement, you can tell them they are championing the use of grain as a method of measurement.
Anyway, back to the Ful-Vue. Measuring focus distance is one of a couple of quirks that make it quite difficult to get half decent results out of. The manual tries to take an optimistic stance, stating that it gives you “every chance of success in picture making.” In other words, you’re definitely going to get hit and miss performance.
The shutter is an all mechanical, spring loaded system which swings a piece of metal over a hole to create the exposure. The approximate timing is 1/30th of a second and that’s slow. It is understandable when taking in to account that ISO 400 wasn’t that common in 1946 and would have produced very noisy results. It was far more common to use ISO 50-100 film and that would’ve required a slower shutter speed at the approximate f11 of the lens.
Either way, you’d have needed to keep this camera very still to get good, sharp results. I managed to get one single hand held shot to come out without blur.
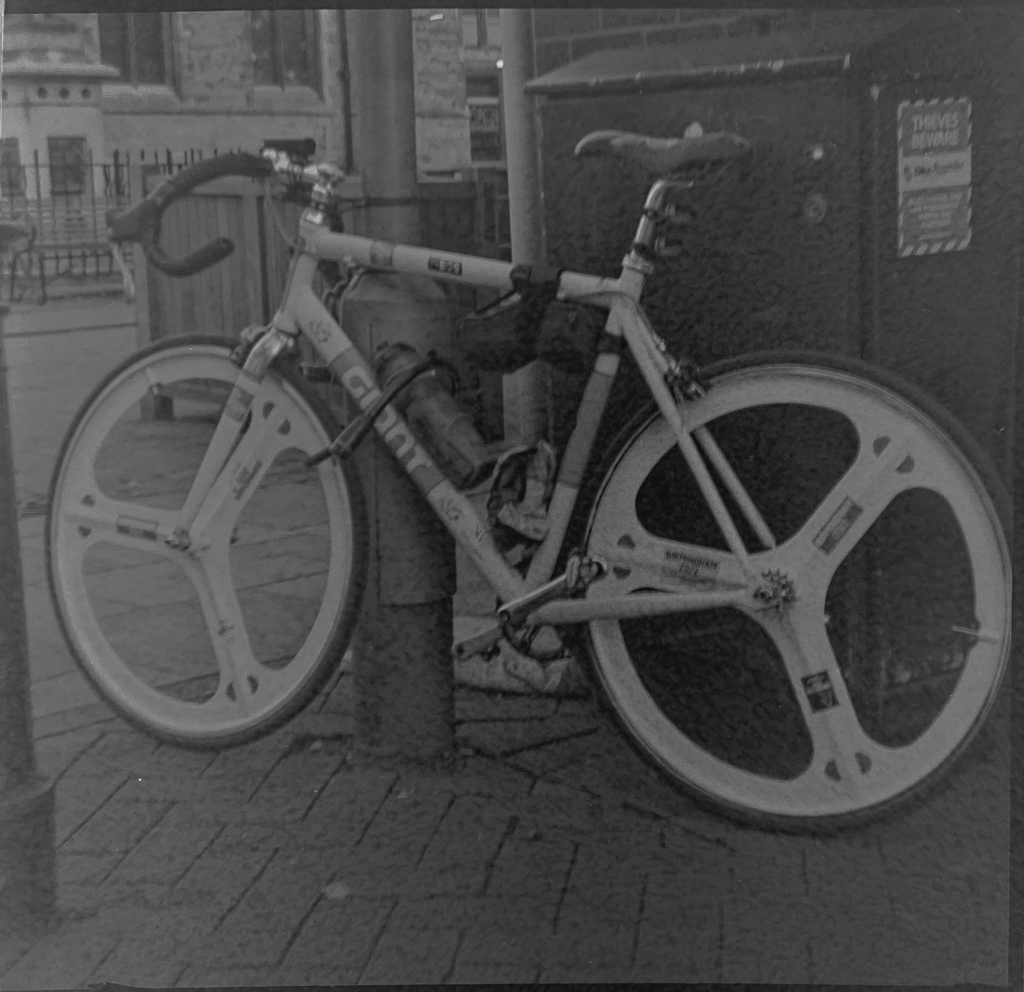
This fixed shutter speed means the only way you can control exposure is by film speed, using the bulb setting or by pointing more or less towards the sun. That’s fairly restrictive and its testament to how forgiving film is, in that out of 12 frames taken, I managed to get 9 that were reasonably exposed.
The results
I really, really enjoyed using the Ful-Vue and learned a lot about using old cameras. It sounds odd, but the viewfinder made framing composures both difficult and more rewarding at the same time. Shooting in a square format gives a unique perspective when you’re used to 35mm and using a waist level finder really does make you consider things a little more intently than normal.
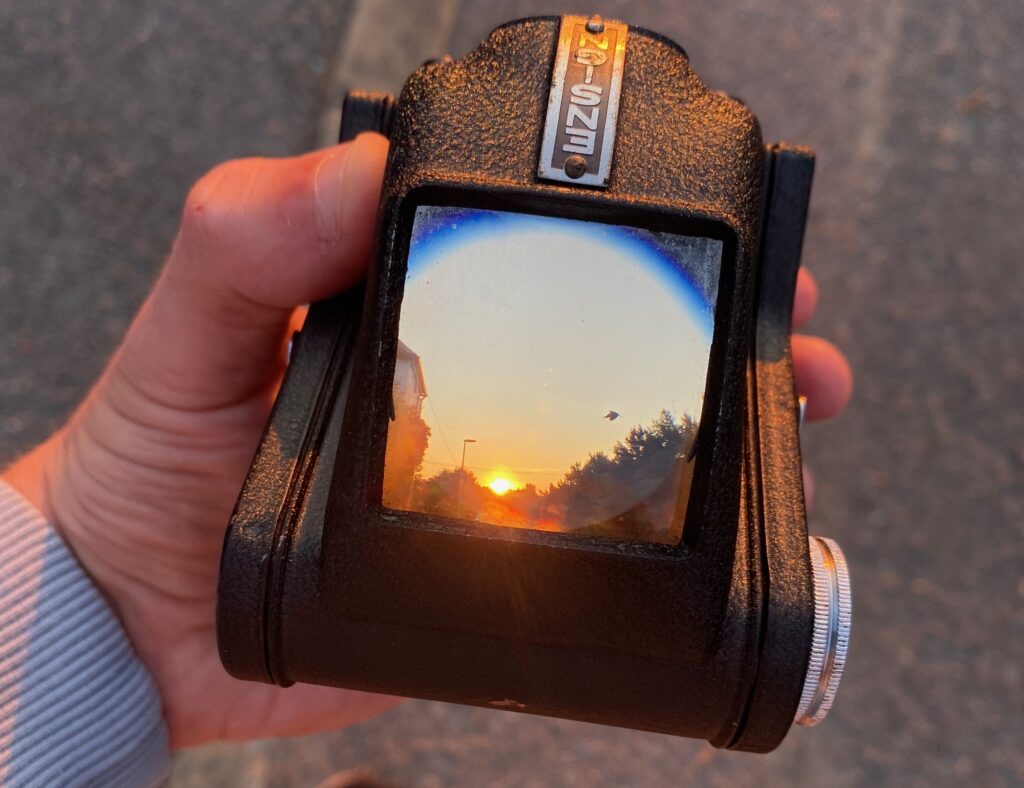
There are downsides to an open waist level finder which emphasise why all later TLR style cameras came with hoods around their finders. If you’re not looking directly down, square on to the finder then you can often find that part of the image disappears or becomes distorted. The finder is also affected by sunlight behind or above you that then washes out the image.
Finally your movements are mirrored in the viewfinder, meaning when you think you need to move left you actually need to go right and it takes a lot of getting used to when trying to square up the frame and you keep moving in the wrong direction. It’s worth persisting with as you’re rewarded with such clarity and brightness it really is a pleasure to use. One remarkable thing I did note was just how accurate the viewfinder is when compared to the final developed image. What you see here really is almost exactly what you will get on film. Sadly, I think the viewfinder gives a much better image than the actual image taking lens…
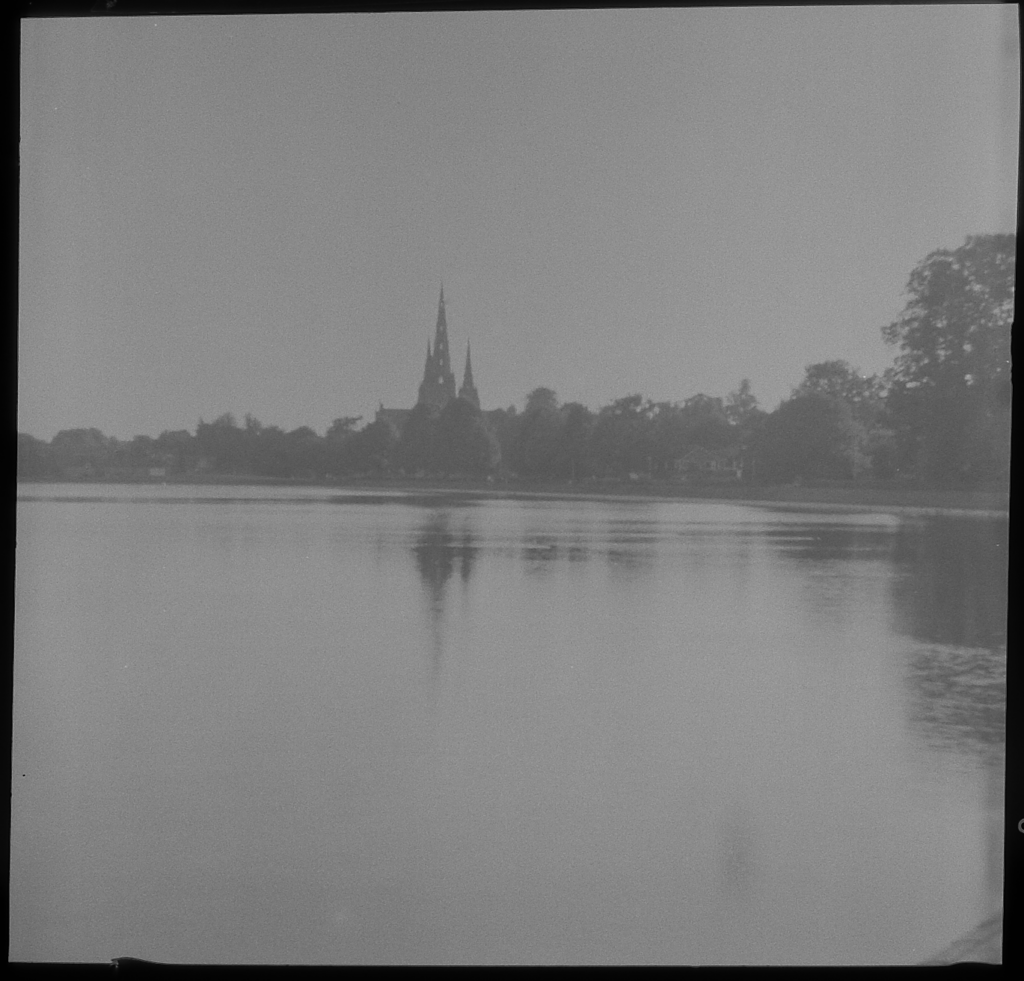
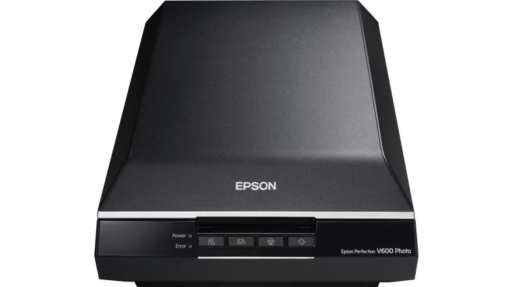
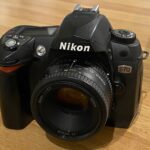
Shooting medium format has meant that I now have a scanning dilemma. I’ve managed to get something to show by using the light box/phone camera approach, but some experimenting with a better soft light and SLR shows that I probably really need to look at picking up a macro lens to improve those results. Therefore it has been hard to tell exactly how sharp or capable the lens on the Ful-Vue really is.
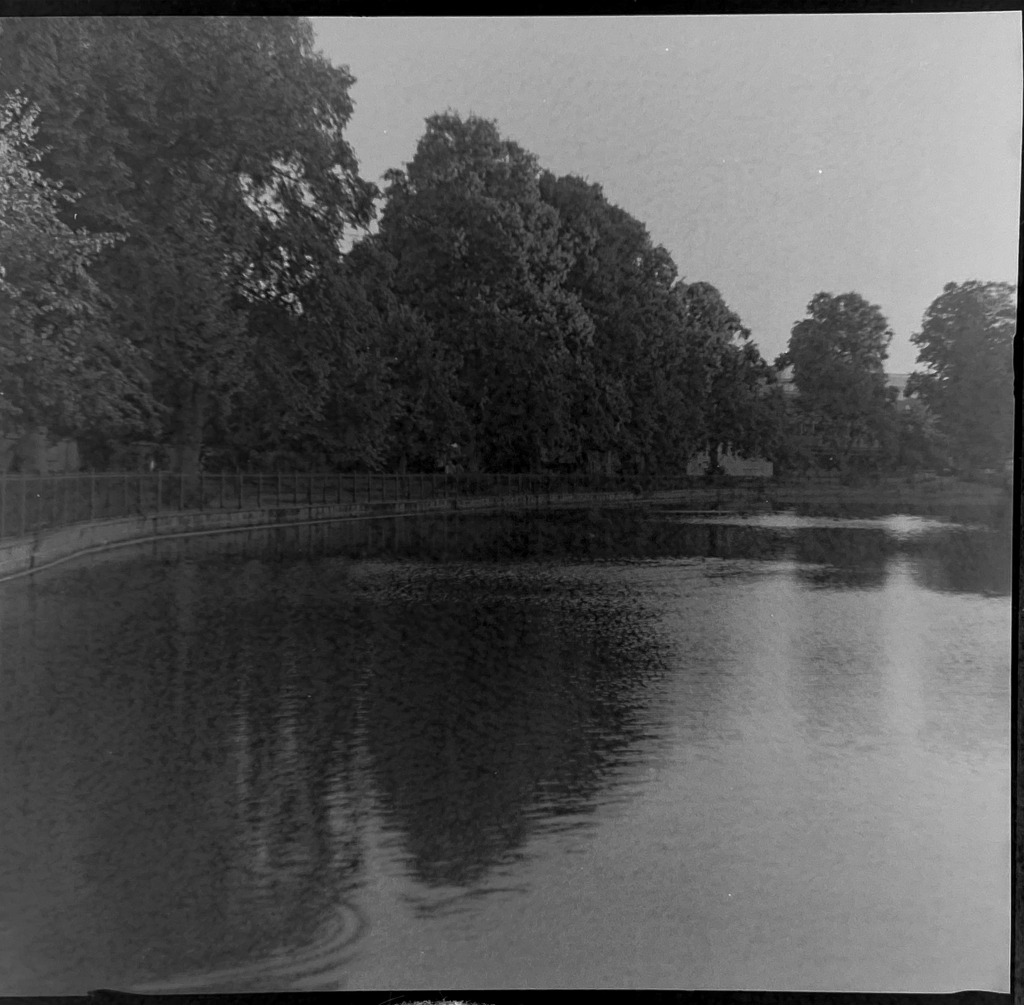
I didn’t expect a great deal in terms of image quality and sharpness from such an old and cheap camera. There is a certain charm in some of the pictures I managed to extract from the negatives but it is clear that I have a lot to learn about how to recalibrate my approach to compositions and what will or won’t work.
I am fairly desperate to get my hands on a medium format scanner now because I cannot tell whether some of the colour casts and large grey areas in the images are representative or a consequence of the bodge I’m using to just get something out of the development process.
The only real criticism I have of the overall Ful-Vue design is that the shutter is released by pressing a lever upwards. The upward motion makes it really hard to keep the camera still enough to get sharp pictures. If it utilised the same mechanism of the Ful-Vue Super this would be greatly improved. The Super has a much lighter action and is a simple flick down that drastically reduces the chance of camera shake.
I failed to get many “keepers” simply through inexperience. I am convinced the Ful-Vue is capable of much better and the few shots that came out were more than acceptable, showing glimpses of what can be achieved under the right conditions.
I will definitely be putting another roll of 120 film through this after I’ve serviced the shutter. I’d like to see if I can loosen the action slightly to avoid camera shake and take the opportunity to clean up the lens as well. Next time I think ISO 100 might suit the lens/shutter combination and I’ll make an effort to think a little more about what I’m doing.
For a less than £30 camera, boxed, that is around 70 years old, it’s truly remarkable. I loved everything about this experience – the history, design, learning to cope with no control over the camera settings, the manual loading and winding of 120 film and the different developing process.
Although 120 film is far more expensive than 35mm, the upside is that it is just so much easier to handle. The larger negatives load easily onto developing reels and you can tell instantly how each frame has turned out just looking at it in daylight. If I manage to get my hands on a half decent scanner, then I’ll also benefit from a huge bump in resolution.
The only problem with this whole venture is now I’m getting into medium format and TLRs. There’s always something…
Share this post: