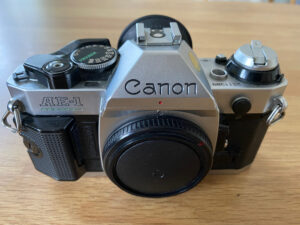
These days, film scanners are either unobtainable, too expensive or too old to be used with modern operating systems. Consequently, many people have moved towards using a macro lens, light box and negative holder to take detailed photographs of their negatives which can then be post processed to produce a final image.
There’s a reasonable amount of science that goes into professional grade light boxes, usually to ensure even light, the correct colour temperature and so forth. These will set you back anywhere between £3-400 and that is well out of reach for a hobby during a cost of living crisis. Out of necessity, I recently used this light box technique, but in the absolute cheapest way I possibly could as I cannot afford to buy a half decent commercially available light box and this began a few experiments to see how I could improve.
I needed to quickly view some APS negatives without buying new equipment that would only ever see one single use. I dug out an LED work lamp from the garage, taped the negative to the top and photographed it with my phone. The results were seriously impressive, prompting me to write about the possibilities of scanning on a budget.
Since then, I’ve been looking at how to take this budget set up to the next level whilst maintaining an absolute shoe string budget and a Heath Robinson approach to construction.
In this post:
- Version 1 and 2…
- Viable light source options
- Making it in to something a bit more robust
- Conclusions and learning
Version 1 and 2…
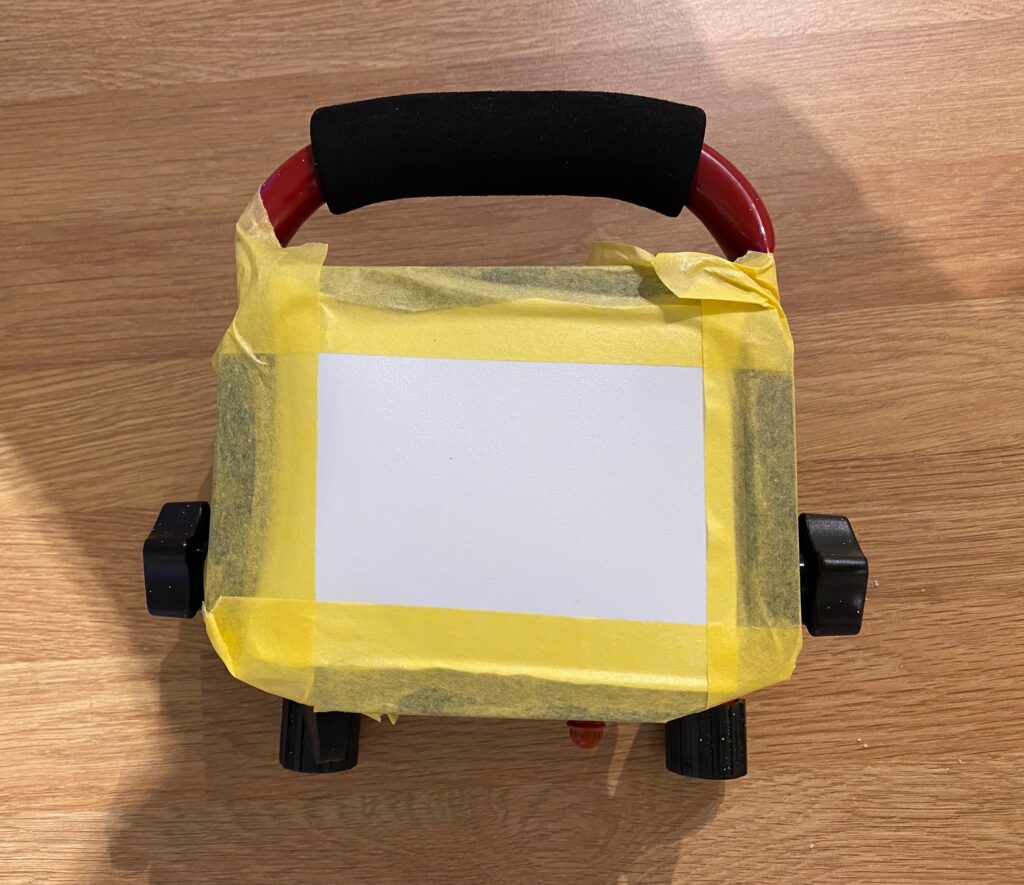
Having rummaged about in the garage for a few minutes I realised the brightest, widest and flattest source of light I owned was this rechargeable work lamp. It contains an extremely bright set of LED’s on a small panel in the middle and is effectively a portable floodlight.
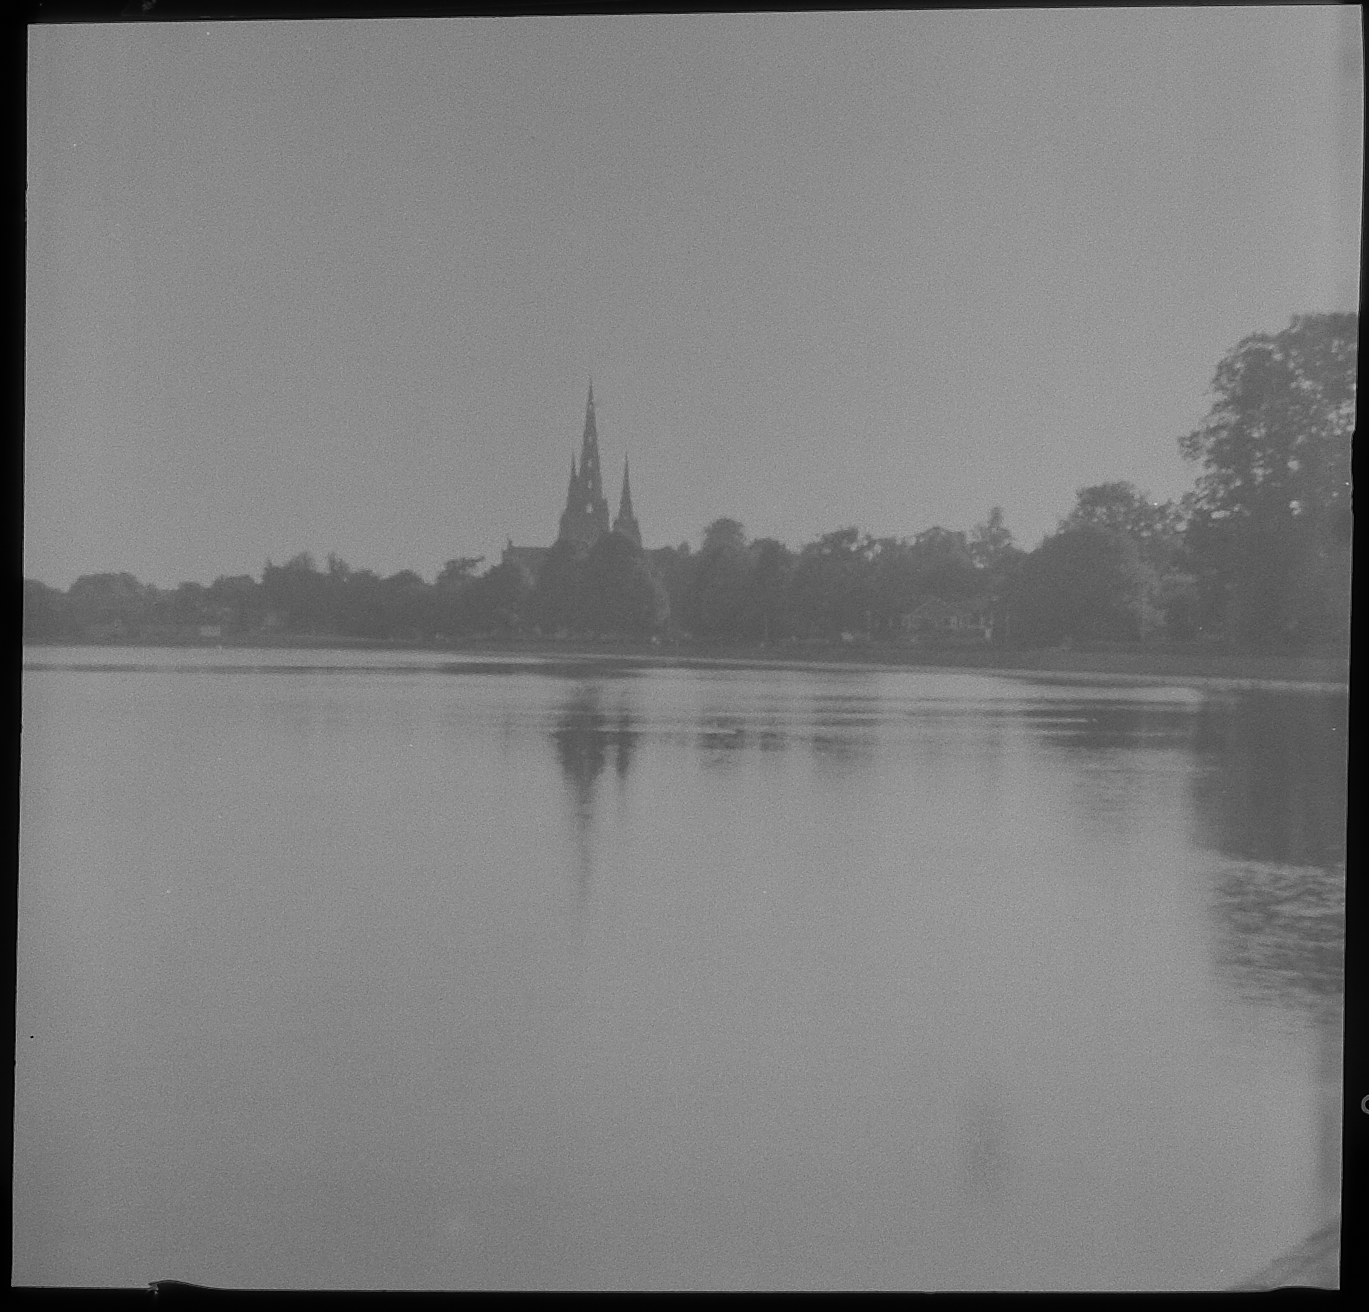
It is perfectly usable if you just place some negatives on the glass and take a picture, you certainly get some kind of usable result. This falls down, however, when you get closer to the negative to try and extract a little more detail. The individual LED’s are so bright, they end up becoming hot spots in your picture. You can see the effect of this below:
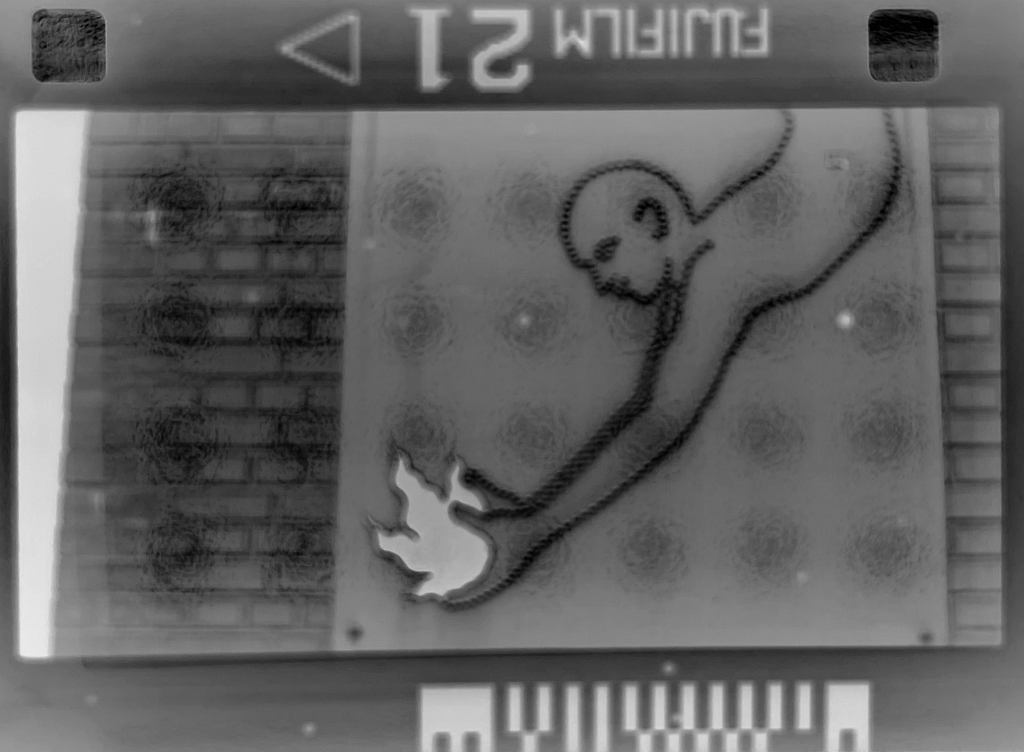
Continuing the theme of bodging things together for nothing, I cut out the side of a milk bottle and taped it on top of the light to diffuse the light. This makes a marked improvement and I’m convinced that a proper diffuser or opaque glass would give even better outcomes. The problem with the milk bottle upgrade is that the surface of a milk bottle is textured and so we go from obvious grids of lights to a mottled effect on photographs as you can see below.
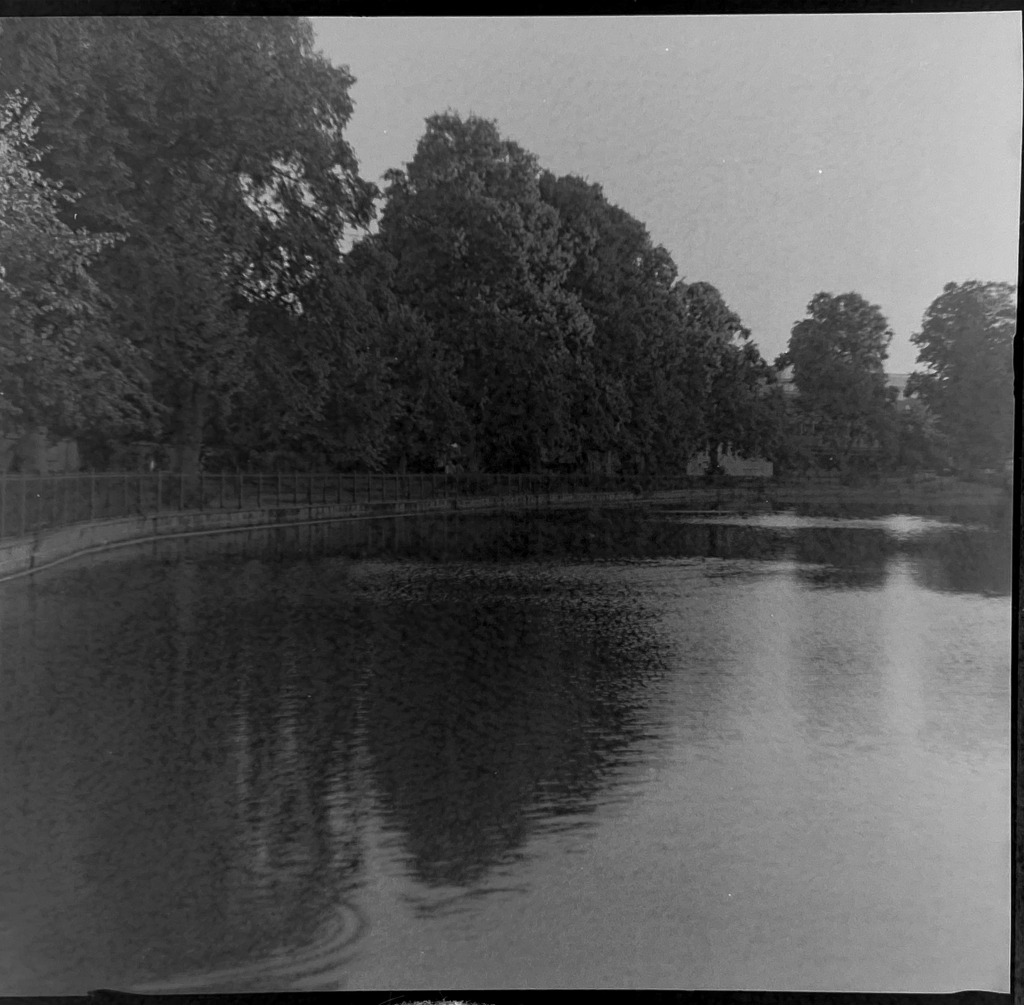
This mottled effect isn’t exactly offensive and certainly offers an acceptable result for a quick and dirty negative scan, but it doesn’t allow us to capture a sharp image. For that, we need a smooth surface for our light to come through and an even light source. What else can we use?
Viable light source options
Screwfix is my favourite shop in the world. I go in there full of enthusiasm for new projects, buy cool tools that make me feel all grown up and then a few hours later realise that the construction industry isn’t as glamorous as I imagined it would be. This was the first place I turned to in order to find some kind of alternative lighting.
For a proper light box I thought it would be nice to have a larger surface area to work with. In hindsight, I’m not sure this was the most fantastic nor necessary move but we live and learn. Initially, I browsed commercial ceiling lights as they are pretty much exactly what we need – flat, bright and have a diffuser built in.
There are some very reasonably priced options such as this:
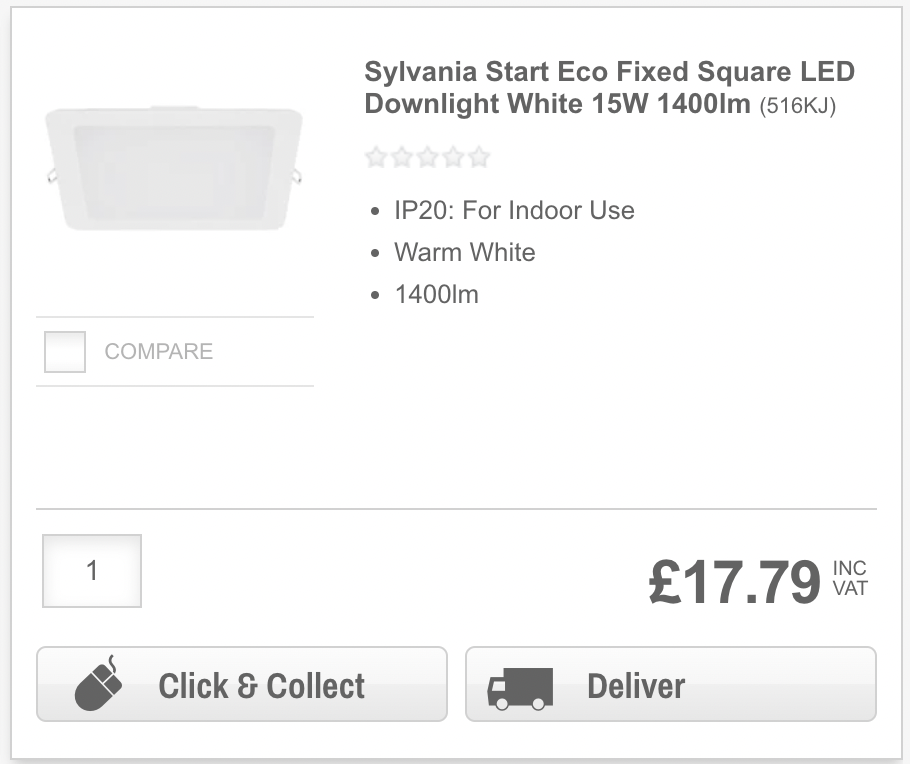
However, it’s not the brightest and in a ceiling light, that total brightness output over a large area meaning a tiny negative may not receive the amount of light you’d ideally want for a decent exposure when photographing it.
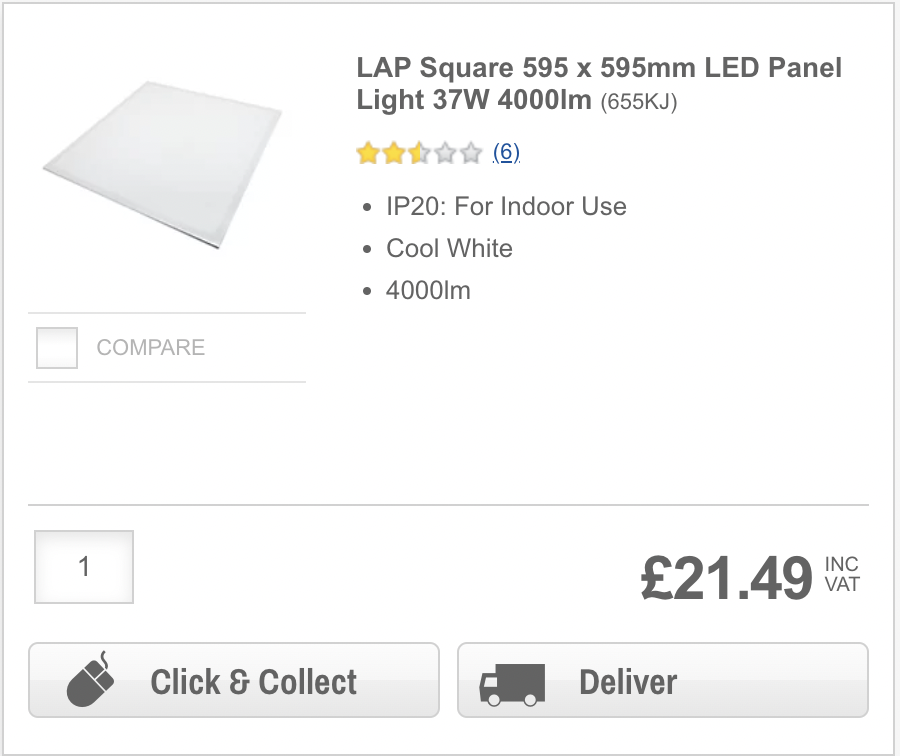
For a few more pounds you can pick up a panel light which outputs 4000lm, which sounds great but in reality it turned out to still not be quite as bright as the work light I’d been using before. Still, it’s diffused, simple to wire up and so I concluded it’s probably worth a try for all of £22.
Making it in to something a bit more robust
I would class my woodwork skills as “reasonably dire” and it is clear and obvious that this is because I don’t own a mitre saw and that would solve all of my problems… Maybe. Probably not. Still, my complete lack of carpentry competence wasn’t going to stand in the way of at least having a bash.
I made a slight miscalculation with buying a ceiling panel light and not paying any attention to the dimensions. Put simply, it’s huge, far too big for the job in hand and once built it is big enough to serve as a coffee table whilst not in use. I took the manly decision to pretend nothing was wrong and to plough on regardless. I’m spending money so you don’t have to, it’s a service.
After an hour or so I had knocked up what can only be described as a thing of beauty and wonder.
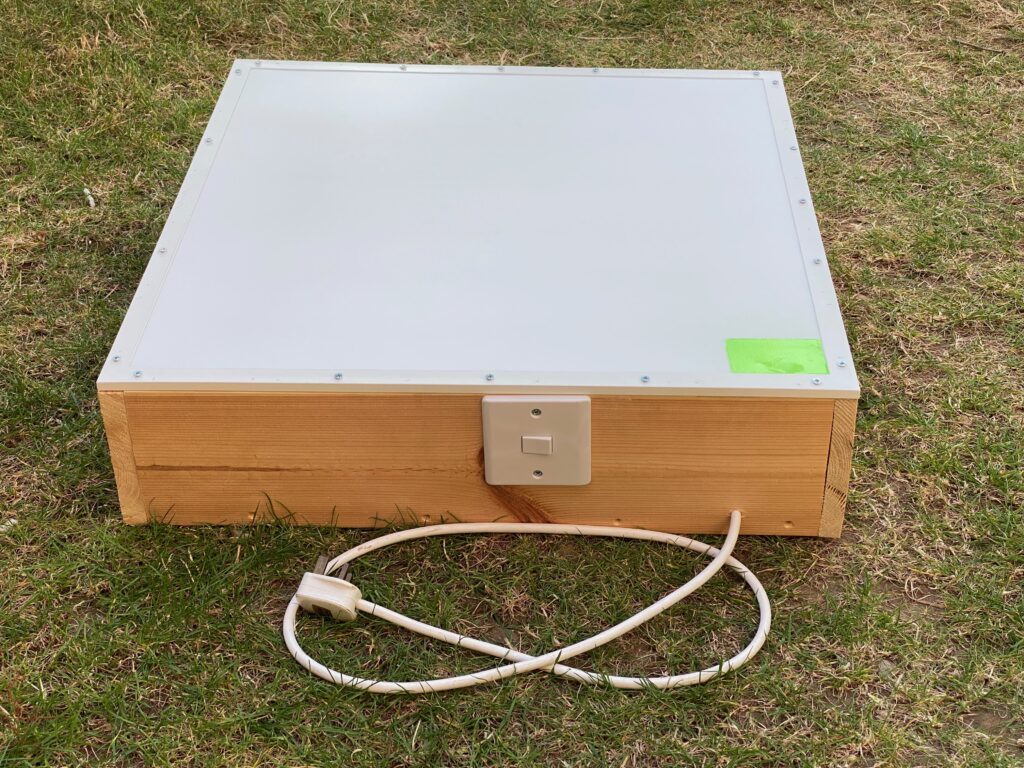
If you ignore the duct tape where I may possibly have slipped with an impact driver and smashed my brand new light up, what we have is a functioning, stable light box complete with added life improving features such as… a switch.
I know some people like detailed instructions about how things are made, but honestly this is four pieces of wood screwed together. Once that was done I drilled pilot holes in the light for screws (way too many) and then screwed it down. That’s pretty much it.
What about the inside, how does that look? Well, I’m so glad you asked. Allow me to show you.
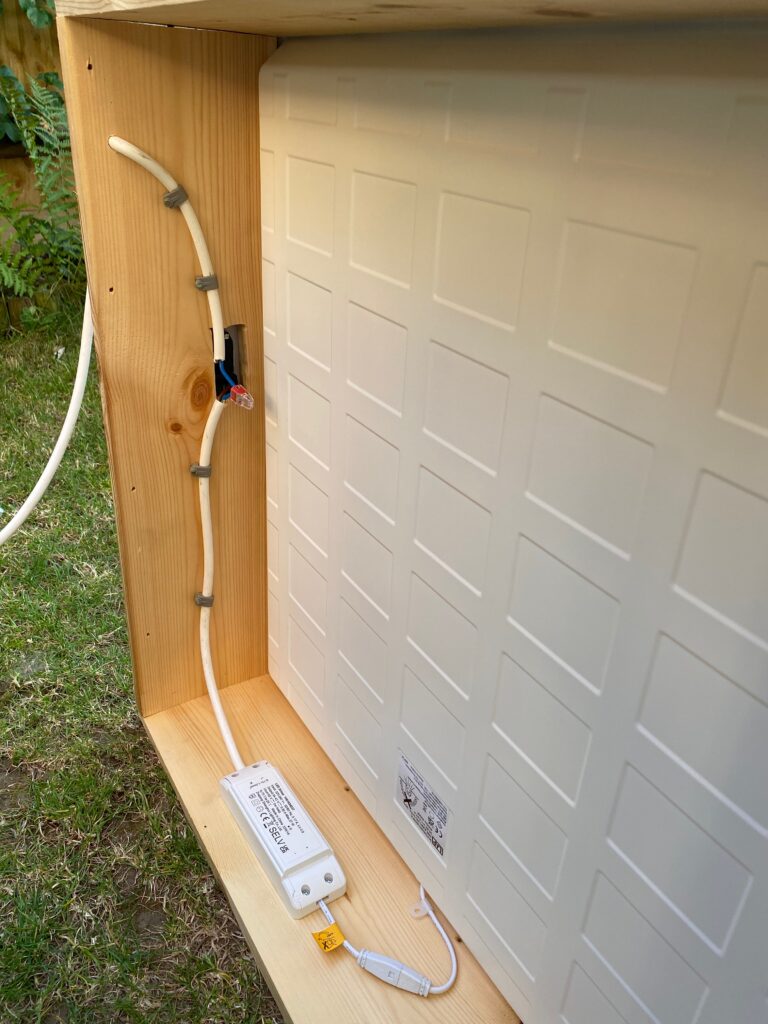
The total cost of building this was just the £22 for the panel. Most people have a “good bit of wood, that” pile for just these types of occasions and that’s where my wood came from. The switch was in a box of old electrical stuff from when I did some work knocking walls down in the house (don’t worry, I put new ones back up afterwards) and the cable was left over from when I had a boiler installed about 10 years ago.
If you were to have to buy these components new then I’d guess you could probably get this type of build done for £30 to £35 at most.
Conclusions and learning
The most pertinent question is, was it worth doing?
My instinct is that it was, or would be, with a couple of improvements or changes.
It works as a light box, the negatives are reasonably well illuminated and it definitely helps to have a nice flat surface to work on when taking macro shots. What stood out was that although rated at 4000lm, it doesn’t seem quite bright enough. It’s not dim by any means but a slight increase in brightness would make a difference.
If I were doing this again I’d definitely not buy a light that is so large, it’s totally unnecessary and unwieldy. Something half the size, approximately 25x25cm would be far more sensible and my guess is that the light output would be more concentrated and therefore brighter, which is what we want.
Finally, the diffuser on this panel light is still very slightly textured. Much less obviously so than a milk bottle, but still textured. I’ve actually reached the limit of my current equipment, though, so I don’t know whether this would show up in a higher resolution or closer macro shot than I am currently able to produce. Again, instinctively, I think it would. This could be fixed by simply replacing the diffuser or having bought a light with a completely flat plastic or glass surface. Moral of the story – check before you buy.
Overall, this is certainly something you should consider pursuing on a budget. If you can knock up a solid and bright light box for £20-30 then you’re absolutely winning. Get the surface right and the clarity of your final shot will be limited only by the quality of your macro lens. However, given that macro lenses are still in the Arkwright “her-her-her-how much?” territory, then I think my next move is to look at some extension tubes and see how they fare.
I shall report back soon!
Share this post: