Over the last few months I’ve accumulated a few bits and pieces that I’ve picked up for next to nothing as “parts or not working” on eBay. I’ve also been trying, failing, thinking I’ve failed, failing again, discovering a stupid mistake and then succeeding in getting a working Canon T80. It’s time for a repair roundup.
In this post:
The Sticky Nikon F65
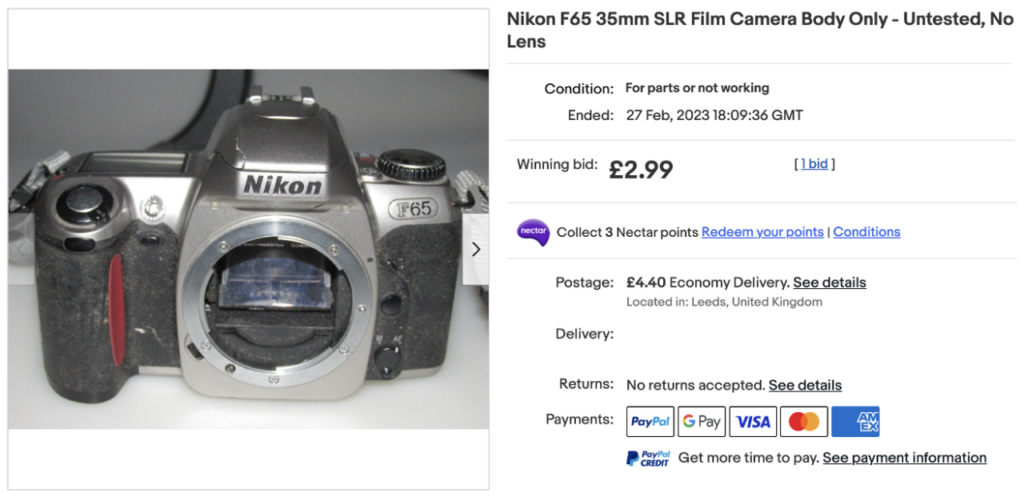
After finally trying out a Nikon for the very first time with the D70, it made sense to try out a Nikon film body now that I had a 50mm lens sitting around doing nothing. I found this very neglected Nikon F65 that went for a maiden bid of £2.99 and a final total of £7.39 all in including postage, which is quite the bargain really.
Cameras from 20 or more years ago are very prone to degradation of certain types of rubber that was used on the grips and other textured parts of the body. Sometimes, a rubberised coating was used to cover otherwise shiny areas of plastic and give them some grip – this is usually the first part of any old camera to turn into a horrible, gooey mess.
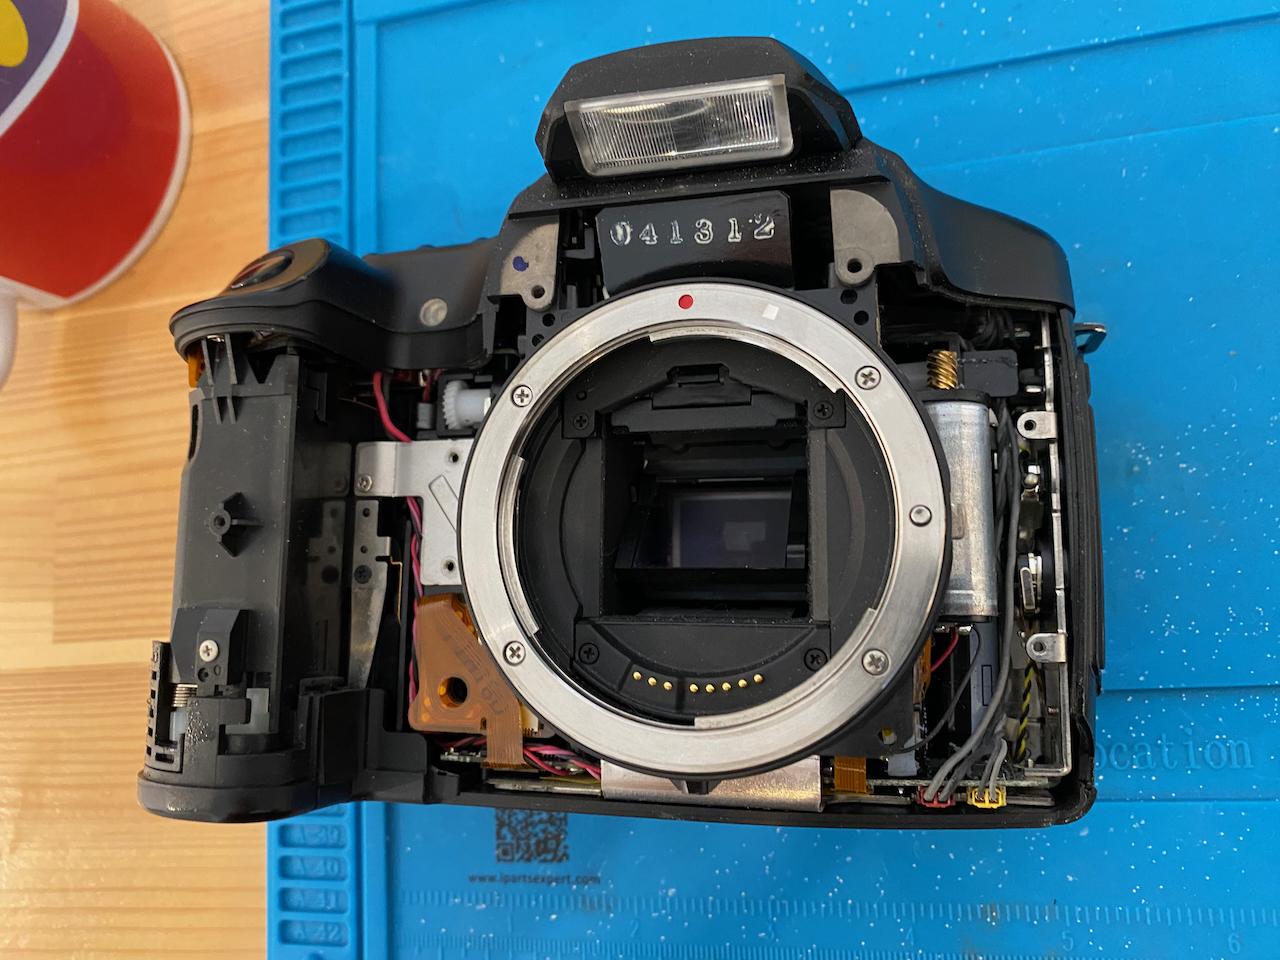
This Nikon F65 had just been left to rot in a cupboard somewhere by the look of it and had also been dropped at some point, breaking the plastic around the little pop up flash. An alcohol bath and a lot of kitchen roll were enough to properly clean up all the sticky residue and remove half of someones dog that had become attached to it.
The camera powered up first time with some batteries inserted but it wasn’t happy. Attaching a lens to it did absolutely nothing. Fortunately, this too was an easy fix with some alcohol – there are a series of gold pins inside the lens mount which are used to communicate with lenses. A cotton bud and a quick scrub and the F65 lived again.
I’m not entirely sure this camera is 100% fixed, it seems to have a very over zealous auto power off function that means if you leave it without pressing a button for any more than 30 seconds it’ll give up and turn off. I did manage to shoot a roll of film through it, however, but that was a total disaster to talk about another day.
A working Nikon for £7, we’re off to a good start.
The Saga of the T80’s
This is where things get silly and there’s a lesson here for anyone trying to repair things – don’t be like me. You have been warned.
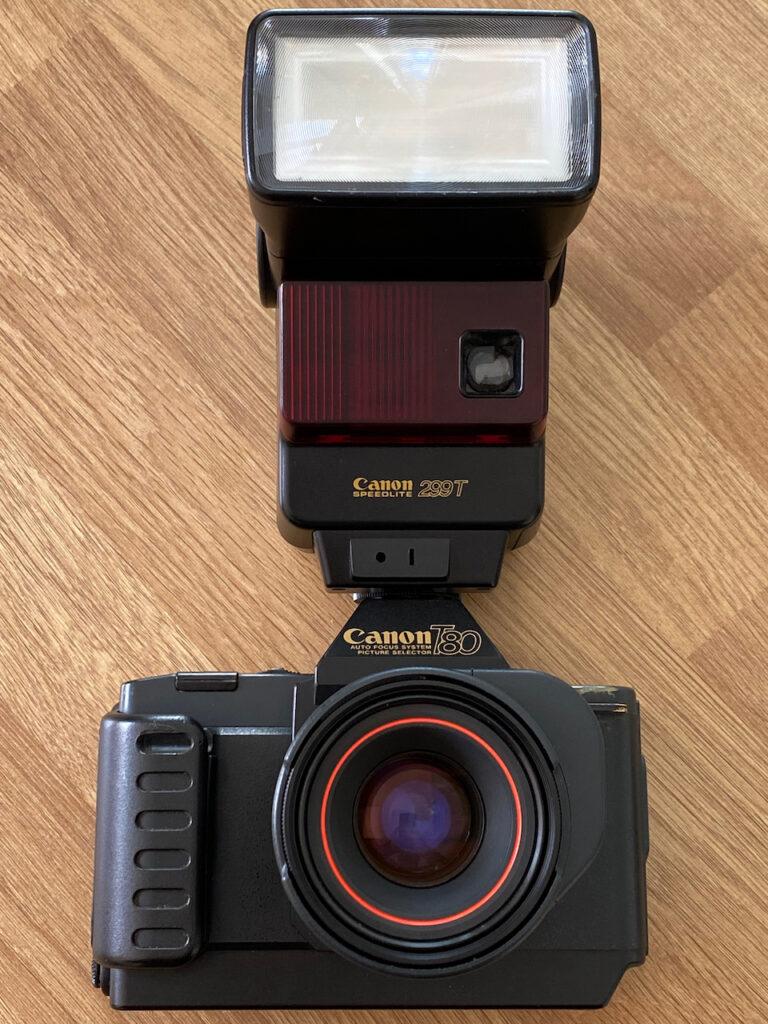
Some months back, I wrote about how I’d been trying to buy a Canon T80. For those of you that don’t know, this was Canon’s first attempt at making an auto focus lens system. They released only three “AC” branded lenses, which only worked with the T80 and no other camera, so if you want to try this out, you have no choice but to try and find a working T80.
Many years back, 12 at least, I actually had a full set of T80 equipment which I sold off when I had children and never thought I’d use it all again. In those 12 years, the prices of T80’s have gone through the roof and I think it is probably down to the fact that virtually none of them work any more. I’ve never known a camera where so many of them have suffered from horrific battery leakage – I guarantee if you search eBay for one right now, you’ll find a “parts or not working” model that has a battery compartment full of white and green dust.
My first attempt at repairing one of these was a failure. The corrosion had eaten the internal wires and despite cleaning and soldering things back together again, I only managed to get it to power on and do nothing much else. I kept it for parts for a while before (stupidly) discarding it as a lost cause.
I’d given up on the T80 until I came across this one some months back:

For £20 it was worth a shot. The pictures were really clear about the damage – yes, another battery leak, but this one didn’t look that bad at all. Unless, of course, someone had already had a go at cleaning it and then given up. This is the damage it arrived with:

That’s certainly in the “not bad at all” category of battery leakage. I gave the bits and pieces a vinegar bath to neutralise the damage and then washed, scraped and generally cleaned things up. I stuck some new batteries inside and… nothing. Dead. I poked the multimeter around and it showed that everything was making a connection and the right voltage was making it across the terminals. I couldn’t work it out.
I spent a while more disassembling and checking wires, but nothing was broken and in all honesty, the rest of the camera looked fine inside. I put it back together, gave it one last try and left it at that, another parts machine to sit on the shelf for another day.
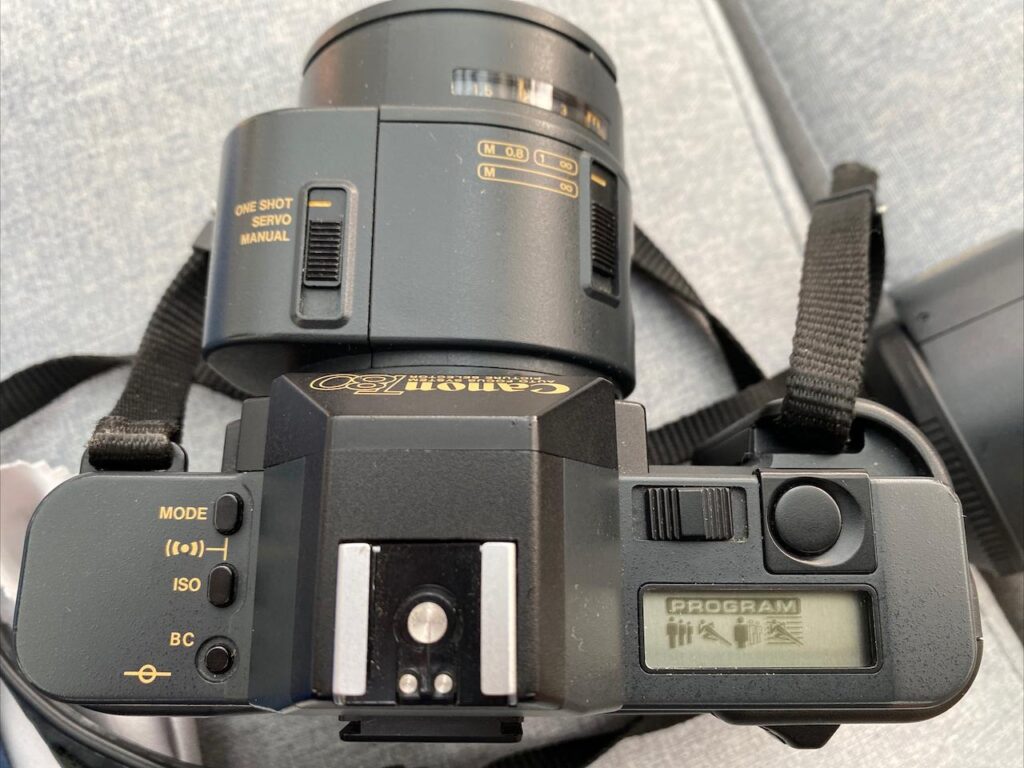
A few months later I had another look for T80 candidates and there really were few options to choose from. Having pretty much given up I decided to spend a bit more and go for the one shown below:

£40 is more than I wanted to ever spend on a camera which is really nothing more than a historical novelty, but this looked mint. There was no obvious damage in the images, it was advertised as working and it came with another AC lens, a flash, bag and the original manuals. This was going to be “the one.”
At least until it arrived. You can guess what happened next, can’t you? Well… This is where I have a confession to make.
I popped the batteries in, turned it on and… yes, you’re right – dead. Take a look at the picture below:
I’d already flipped open the eBay app and was tapping away furiously to return it when… No… It can’t be… Can it?
You see, I’d put the batteries in and turned it on, but I’d left the battery cover off. That wouldn’t make a single bit of difference, would it? Of course not! Don’t be stupid! So, I popped the battery cover back on, just on the off chance and it instantly sprang to life. I couldn’t believe my eyes. How had I been so monumentally stupid?
Not so fast, though! Whilst it came to life, it was actually useless. There is something quite odd with this T80, it doesn’t detect film and none of the buttons make the camera respond. Also, the shutter makes a faint click and then nothing happens. I felt slightly less stupid and somewhat relieved to find that it was indeed broken after all.
Then, the cogs start turning – “hang on a minute… I didn’t make the same mistake with the last one…. did I?”
Oh yes. Yes I did. You see, the thing is, I’m a total and utter moron. I’d tested the previous T80 without the battery cover on and just shrugged my shoulders when it didn’t work. At no point did I have the common sense to completely reassemble it in order to test it. I went out to the garage, fished it off the shelf of broken bits and pieces, plugged some batteries in, replaced the cover and… yes. Yes it does work. Not just a bit, but completely.
I’d fixed the T80 and completely not realised it. What. A. Plonker.
To cut a long story short, I contacted the seller who kindly refunded the latest T80 because it genuinely was knackered. I then took the best parts off that one and transferred them over to the old T80 to make it look nicer. I also fixed the flash, for no reason other than I like fixing things and also the AC lens that had come with the new T80 because it wasn’t clicking into place when mounted.
The new T80 and lens had, at some point, suffered from some very specific and weird localised corrosion. It was on the lens locking mechanism and also under the mount, the rest of the camera was in almost new condition. It was a genuine shame it has some kind of electrical issue that honestly, I can’t face diagnosing. Finally, I took the top off the working T80 and figured out how to clean the viewfinder properly as it was so dusty it looked like it had measles.
Please, learn from my mistakes, be methodical, work logically and above all, put things back together properly and test them before presuming they’re dead.
FD Fungus Fun

A really quick and dirty one next. After the success I had with a fungus afflicted FD 50mm F1.4, I felt quite confident that I could happily take FD lenses apart, clean them up and reassemble them without having pieces left over. eBay is awash with fungal specimens and so I set my search criteria to £5 or less and waited.
The 28-55 in the picture above came up and it was full of fungus, which is a bonus when you see how much that murdered the price of it. For all of £6 and 1 whole pence, I got a mint, fully boxed lens.
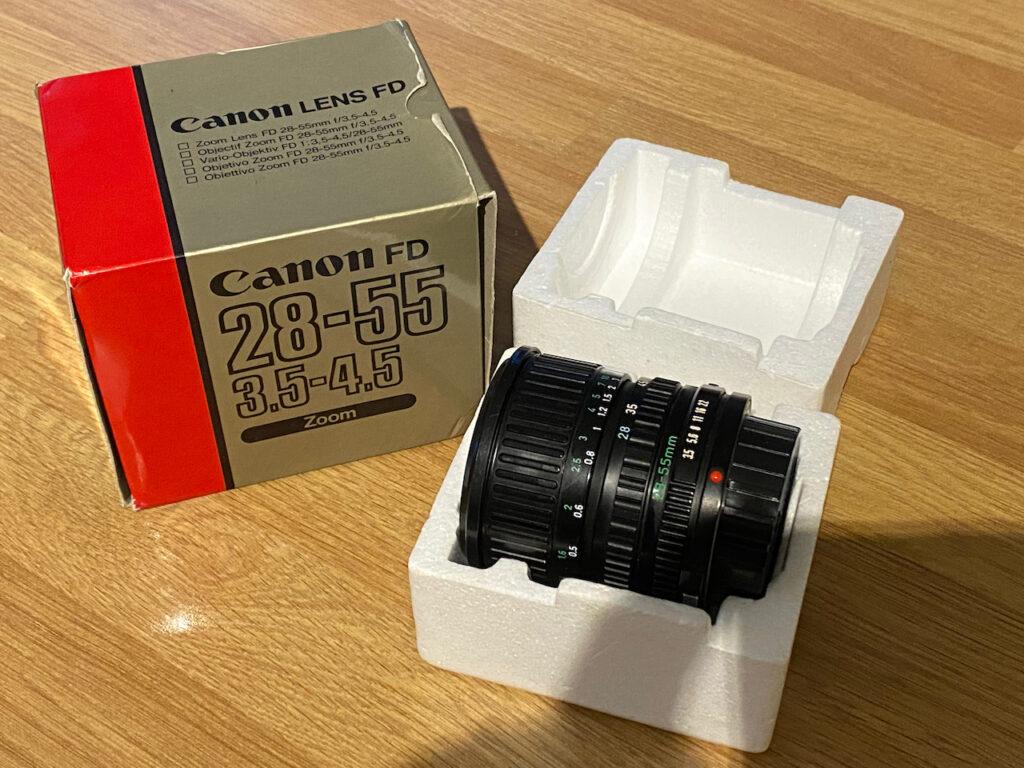
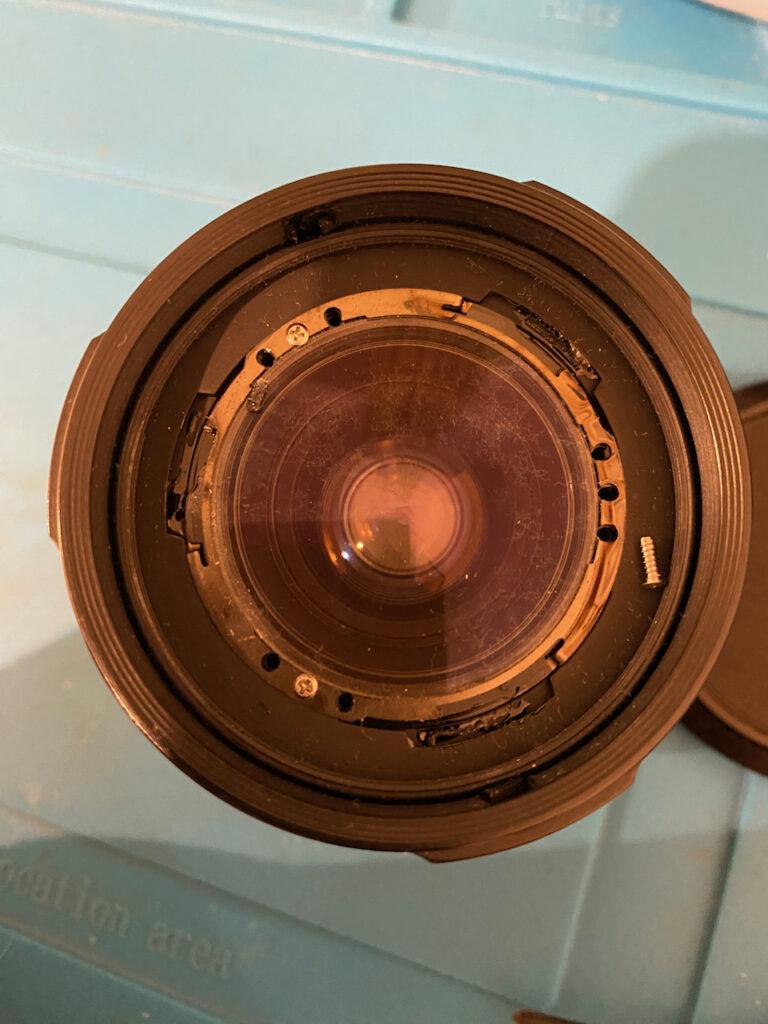
The repair process was embarrassingly easy as it turned out. All of the fungus was contained within the front two elements so there wasn’t a great deal to take apart and clean up before it was fixed. There was, however, a slight surprise inside this lens in the form of an element that couldn’t be taken apart. Sandwiched between two pieces of glass there does appear to be a few tiny specks that could do with a clean, but there’s no way I was going to be able to get to them without risking destruction.
I’d say the whole repair process took about 30 minutes from start to finish and the resulting lens is almost as good as new again. The only issue I now have is that the 28-55 is not a lens I’ll ever use. I have a couple of 50mm primes and a 28mm so that range is pretty much covered. I much prefer primes, too, so if anyone out there wants it then do get in touch because I’d rather it was used than just left in a box in my cupboard.
The Foosty 40D
Last up is this nasty looking thing.

This was described as “working last time I used it, but the shutter button is intermittent or won’t work.”
The Canon 30D and 40D appear to have a common fault with their shutter button. When I checked out spare parts, it looks like the same button was used in the 10 and 20D also, but weirdly I’ve not come across a broken 10 or 20D, nor did I find anyone online complaining about those particular models breaking. The 30 and 40D forums were rammed with people who’d sent their camera in for repair when they were still under guarantee.
The 40D was the first “proper” DSLR I ever bought brand new. I traded in my 350D, waited for a Canon Cashback offer and took the plunge not too long after the 40D launched. It was a whole new world, I loved my 40D with a passion and used it to shoot all sorts from significant birthdays, about three weddings, sports events and it even had a bash in a studio once.
This 40D, however, has had a right kicking in its life. I understand that cameras for some people are working tools, that they can and do get scratched up somewhat in transit or accidentally, but I honestly cannot understand how some people treat their equipment quite so badly as this. The grips were an absolute state and had fallen off in places, the paintwork ruined and there was plenty of evidence that it had seen a drop or two in its life.
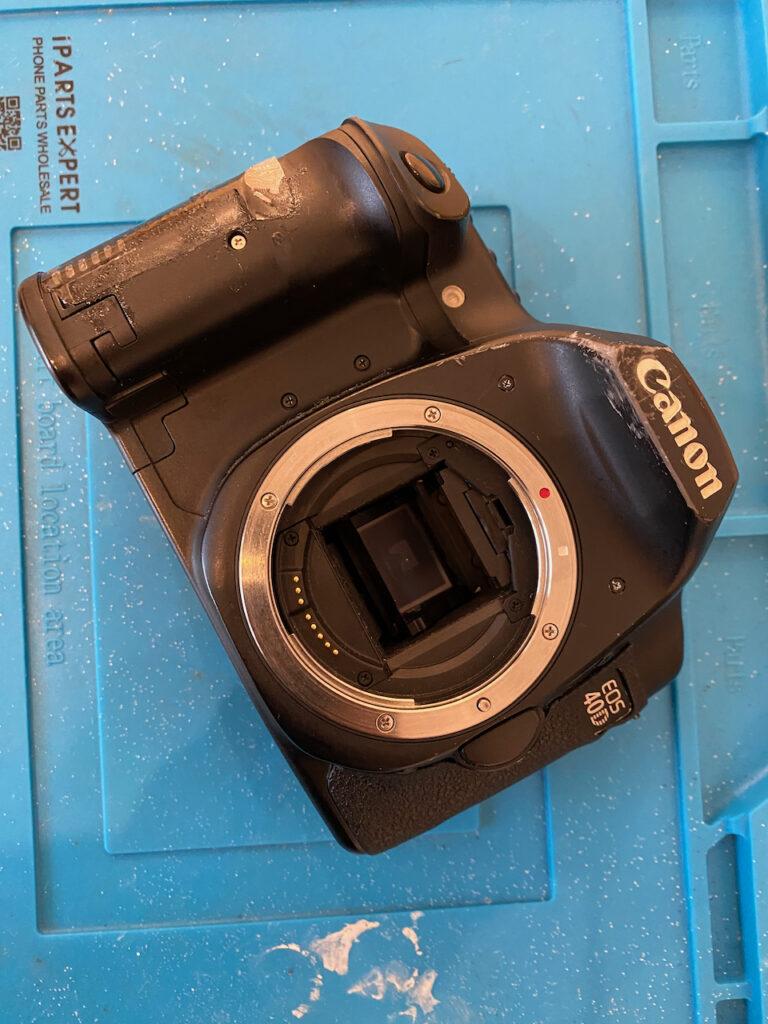
I cannot begin to describe the horrible, sticky mess that awaited me on this camera body. I had no choice but to take what remained of the grips off to get to the shutter button which was indeed completely dead. In doing so, I revealed “old glue from hell” and it took a whole world of solvents, scrubbing, washing the old grips, more scrubbing and washing my hands endlessly to get to the bottom of it.
The problem with the 30 and 40D shutter buttons isn’t that they fail, it is that they suffer from ingress of dirt and eventually they don’t make a good contact. Initially, you can get them to work by being firmer on the button press but eventually they will just stop responding. The correct fix is to disassemble the camera, get to the button, take that apart, alcohol bath and scrub followed by reassembly. On a 30D, this is exactly what I would’ve done. On a 40D its surgery to the level that life just isn’t long enough to justify spending the time it takes to get to the shutter assembly.
Canon changed the design between the two models. The 30D is fairly accessible with a moderate amount of taking apart. The 40D is almost verging on complete strip down territory. There is, however, a compromise… but it’s not “proper” in any way and you can absolutely shaft other parts of the camera doing it this way.
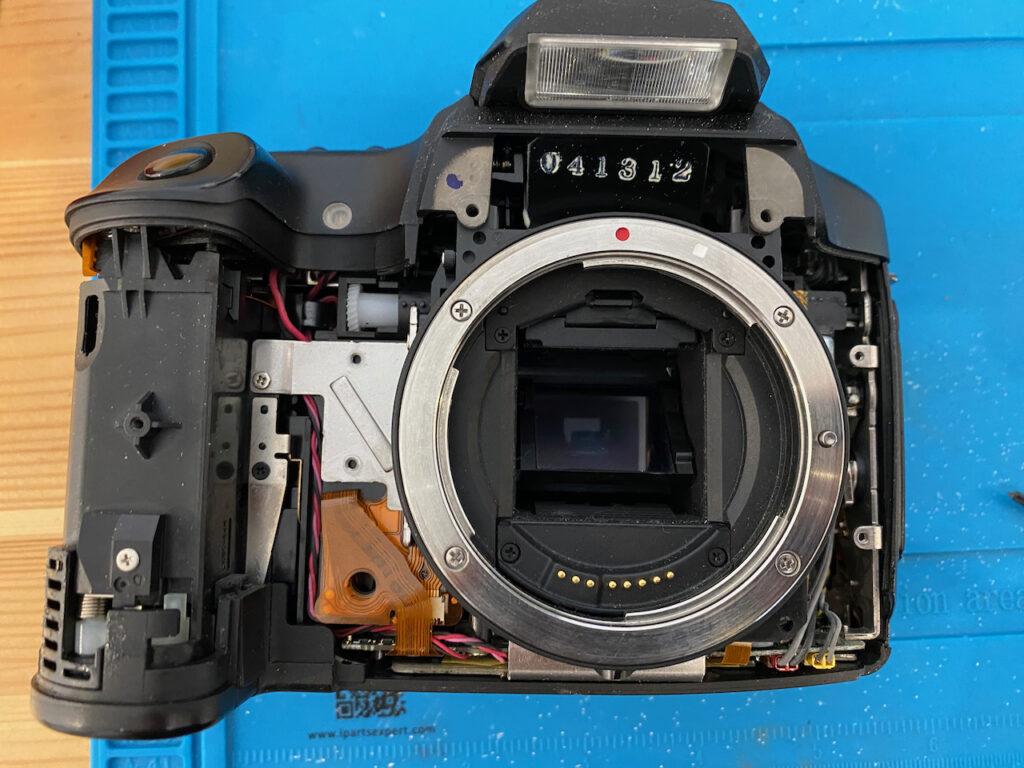
By removing the front cover of the 40D you can get to the shutter button through a gap in the grip. If you want to go full bodge with your repair, this is as far as you need to go. On a £10 40D, this was indeed as far as I was prepared to go. By blowing out the button with compressed air you can get some functionality back, but it doesn’t give you something that really works well at all, there needs to be some actual cleaning that takes place. Flooding the button with either acetone or alcohol and then mashing the button round and round works surprisingly well.
On a positive note, even days later, this “repair” is still fully working. The lightest of touches fires the shutter. Why am I not sounding fully smug about this apparent quick fix? It turns out that filling your camera full of alcohol isn’t the smartest move in the world. It doesn’t damage electronic components, nor did it flood the mirror box and ruin the machine completely. What it did do, however, was get all the way round the back of the camera and into the LCD screen which now features some very fetching lines.
A new screen for a 40D is approximately £15, but at 150% of the price of the camera, I think I’ll just live and learn. I’m still impressed that it actually came back to life with such a sledge hammer to walnut approach to fixing it. The grips, oh wow, they’re still awful. It seems that the previous owner had somehow managed to stretch them to the point where they’re now too big to fit back properly. I think this camera may well become a donor for any future projects.
Conclusions and Learning
If you’re patient and inclined to attempt a bit of repair, then eBay is still a fantastic place to pick up items at really quite bargainous prices. If, like me, you’re a total repair amateur and have occasional bouts of “bull in a china shop” moments when trying to fix something then it makes the bitter pill of failure much easier to swallow when you know it didn’t break the bank, was broken in the first place and you can still learn something from your mistakes. It’s well worth giving it a try and what is better for the planet than rescuing old tech rather than sending it off to another country to be burned for copper?
Just don’t, for the love of God, forget to put the battery cover back on before declaring something dead…
Share this post: