Film photography should be cheap and fun, but it is possible to spend an absolute fortune on developing, scanning and digitising kit if you’re not careful. The fact of the matter is that you really don’t need to despite what many film advocates will try to tell you. It is more than possible to buy all the things you need for a very small amount of money – and that includes a decent camera if you don’t already have one.
Some people are incredibly precious about their whole process from film to final image, I’m not one of them. If you’re someone who wants to simply enjoy shooting film and get some results that you can digitise, share and print without the hassle and a large hole in your pocket, then this guide is for you.
We are going to look at the whole process of shooting film from start to finish and I’ll try to give you as many options for a range of budgets from “I have a few quid but want to be careful” to “I am tighter than a rusty nut and bolt.”
In this guide:
- Step 1: Shoot a roll of film!
- Step 2: Gather your tools and materials
- Step 3: Prepare yourself
- Step 4: Shake it like a polaroid picture
- Step 5: Rinse and fix
- Step 6: Wash and dry
- Step 7: Cup of tea
- Step 8: Scan and digitise
- Total spend
Step 1: Shoot a roll of film!
Sounds obvious, right? The first stumbling block for many people shooting film is where to start – which camera? Which film? Whats the best? If you ask three different film photographers these questions you will get three different answers. There is no one right answer, but you can’t go far wrong with the following three rules:
- If you don’t already have one, get an SLR film camera for next to nothing from friends, ebay, marketplace or similar.
- Buy at least three rolls of new black and white film
- Go out and use them
The camera
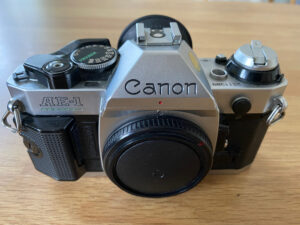
If you don’t yet own a film camera then you need to pick up an SLR, which stands for Single Lens Reflex, or in plain English, cameras that you can change the lenses on. Don’t be tempted by compacts or point and shoot film cameras, most that were released are utterly awful and will give you a really poor first experience of using 35mm film.
Some film cameras are now considered “classics” and so their prices are extremely silly. However, you can pick up an SLR for 99p without too much hassle on Ebay. If you have absolutely no idea what you are looking for, then you can do a lot worse than just getting a Canon 1000F (click for review). This is an extremely capable, stupidly cheap but solid camera body with half decent auto focus that you can often find being sold with a lens to get you started. Check out the Ebay searches linked below as a starting point to find yourself a suitable set up:
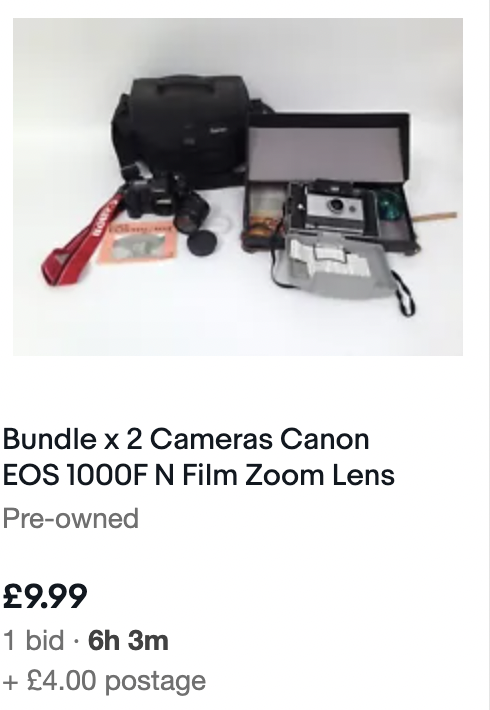
At the time of writing, those two searches produce well over 400 options between them. There were options for the 1000F for around £10-15 with a kit lens or similar, you really can’t lose buying a camera like that for such a small amount of money. Obviously, personal taste and preference will guide your choice.
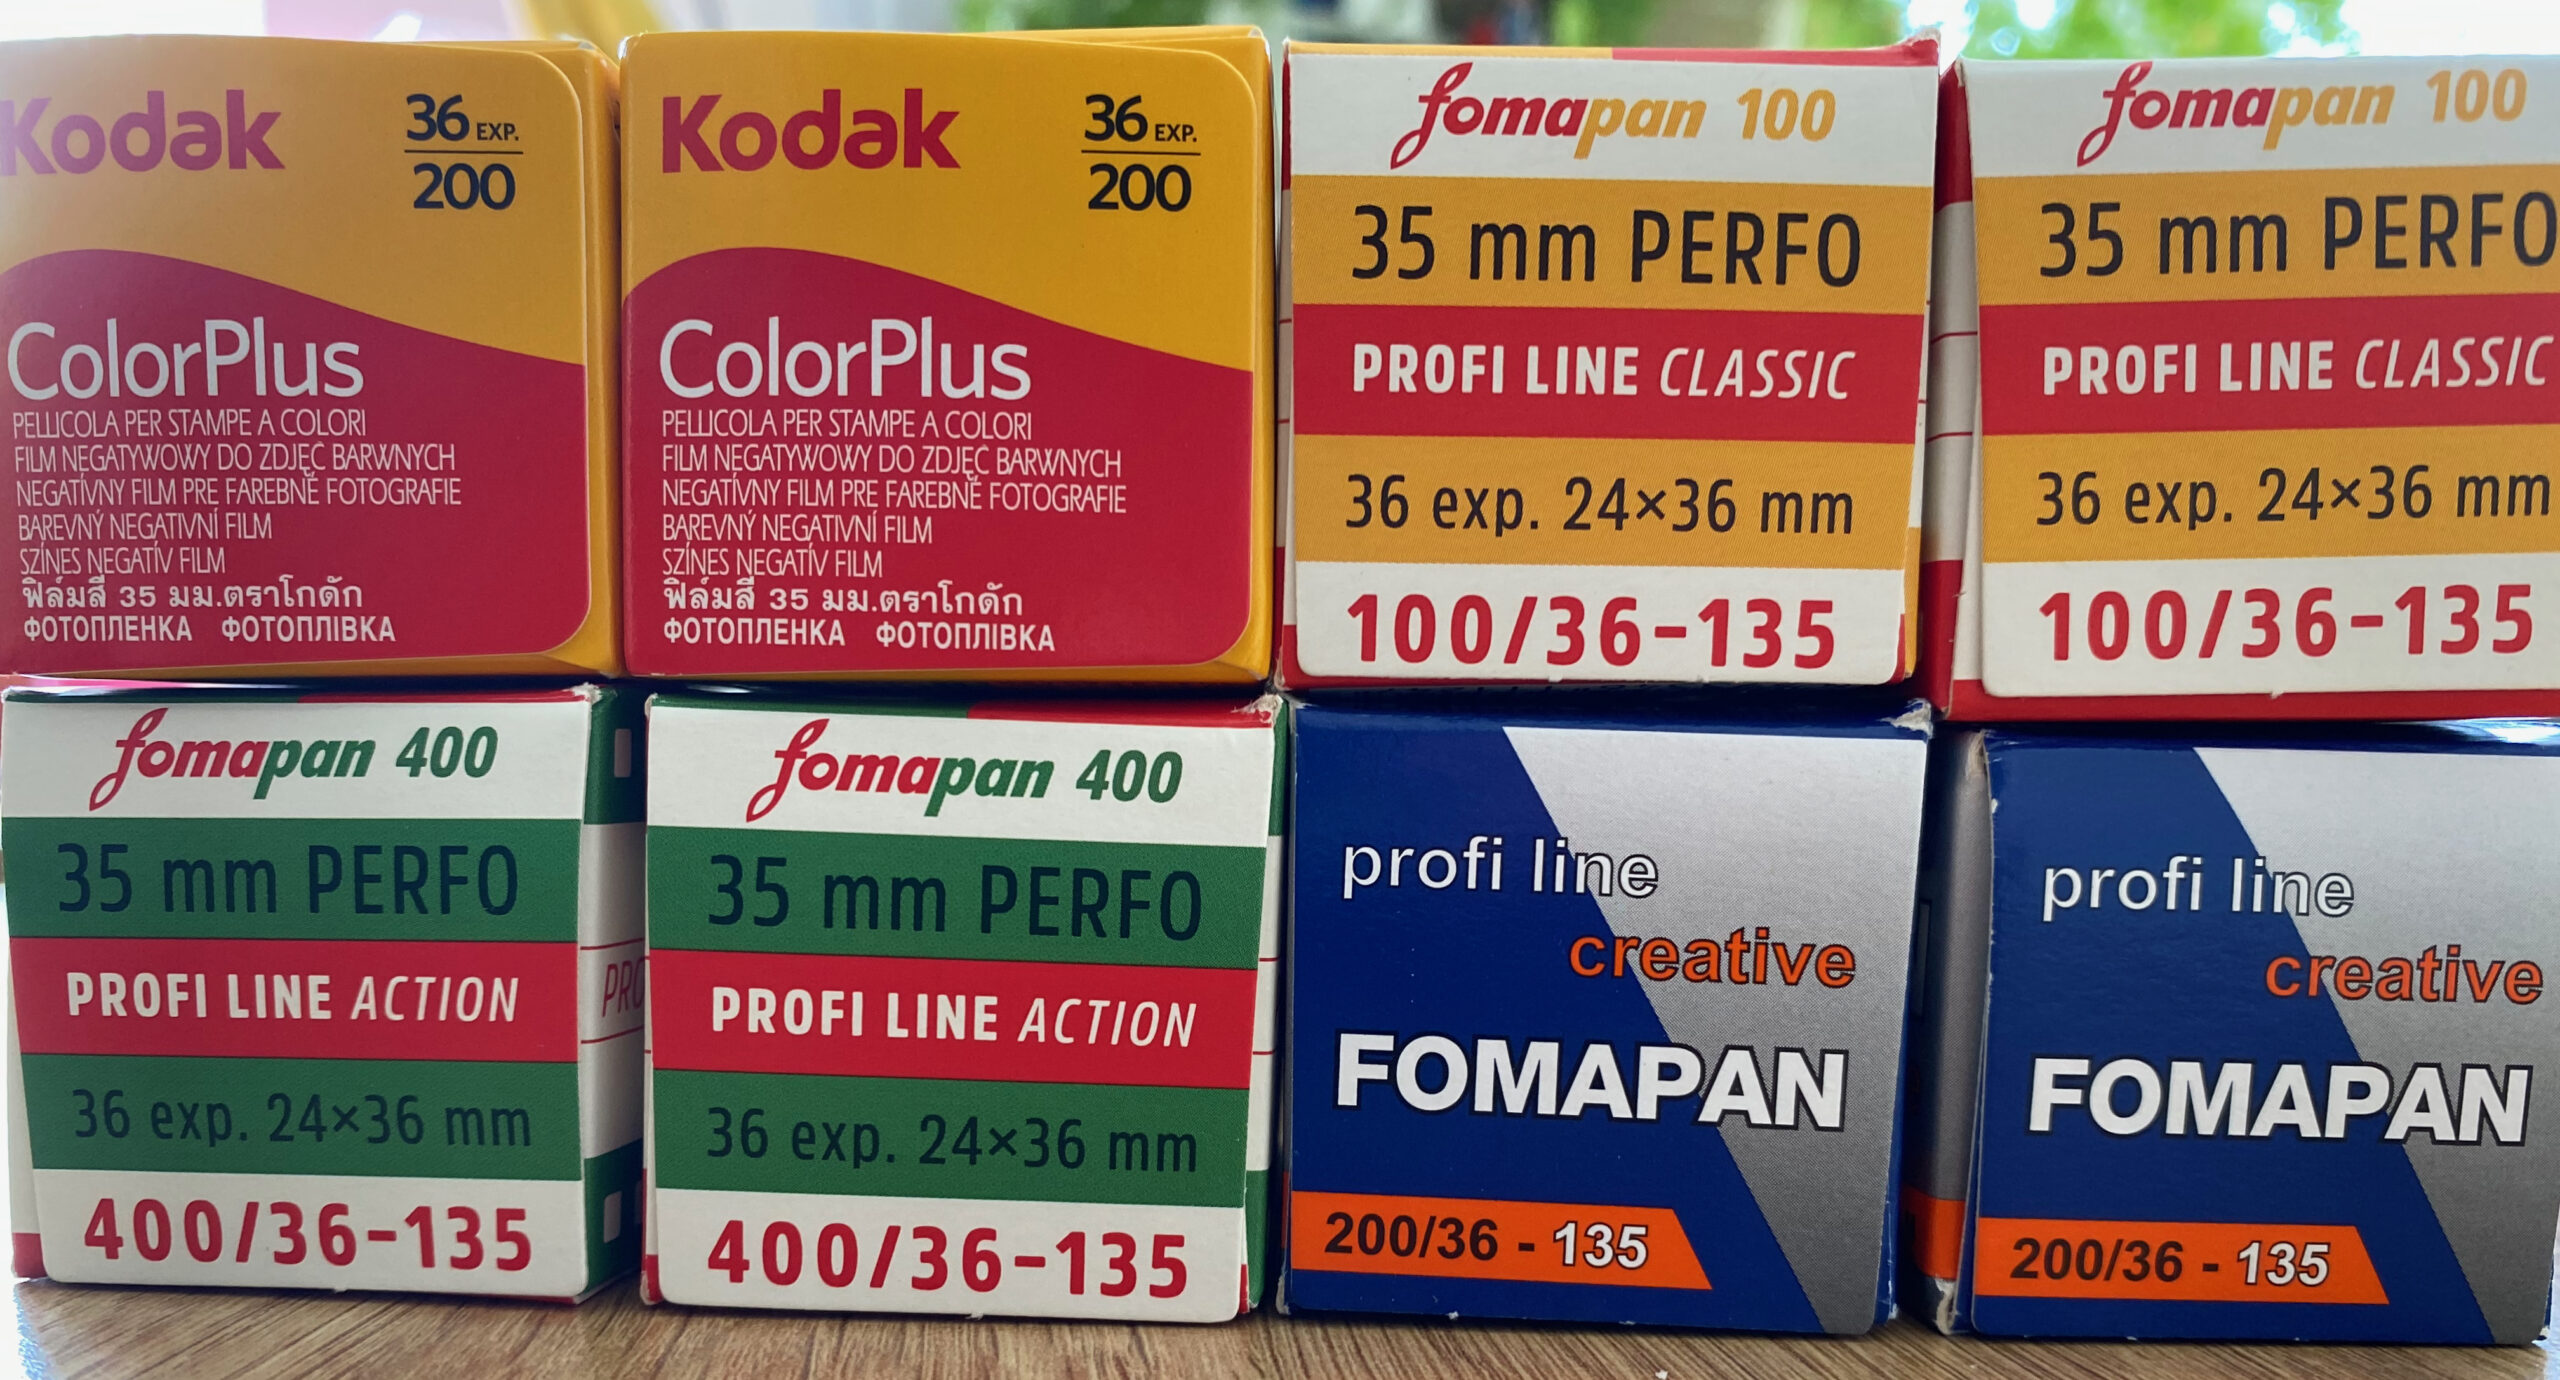
The film
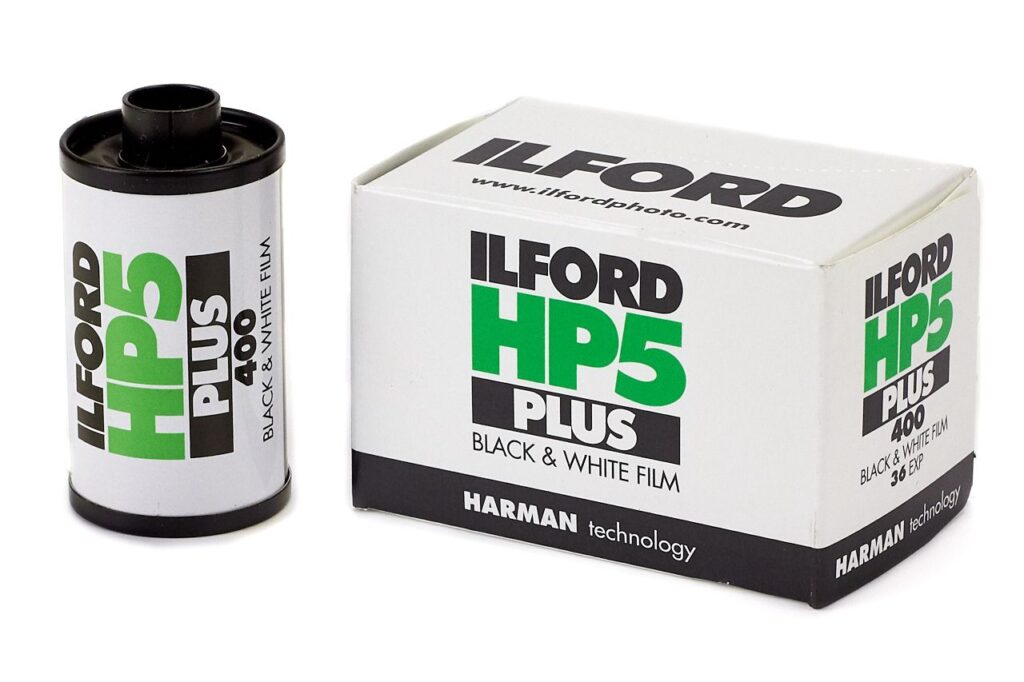
The choice of film is easy – buy new, ISO 400 and shoot black and white. Not only is it the cheapest option, but also extremely forgiving of mistakes during both use and development. There are lots of film brands that still produce new film to this day, two of the largest are Ilford (who also own Kentmere) and Fomapan.
Again, many photographers are very precious about which brand and particular film they use and will advocate one over the other. You may well develop a preference for a certain film, but when you’re starting out literally any new film will give you good results.
Why do I keep saying new film? Film has a shelf life and an expiry date. You can still use a film after it has expired, but as time goes on it will produce ever more grainy images. Ebay is full of expired film that sellers seem to believe is worth large amounts of cash, but it simply isn’t worth it for your first attempts. Expired film can be artistic fun later on in your film career, but not now. Finally, don’t buy your film from Amazon or Ebay, I am yet to find them to be cheaper than many independent stores.
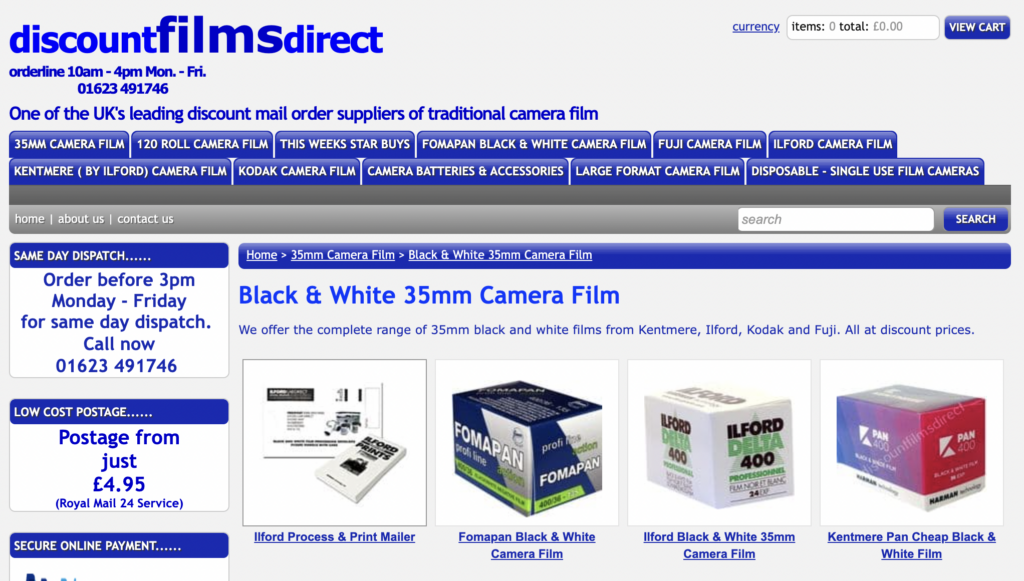
Recently, I’ve been using www.discountfilmsdirect.co.uk. This isn’t an endorsement or sponsorship, I’ve just found their prices very competitive and delivery fast. They usually have a “star buy of the week” which almost always includes a deal on 3 packs of film.
I recommend you start out with the cheapest film you can lay your hands on, which is usually Kentmere or Fomapan:
That’s it, load up your camera and get out and about.
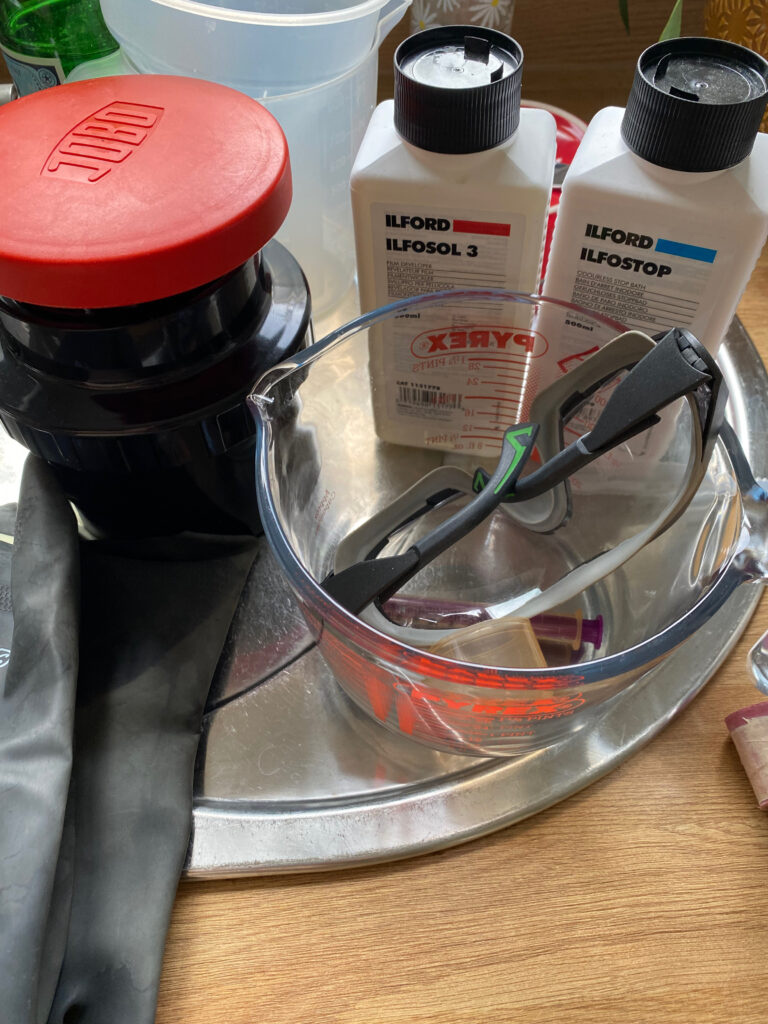
Step 2: Gather your tools and materials
Once you’ve finished your roll of film, wind it back in (or your camera may automatically do this for you). You’re now ready for developing and for this you are going to need a few bits and pieces. These are the absolute essentials that you cannot do without:
- A developing tank
- Developer
- Fixer
- Jugs
- Thermometer
- Rubber gloves
Let’s look at options for each of those things.
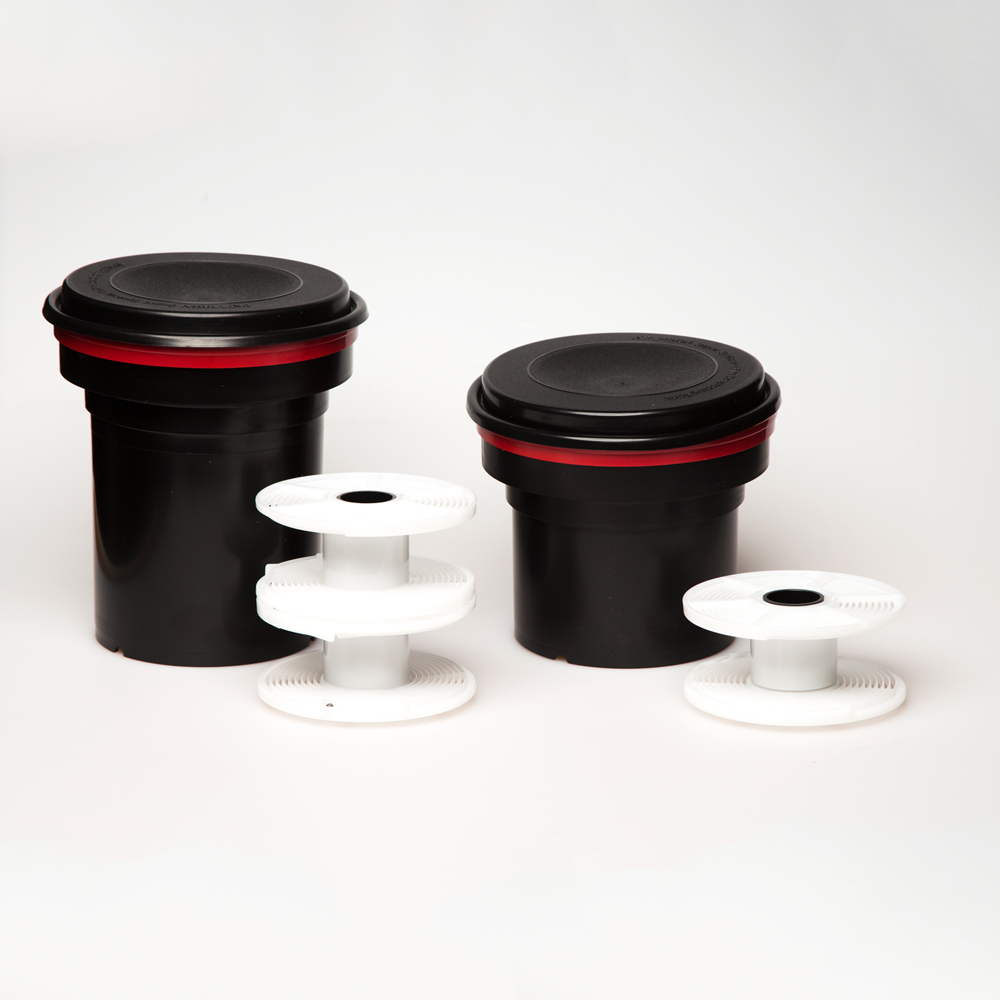
The developing tank
You need somewhere for your film to sit whilst you slosh it about in chemicals. A developing tank has one purpose and that is to hold your film and chemicals in a light tight environment until they are ready to come out.
It is possible to spend well over £100 on a tank but this is absolutely unnecessary. Film must be loaded into a tank in complete darkness, which leaves you with one of two options – a “daylight development” tank or a traditional developing tank. I am lucky enough to own a Jobo 2400 daylight tank that I bought about 15 years ago for next to nothing. I was ready to recommend it to the world until I saw this:
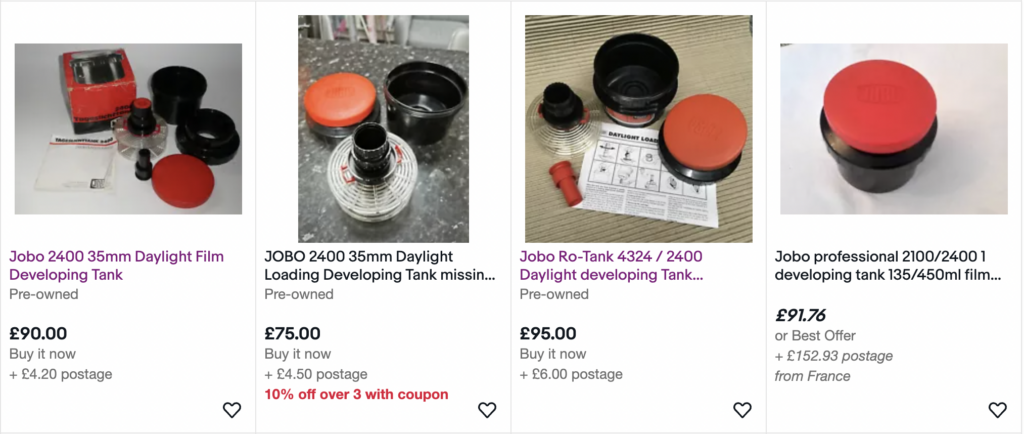
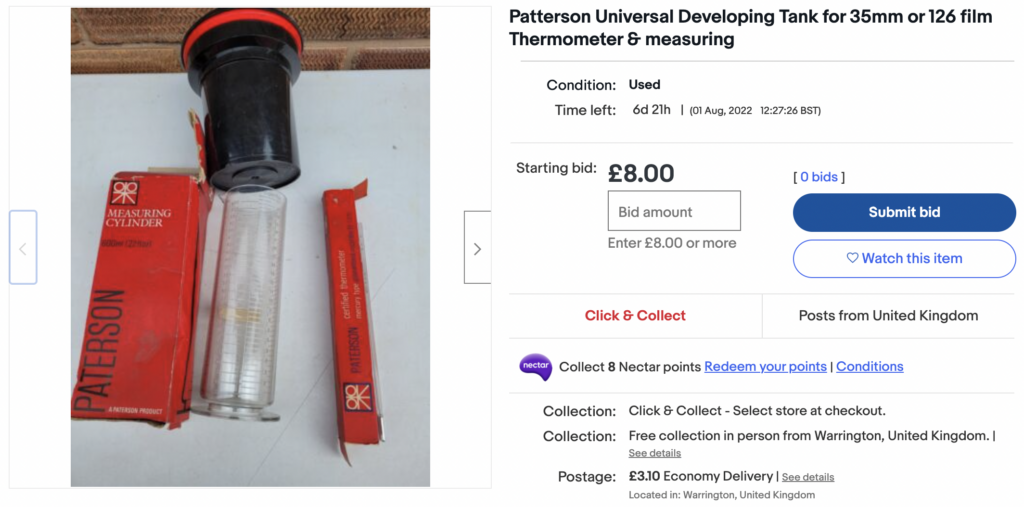
They’re selling for over £90 which is the very definition of insanity. Instead, get yourself the industry standard Paterson System 4 tank. These can be found for next to nothing, or you’re able to buy them new still. Don’t spend more than £20 on a tank and aim to get one for £10 or less on ebay.
Developer
This is where things get interesting. You could probably guess that there are many options for developer, but as we’re on a budget I want to focus on two options – Rodinal and Caffenol.
Developer comes in either powder or liquid form. For a beginner and absolute ease of use, liquid developer is where it’s at. It is super concentrated and so requires dilution in water which has the nice side effect of making it go further and last longer. You can make developer go an absurdly long way by making it ever more dilute, the only downside being the ever increasing development times.
Rodinal
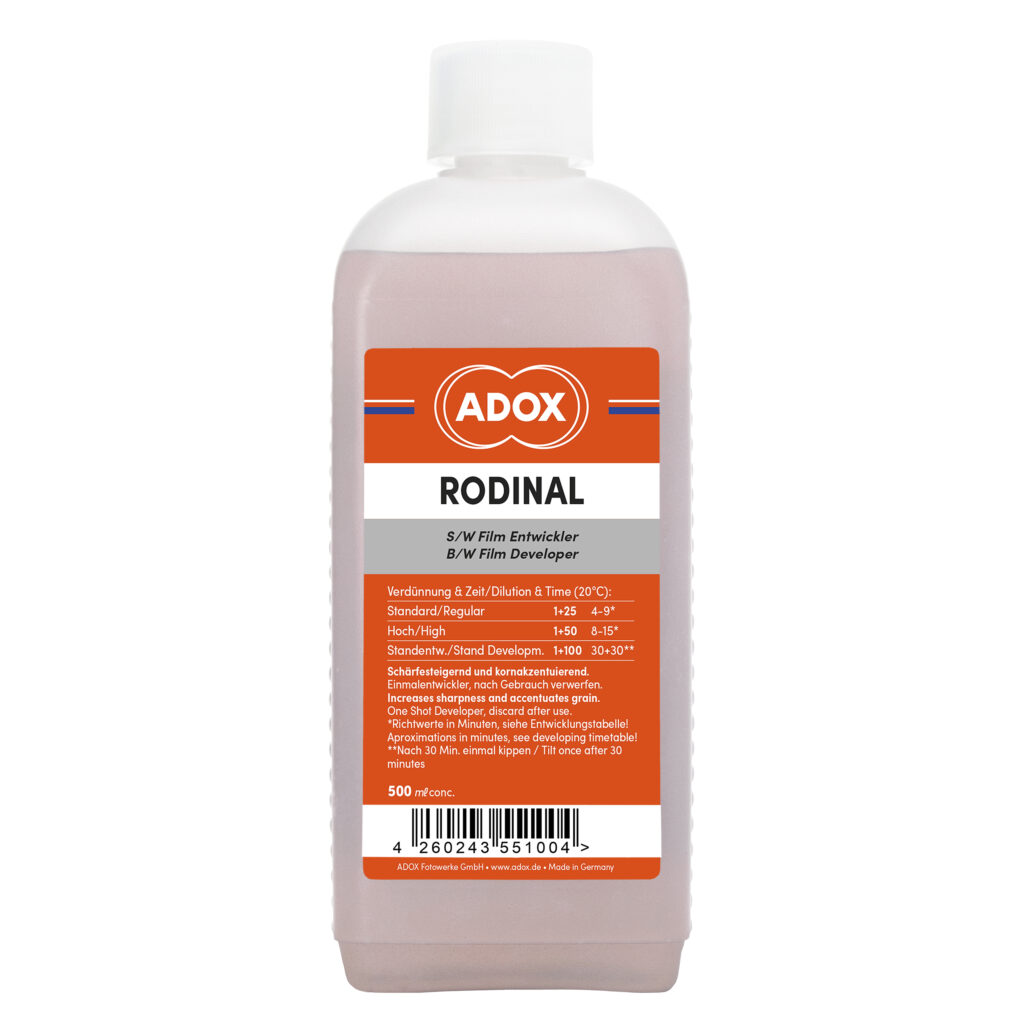
Rodinal is king of developers, once made by Agfa and now by a company called Adox. It has a really simple formula and was one of the first black and white developers ever created. It has one advantage over any other developer I’ve found or used – it does not go off.
All other developers, whether powder or liquid will have a shelf life once mixed and opened. This is typically 6 months, which isn’t a long time to use up all your developer before having to discard it. Rodinal may change colour with age, but it just doesn’t go off. There are well documented examples of films being developed in Rodinal over 50 years old with perfect results.
Rodinal has more than just longevity going for it. The second huge advantage of Rodinal is the dilutions you can use. All developers will have recommended dilutions such as 1+20, meaning one part developer to every 20 parts water. Rodinal at normal strength, for quick development is 1+25. To put this in context, I use 17.5ml of developer per roll, giving 28 rolls per bottle of Rodinal.
However, you can use it at 1+50 (56 rolls per bottle) and if you feel like waiting an hour or so per film, 1+100. At that dilution you would be using approximately 5ml of developer per roll, giving a potential 112 rolls per bottle! Now that is thrifty development in action.
Rodinal is around £13 per bottle and worth every single penny.
Caffenol

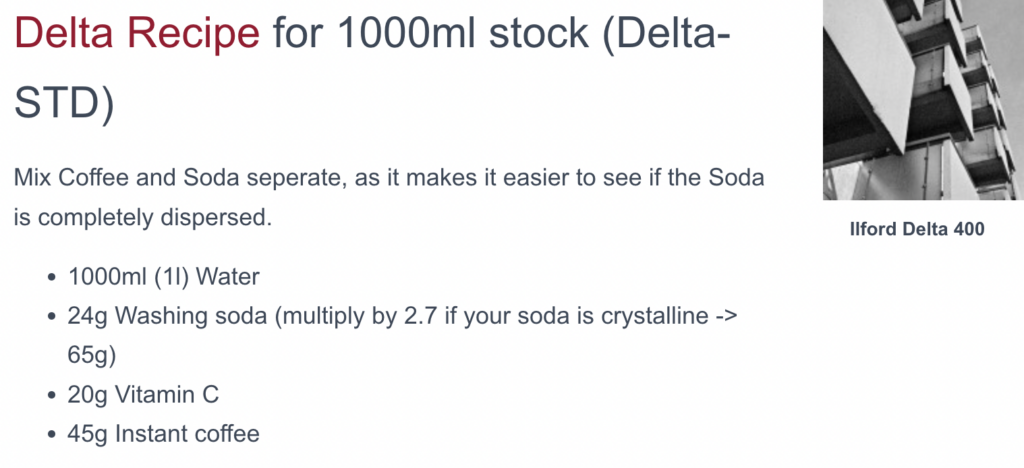
If £13 is too much, how about almost free? If you have a jar of instant coffee and some washing soda/soda crystals in your cupboards, then you can develop a film with it. No, this isn’t a wind up.
There are three ingredients in coffee based developer:
- Coffee
- Washing soda
- Vitamin C
The vitamin C is actually optional, but it acts as a catalyst which vastly decreases the development time. Therefore, with ingredients you can source from your local Tesco, you can easily develop your films for next to nothing. You do not need posh coffee, the cheapest freeze dried coffee granules will work, just not decaff!
There is actually a more pressing reason than cost which may influence your choice to use this method of developing and that is safety.
Powder based developers come with a warning that you should wear a mask and not breathe in the dust whilst mixing or it’ll give you cancer. No joke here, it’s dangerous stuff. Whilst liquid or mixed developer won’t kill you in small quantities, it won’t do you much good either. It is always sensible to wear gloves and safety glasses as a matter of routine when developing using chemicals, but with caffenol, you don’t need to worry at all. Furthermore, you’re more than safe to discard used Caffenol down your kitchen sink without worrying about chemical contamination.
Finally, because of the small quantities required, you can mix up a batch of Caffenol for basically nothing. Washing soda is available for very little and I cannot think of a household in England which does not have a jar of coffee in it.
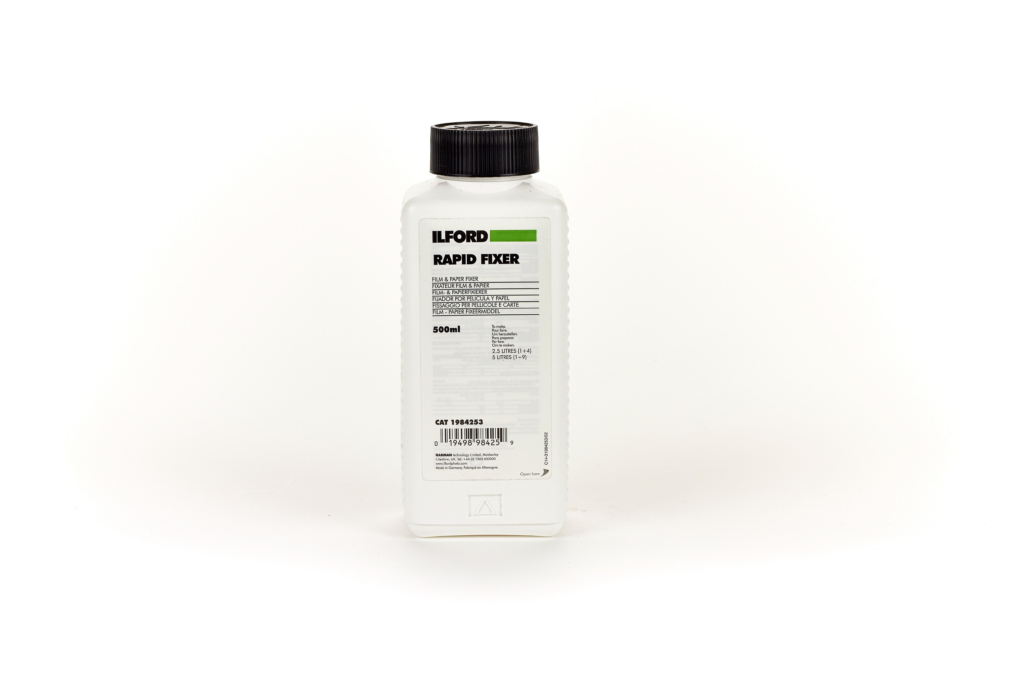
Fixer
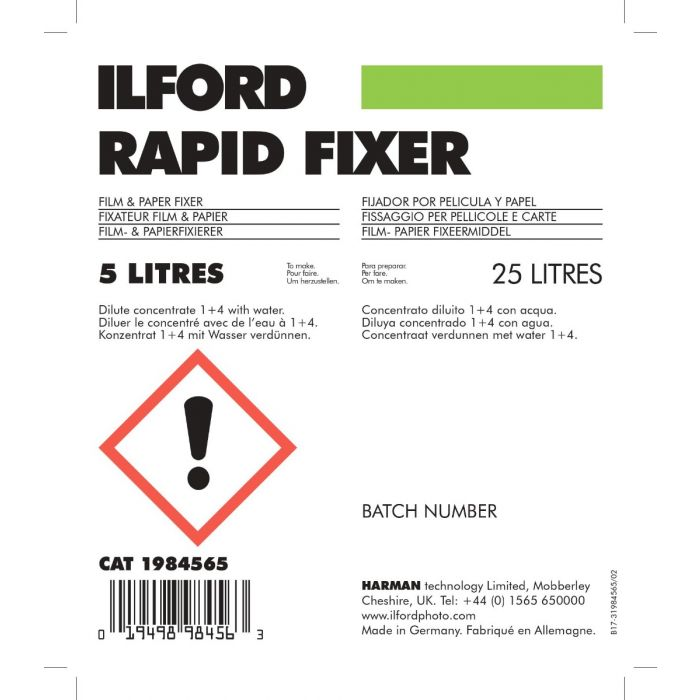
This is simple, buy a bottle of Ilford Rapid Fixer. It is available in bottles from 500ml to 1 litre. You only need 500ml to start with and it is mixed at a ratio of 1+4 so you won’t run out too quickly, plus it is not discarded after development. You can, and should, keep your fixer in a glass bottle and use it over and over again. A bottle of fixer should cost between £10-12.
Thermometer and bits and bobs

One of the most important things you will needs is a thermometer. Your developer needs to be 20 degrees when you use it and a change of one degree either way will affect your developing time by about a minute. That being said, you do not need to blow the budget on a thermometer, almost any food, liquid, brewing thermometer will do. For years I used a £1 Asda smart price fridge thermometer and got perfectly good results out of each roll developed. Amazon are good for cheap thermometers, as are local bargain shops like B&M, Home Bargains and don’t forget the Lidl and Aldi special buys.
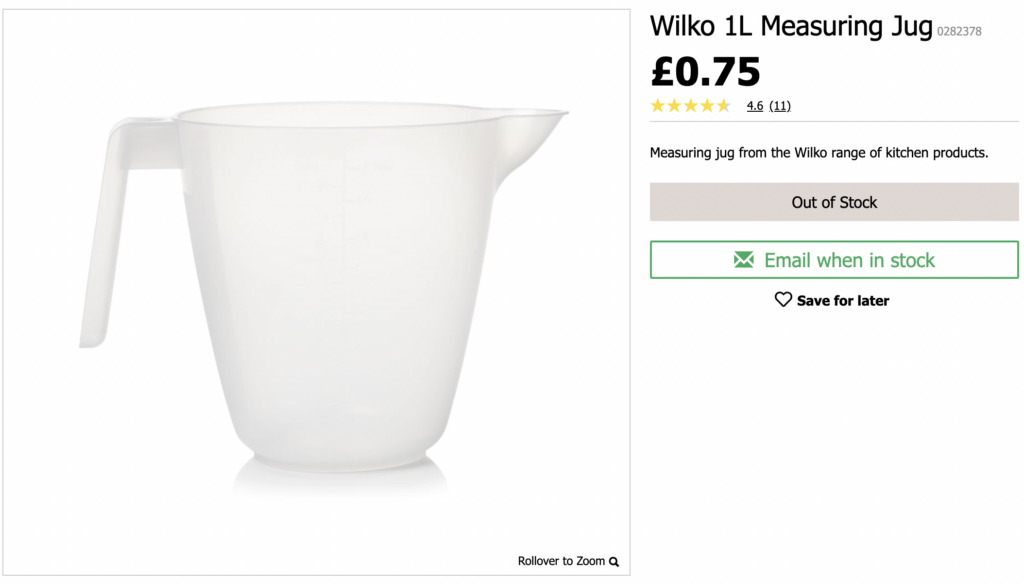
Finally, go to your local Wilko’s and pick up a couple of plastic jugs. Two is essential, three will potentially make your life a little easier. On your way out, grab a packet of rubber marigold (washing up) gloves and you’ve completed your developing kit.
Step 3: Prepare yourself
Before you begin developing, there are a few important preparatory steps to get everything ready. This involves finding your development time, transferring your film from the canister to your developing reel and making sure your chemicals are ready.
How long do I develop for?
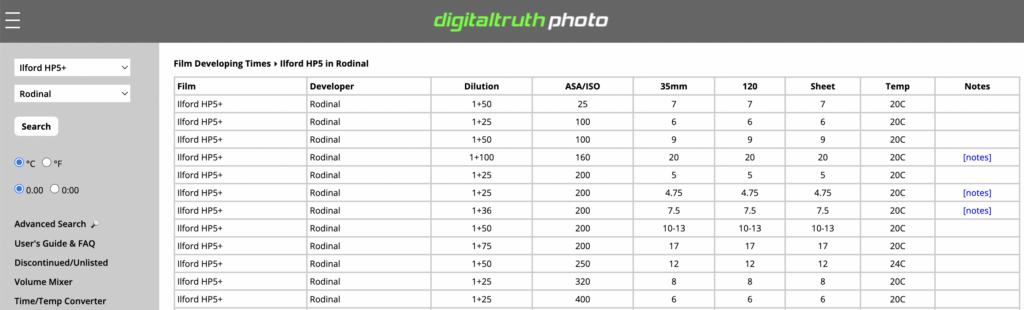
This is really simple. Go to the Massive Dev Chart, look up your film and developer and note down the number of minutes it says you should use.
Getting your film into the tank
If you’ve been lucky enough to score a daylight development tank, you can just get on and crank your film into your developing tank ready for chemicals. It is far more likely, though, that you have a bog standard Paterson style tank and reel.
This isn’t a great stumbling block, you just need a dark place, a pair of scissors and a bit of patience. The completely dark place is the hardest hurdle to overcome here. It sounds stupid, but if you can get inside a cupboard or wardrobe it’ll do. Maybe your loft or garage is like a cave with the lights off. If you can seal off any stray light then you can be surprisingly creative with places in your home which will be suitable.
If you don’t mind spending a small amount of money, then you can pick up what is known as a dark bag or changing bag, which is exactly what it sounds like – a bag which is dark. I’m sure you could even make your own and there are plenty of guides online. This total darkness is one thing you cannot miss out or try to wing it. Once your film is loaded into the tank, you’re done with darkness, but for that one process it’s unavoidable.
There are endless videos on Youtube that will show you how to load a film onto a reel for developing, but the basic steps are as follows:
- Retrieve the leader from your film canister. Top tip – don’t wind the film all the way back in when you rewind. Once you’ve gone past frame 1 on your counter you should be fine to stop. You’ll learn as you get used to your camera.
- Snip the leader off and round the edges of the film. This is extremely important. This one act of rounding the edges of the film will be the difference between easily winding the film onto the reel and banging your head off a wall in frustration.
- Get into your dark space, take the scissors and developing tank with you.
- Feed the end of the film onto the reel with your hands. You could get this started in the light if you’re having problems, but don’t start cranking the film on.
- Feed the whole film onto the reel by cranking the reel back and forth. The film will be automatically pulled round the reel
- When you feel some resistance, check there is no more film to come out of the canister and snip it off as close to the canister as possible
- Give it one more crank to put the end of the film on the reel
- Put the reel in your tank and screw the lid on tight and you’re done
Preparing your chemicals and work space
Most chemicals, with the exception of Caffenol, require dilution. These dilutions are expressed in ratios such as 1+9 or 1+25. Your developing tank will have the amount of chemicals required printed on the bottom. To work out how much you need, just do some simple maths:
For a tank with a 450ml capacity, and a dilution of 1+25 the required quantities would be calculated in the following way:
Add up the dilution, so 1+25 = 26. Then divide your tank size by this number 450/26 = 17.3ml of developer. If you get a decimal like in this example, you can get away with not being that accurate and rounding up or down to the nearest ml.
Now, measure out your developer and pour into a jug (that you are never going to use for food ever again). Then, fill the jug to the capacity of your tank with tap water. To measure chemicals cheaply, I use a measuring cup designed for childrens medicine, it has markings on the side in 2ml increments and it seems to work just fine.
Put this to one side and then calculate your fixer in exactly the same way and mix this up in a different jug. You are now almost ready to go.
Finally, get your thermometer out and measure the temperature of your developer (the fixer doesn’t matter). You need to get it as close to exactly 20 degrees C as you can. If it is too cold, fill the sink with hot water and rest the jug in to warm it up. Too hot, do the exact opposite – fill it with cold and rest the jug in. Once you hit 20 degrees, you’re ready to develop.
Step 4: Shake it like a polaroid picture
Put your gloves on if you haven’t already and pour in your chemicals, close the lid tightly and start your timer.
For the first 10-15 seconds, turn your tank slowly upside down and then the right way up (inversion) a few times. Give it a shake and then tap it on a hard surface to dislodge bubbles that may have formed on the film.
Then, stand around admiring your handiwork whilst keeping an eye on the time. Every time a new minute ticks over, give the tank a couple of gentle inversions and another tap. Thats it.
Step 5: Rinse and fix
As soon as your time is up, open the lid of the tank and pour the developer out. Immediately fill the tank with water, agitate it and tip it out. Do this at least 3-5 times to stop the developer working and wash any remaining developer off your film.
The developers discussed in this article are “one shot” which means you do not save them for future use, they are exhausted once used and need to be poured away. It is up to you to find the most appropriate way to dispose of chemicals where you live. If you’ve used Caffenol, you don’t need to worry, just pour it away.
Currently, your film is developed but still not safe to expose to light. For that, you need to fix the film. Pour in the fixer you measured earlier, close the lid on your tank again, start your timer and invert exactly as you did during development.
Once five minutes have passed, pour out the fixer. This time, pour it into a container – I use a funnel and a glass bottle clearly marked so no one decides to try and drink it. You can use fixer over and over again on multiple films before needing to make a fresh batch.
Step 6: Wash and dry
By this point, you’re done, the film is developed and light safe and if you like you can unscrew the tank to check if your images have actually come out ok. I’d recommend you wait until you’ve done a final wash, however. This final wash is really important as it will stop you from getting marks on your negatives.
Fill your tank with water and invert 5-10 times slowly. Swish the water about and then drain the tank. Do this process at least 5 times.
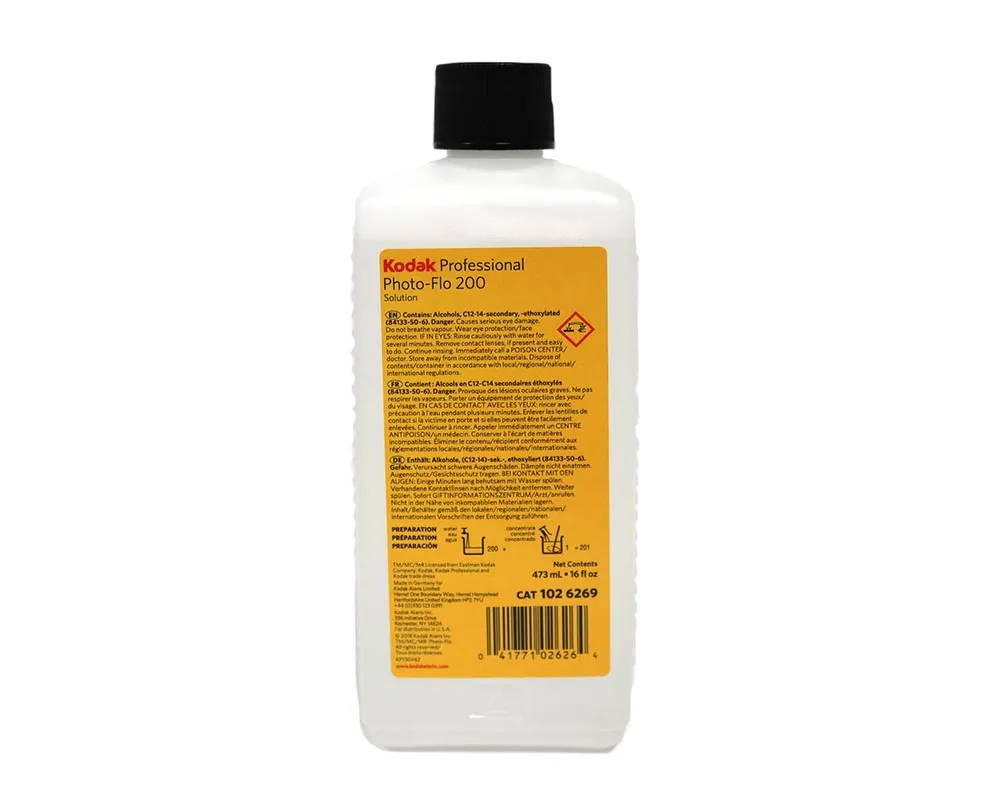
Finally, open the tank and fill it with fresh water so it covers the film reel. Then put in the smallest, absolutely tiny drop of washing up liquid in the water (or Kodak Photoflo if you’ve splashed out). Gently, very gently, swish your reel about in this mix. You are not trying to create bubbles, but the soap will break the surface tension of the water so that when you dry the film, it will run off rather than dry in place leaving spots. If you have any, use bottled, distilled or de-ionised water for this one final wash for best results.
Step 7: Cup of tea
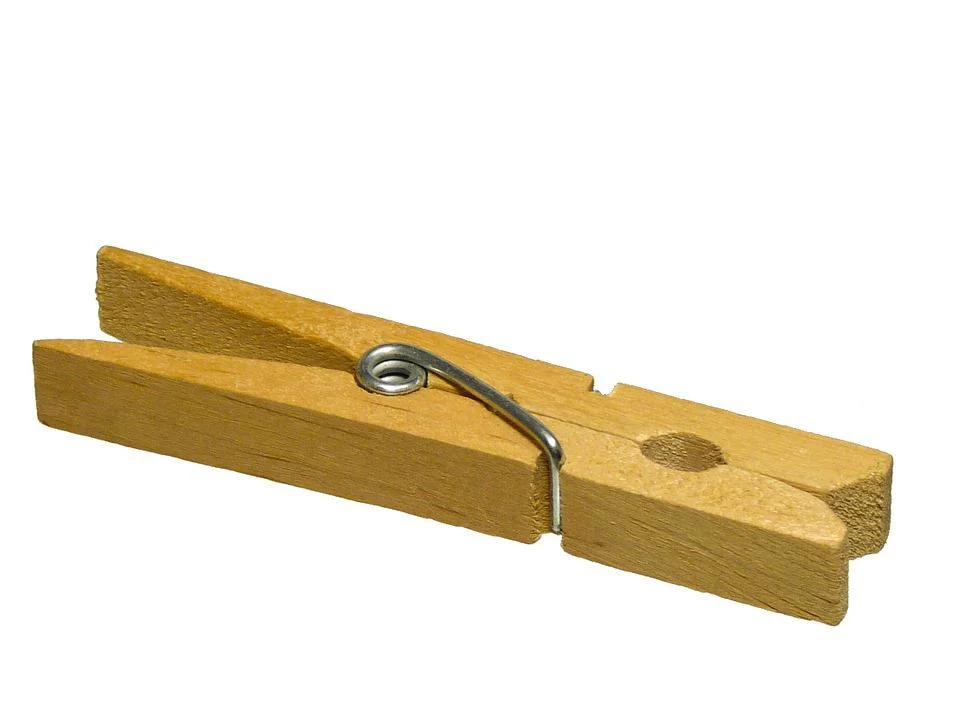
Get a standard clothes peg, tie a bit of string through it and find a place high off the ground to hang it from – a curtain rail, shower curtain rail or similar will do nicely. Take your film reel and clip the end of the film into the peg. Unravel the film to its full length and then weigh the end of the film down with 3 more pegs. Now, once you’ve marvelled at the fact actual images have appeared, go and make a cup of tea. Don’t touch your negatives, don’t try and accelerate the drying, just leave them alone for at least 2-3 hours, but preferably over night.
Step 8: Scan and digitise
You’ve been patient and dried your negatives for at least a few hours, the only remaining thing to do is to finally see the images you’ve created. If you were in the mood for spending even more money, this is where you’d shuffle off to your darkroom, whack the negatives in your enlarger and go to town with the photographic paper and chemicals again. This is an area of expertise in its own right and definitely something you should consider if you enjoy the whole film experience. For now, though, we are doing things on the cheap and getting digital copies of our negatives will be enough.
Once scanned, you can share your images online, use them on social media or print them out. You should be able to produce scans that are printable up to approximately A4 size before you start to see the need to spend money on better equipment.
There are two main options for scanning your negatives. The first is so blindingly obvious I’m reticent to write it down, but option one is… a scanner! Option two is the budget version of a really quite popular method used by many photographers – take a picture of them.
Using a scanner
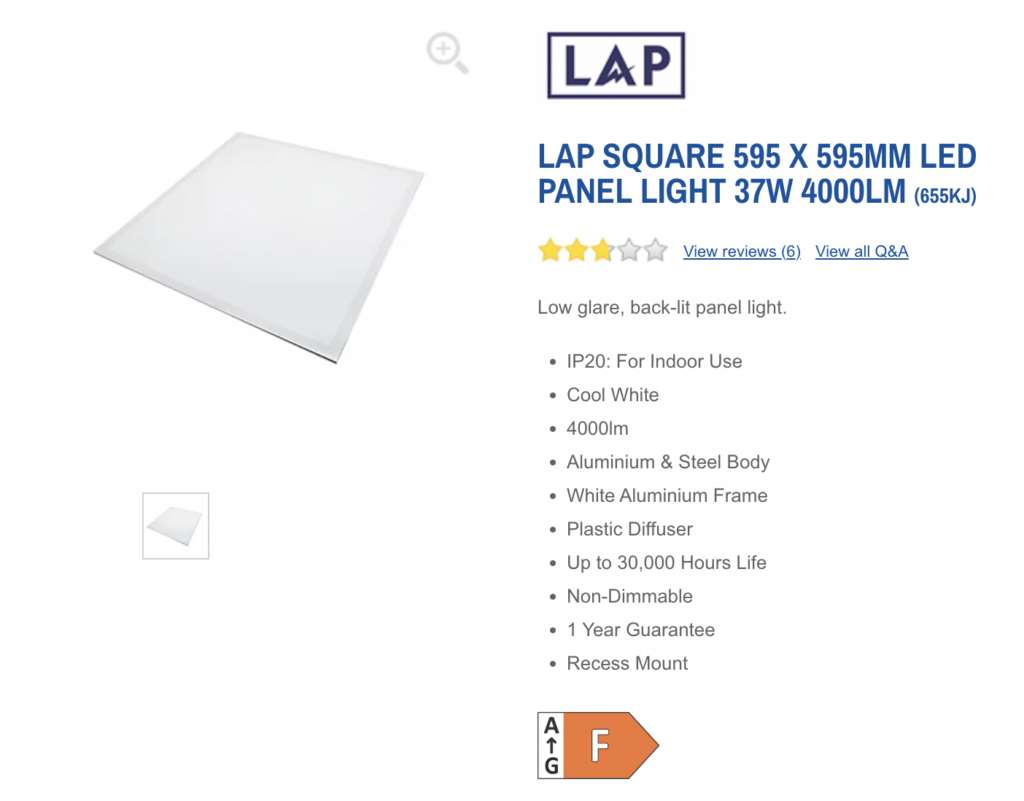
If you have a flatbed scanner which is capable of high resolution scans, you can try to scan your negatives for free by placing a the negative on the scanner bed, placing a light source behind the negative and hitting scan. You then invert the colours in Paint or Photoshop and you’re done. Your results, however, will vary greatly using this method and you need a very bright and even light source. Some people use LED ceiling lights like this one from Screwfix:
You can pick up brand new 35mm film scanners from places like Amazon for £30-40. They’re not going to give you the highest resolution scans, but they are cheap and extremely convenient. These kinds of scanners come up regularly as special buys at Aldi and Lidl and are often re-sold on ebay unused. I have a review of an Aldi scanner coming up in a future post.
Your best bet for a half decent result is to try and get hold of an older scanner from ebay, something like an Epson or a Canon 4400f, for example, will allow you to scan up to 6 frames at a time and at a decent resolution. You should look to spend something like £20-30 on one of these and maybe less if you can get a collection only auction and you live close enough to pick it up.
This is the only section where I’m being deliberately vague because there are so many different scanners that it would be pointless trying to explain how they worked. The only advice I can give you is as follows:
- Find out what the resolution of the scanner is and buy the best you can afford
- Scan your negatives at the highest resolution your scanner offers
- Scan as RAW or TIFF files
- Edit your images in Adobe Camera Raw or similar, they will require some tweaking to look their best
- Save as PNG – this is a compressed but lossless image format.
Photographing your negatives
Don’t want to spend any money? Don’t worry, you can get acceptable copies of your images without spending a single penny. All you need is a consistent light source and your phone camera. I’ve used this technique many times when my scanner refuses to work for some reason. It isn’t ideal, but it will definitely get you usable results and you get the bonus of seeing the sprocket holes on the final image which always looks good.
This method is actually capable of producing even higher quality “scans” than a dedicated scanner, but to achieve those results you need to spend a lot of money on a digital SLR, a decent macro lens and a light box. You could spend anywhere up to £1000 if you didn’t already own a DSLR, so this option is simply a “get you home” Heath Robinson job that will let you see your images after development.
For your light source, use your imagination. In the past I’ve used a construction light with a piece of paper to soften the light, you can even use a phone screen to illuminate the negative. All you are looking for is a bright, constant source of light. Once you have your negative lit up, get your phone and get as close as it will allow you to whilst still being able to focus on the negative, then take a picture.
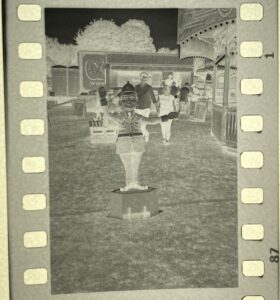
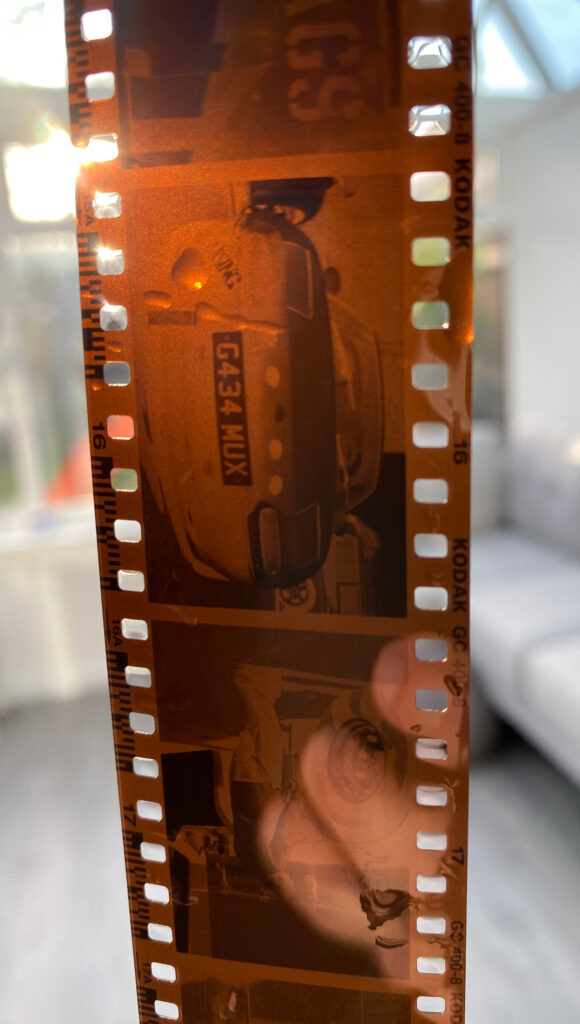
The image above is unedited, as it came out of my phone camera. What we have is still a negative image which needs some work to turn it into a positive (normal) image. There are dedicated programs you can buy to do this, but they are expensive.
If you have Photoshop (or can use the free 7 day trial), simply load the picture, go to the Image menu, Adjustments and then click “invert.” Instantly, you will see something that looks far more normal. Then, go back to the exact same menu and select “black and white.”
If you don’t have Photoshop, you can actually achieve the same thing in Microsoft Paint (free with Windows) or a program such as GIMP or Paint.NET. You do not need to spend any money on software.
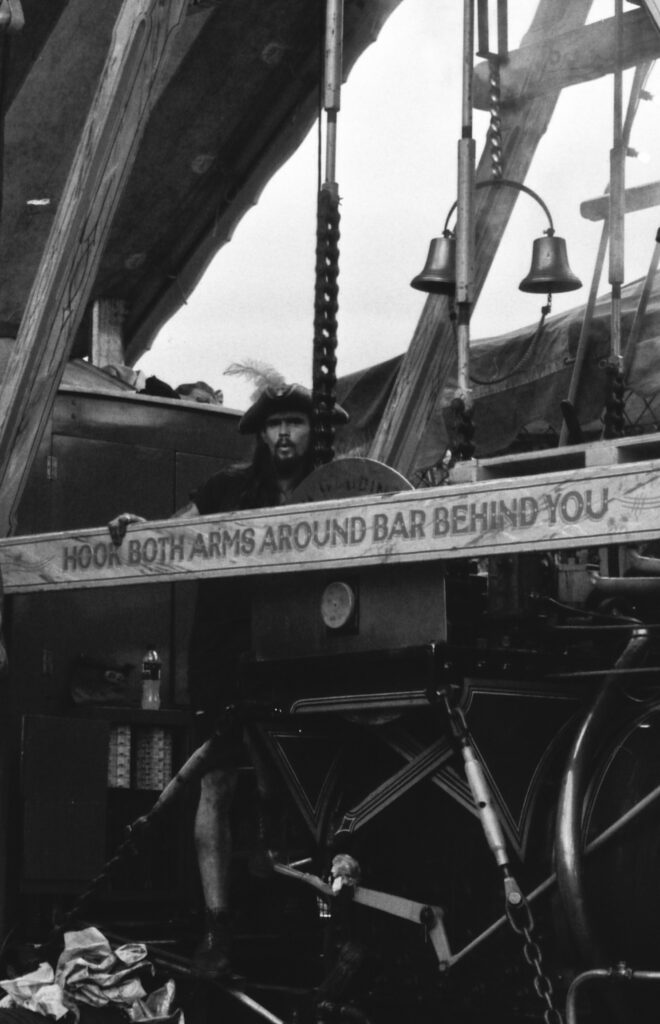
After running the above picture through Photoshop, I was left with this:
I don’t know about you, but I think for something that has been photographed on a laptop screen and cost £0 to produce, that’s not a bad result, is it? It’d be more than acceptable to post on Instagram or similar.
And with that, you’re done. Hopefully you’ll want to do it again after going through all that!
Total spend
You’ve seen the options, potential methods and just how cheap we can make this whole process for those who just want to experiment. What, then, would you have to pay if you started with nothing and went down the absolute cheapest possible route into film photography? Lets work out a very realistic approximation:
| Item | Cost |
|---|---|
| Camera – Canon 1000fn Kit | £20 |
| Developing tank | £10 |
| Developer – Caffenol (who doesn’t have coffee and washing powder?) | £0 |
| Fixer – Ilford Rapid Fixer | £10 |
| Thermometer | £5 |
| Scanner – Light and Phone | £0 |
| Rolls of film x3 | £13 |
| Some jugs and bits and pieces | £5 |
| Total | £63 |
It doesn’t work out too badly, does it? If you’re truly thrifty or lucky you may well be able to source many of the things you need for free. Who knows what is in your loft, friends garages, under the bed – people will have old cameras just lying about gathering dust. Once you’ve got your kit together you can just use it over and over again for the price of a film and a cup of coffee. That’s pretty good value for the entertainment and headspace that film photography gives you.
So, go on, you’ve no excuse now. Go and give film a try.
Share this post: