I recently bought a half frame wonder in the form of the Canon Demi EE-17 and after putting a roll of film through it I noticed that the frame counter wasn’t resetting when the film door was opened. Normally, a camera will go back to the “S” on the frame counter either when the door is opened or after rewinding the film.
In my case, the camera would happily still advance the counter forwards, so it wasn’t broken completely, but neither would it go back despite my best attempts to coax some kind of life out of it. After some time with a screwdriver, I’ve managed to get it working perfectly again. It’s not a difficult job at all and here’s how to do it yourself.
In this guide:
How it should work
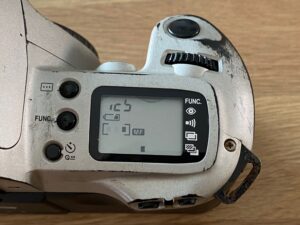
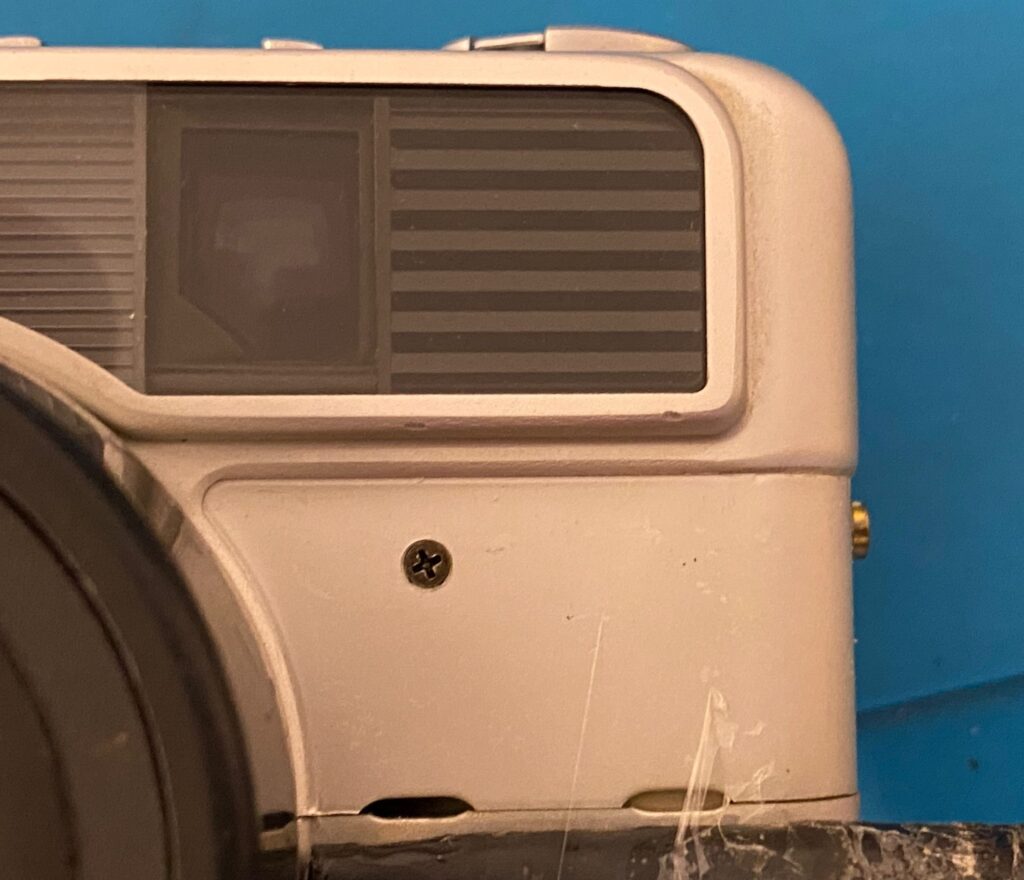
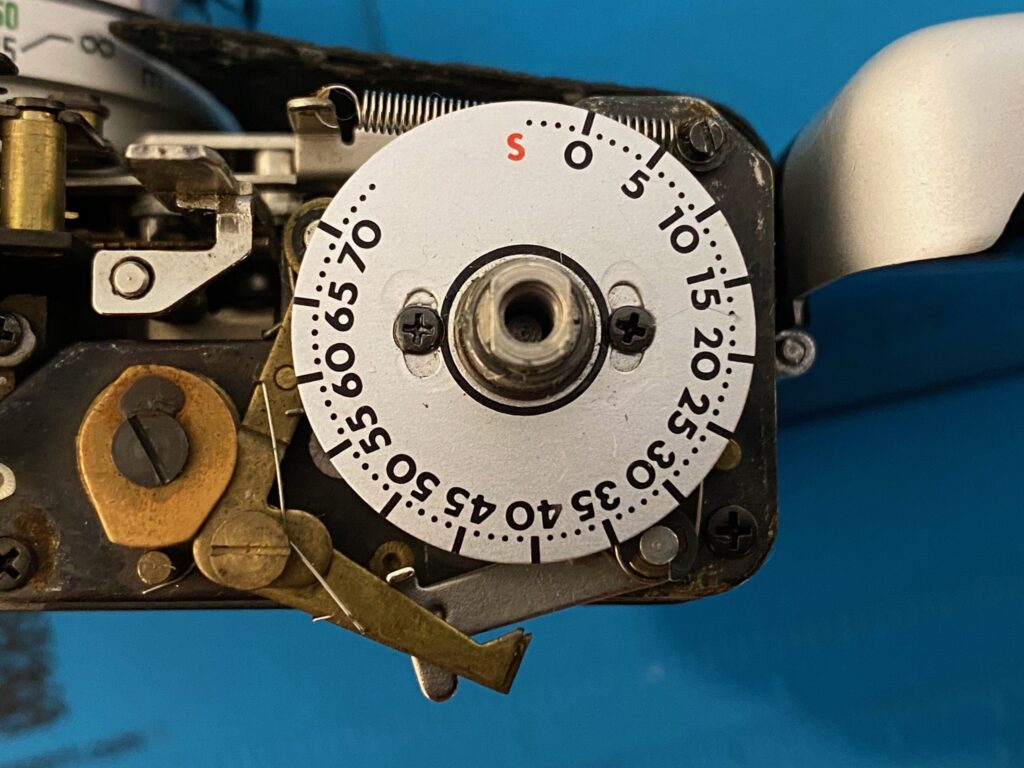
In the image above you can see that the film counter has advanced all the way past 70 and is now stuck there. Opening the film door does not change it back to S or zero again and no amount of opening, closing, firing the shutter or winding the lever makes any difference.
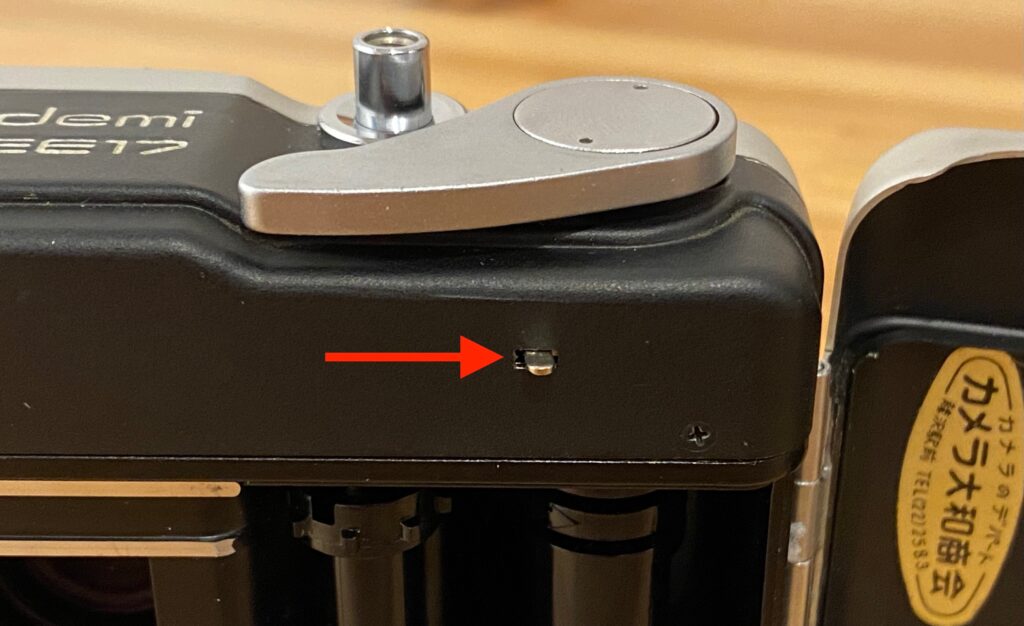
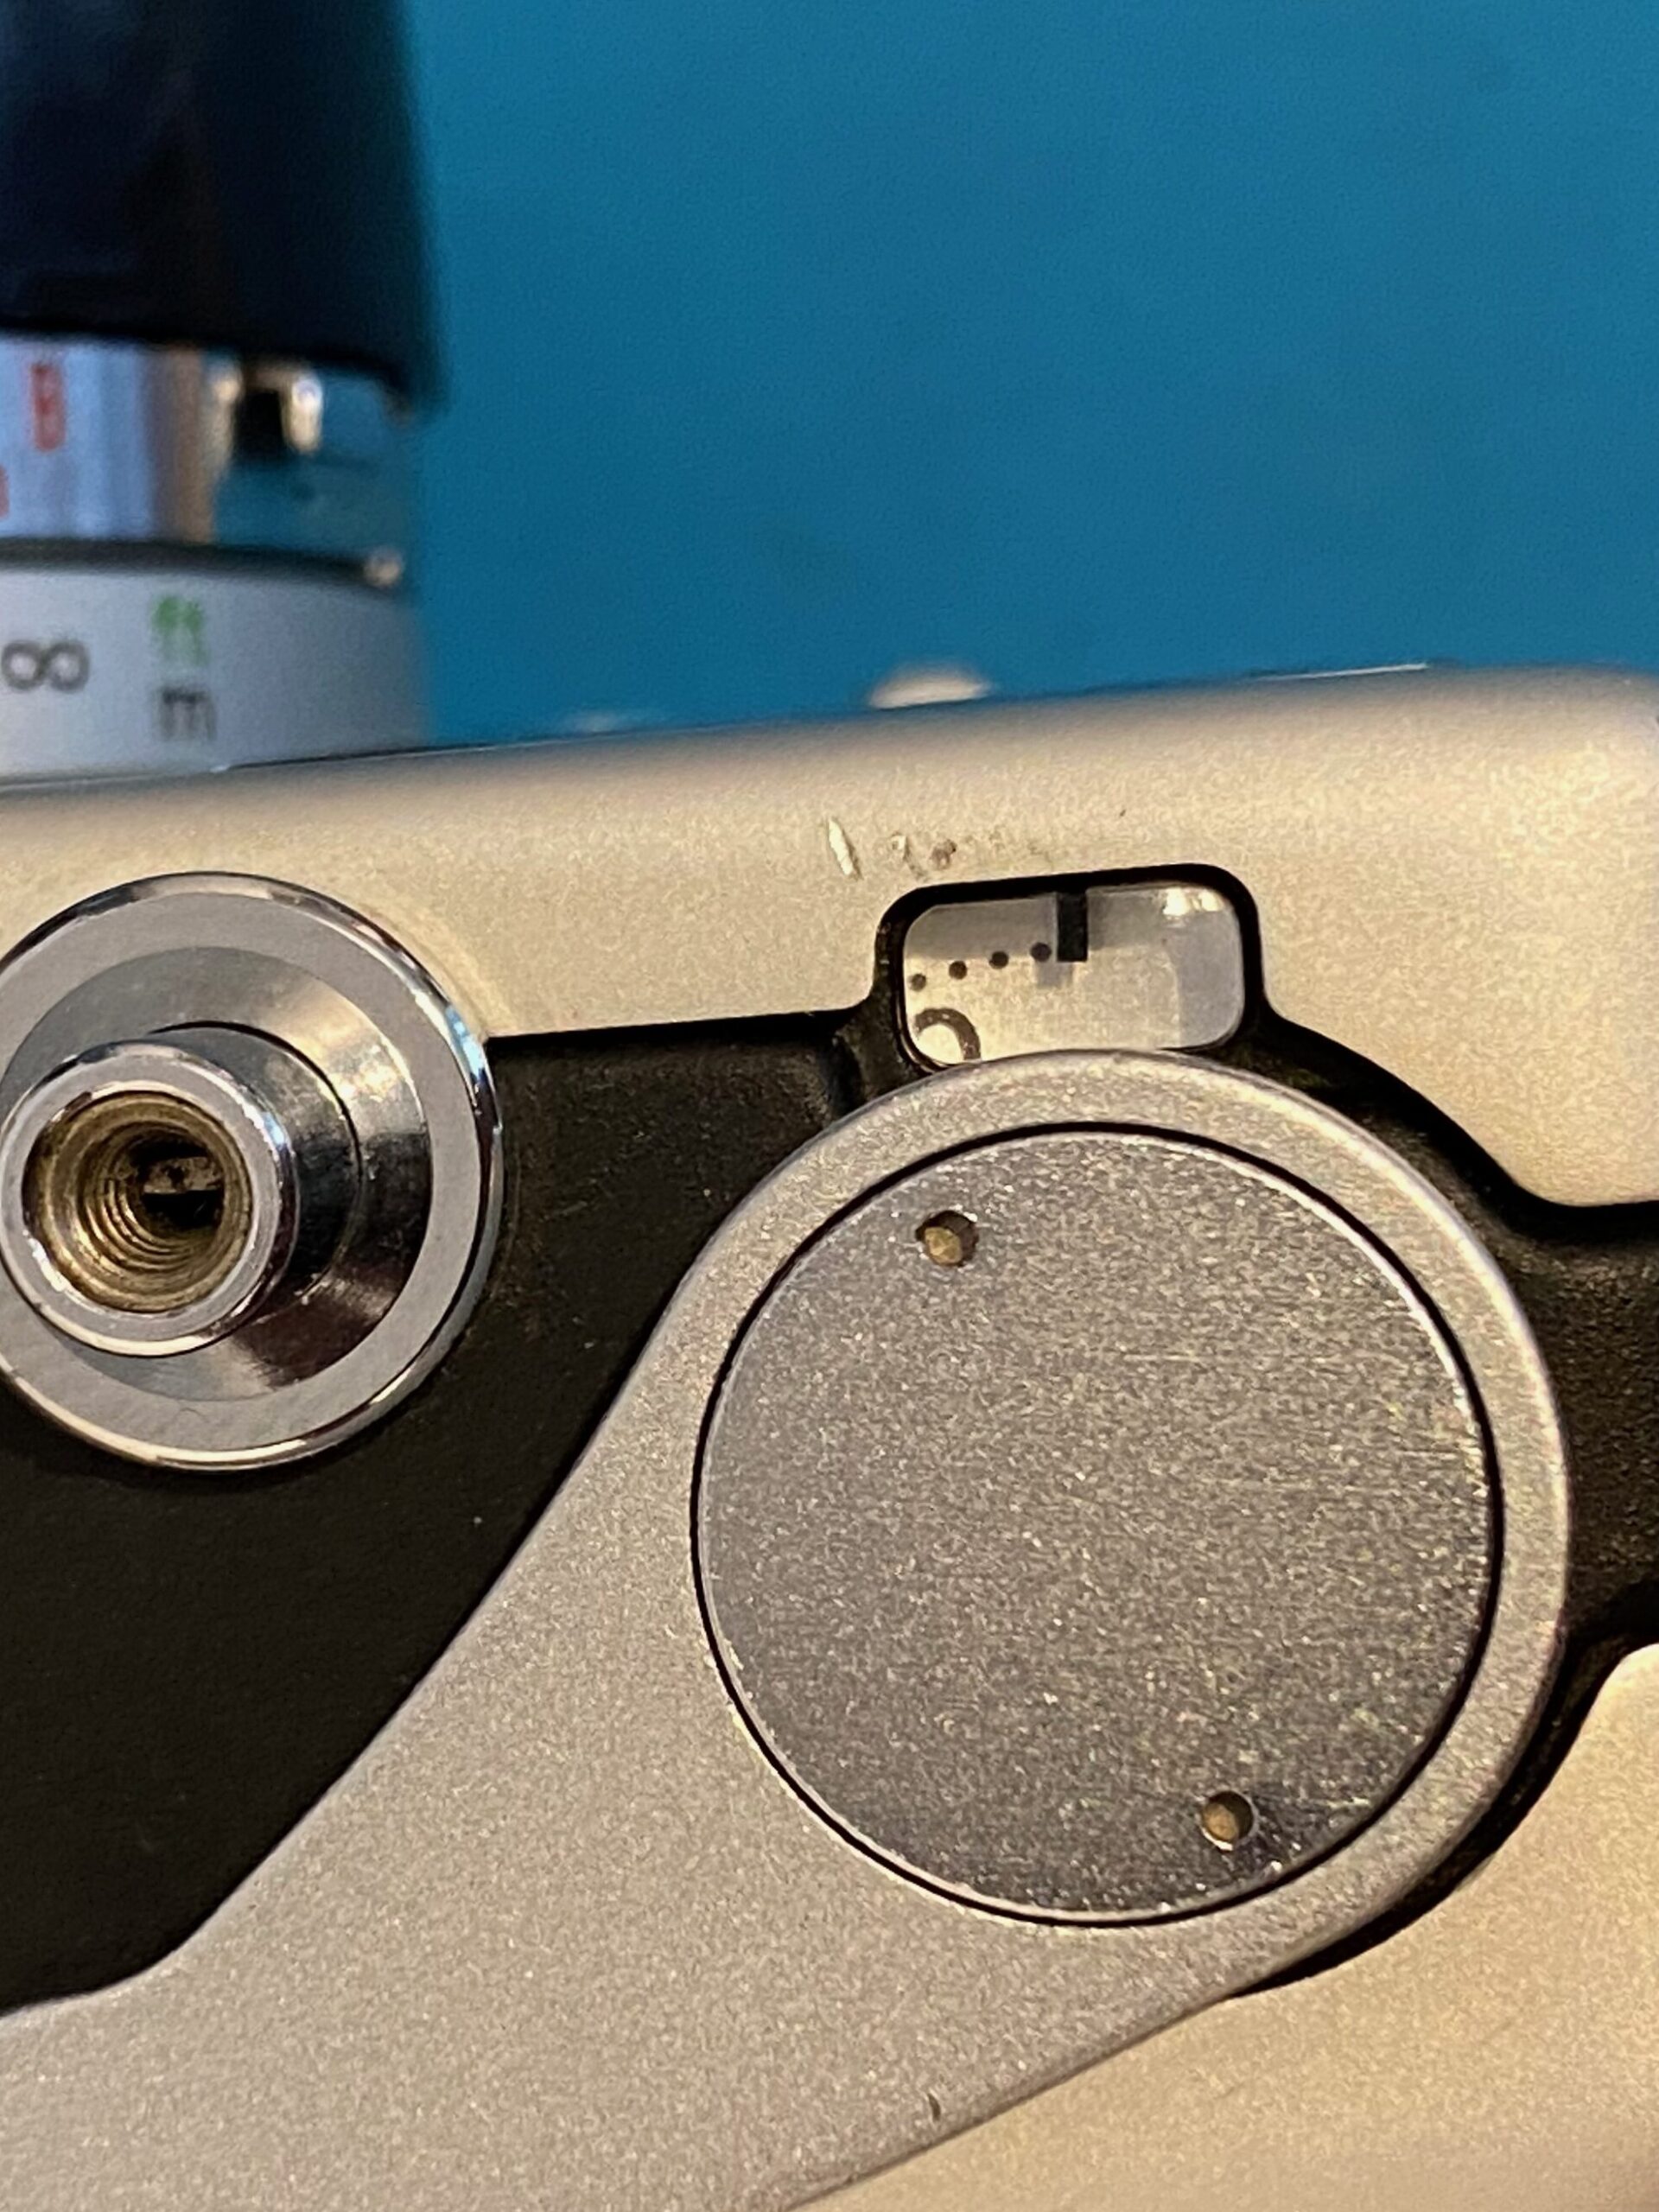
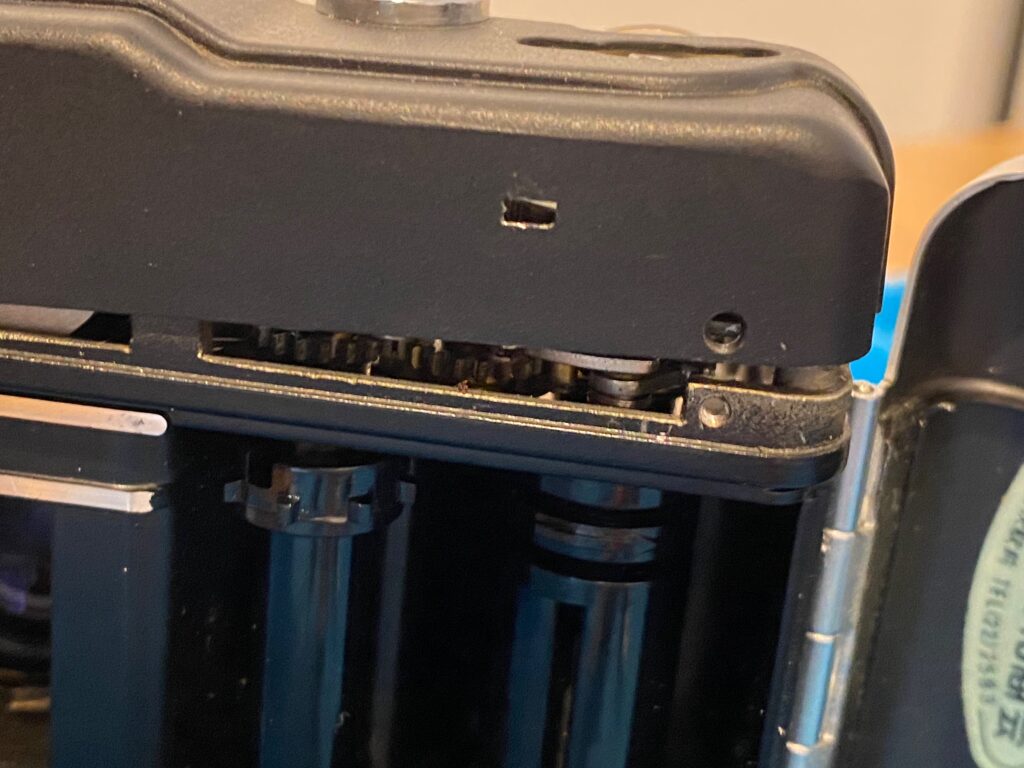
Opening the film door reveals this tiny metal lever which protrudes near the film advance lever at the top of the body. This is held in place by the door and it holds a couple of ratchets in place which keep the counter position. When you open the door, this springs back out, releasing the catch on the frame counter that should then spring back to zero as the wheel itself is under spring tension.
Disassembly
My Demi EE-17 is in really very good condition and I wasn’t looking forward to taking it apart as it can feel like quite a destructive process. I like to keep things original, so replacing the grips or leatherette wasn’t an option. With some care and attention you can disassemble the camera without leaving any signs that you were ever there.
Step 1 – Remove the advance lever
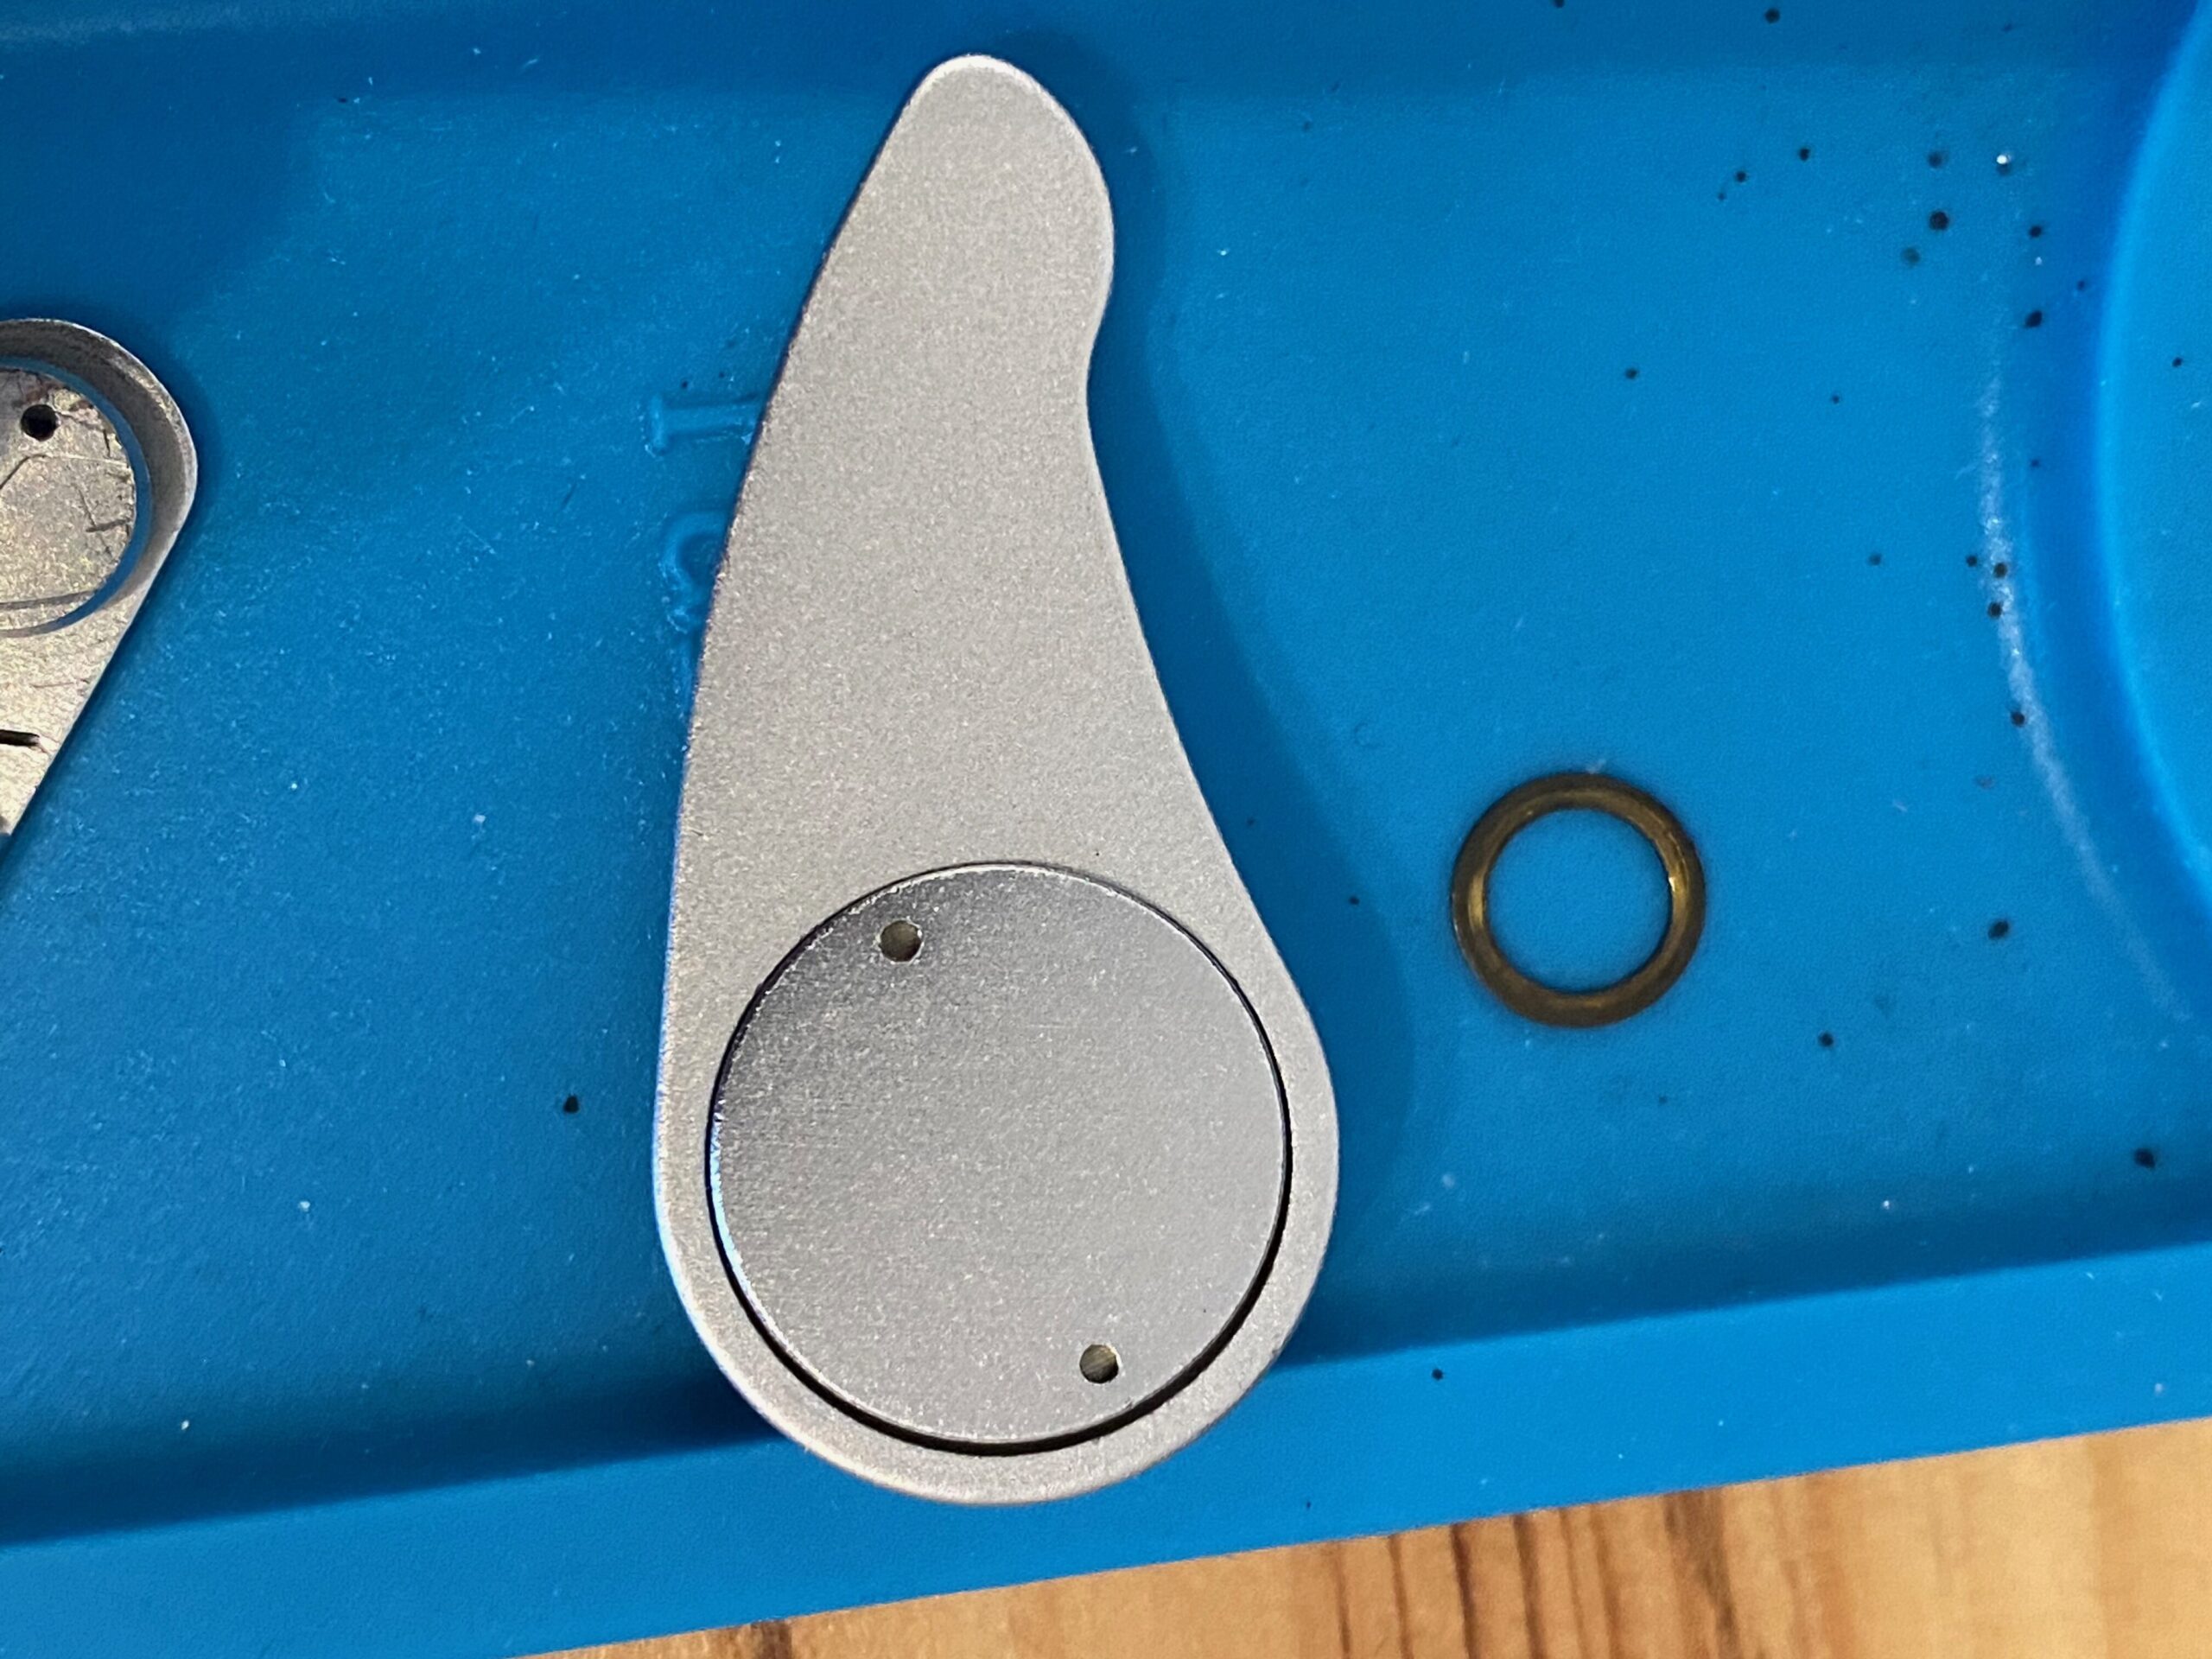
To remove the advance lever, place some angled tweezers into the two small dimples and unscrew. This should come out extremely easily and does not require any force.
Be careful, under this screw cap is packed with washers and the lever itself sits on a black washer as shown in the picture. You need to make sure these are not lost and go back in the right order.
Step 2 – Remove the film rewind crank
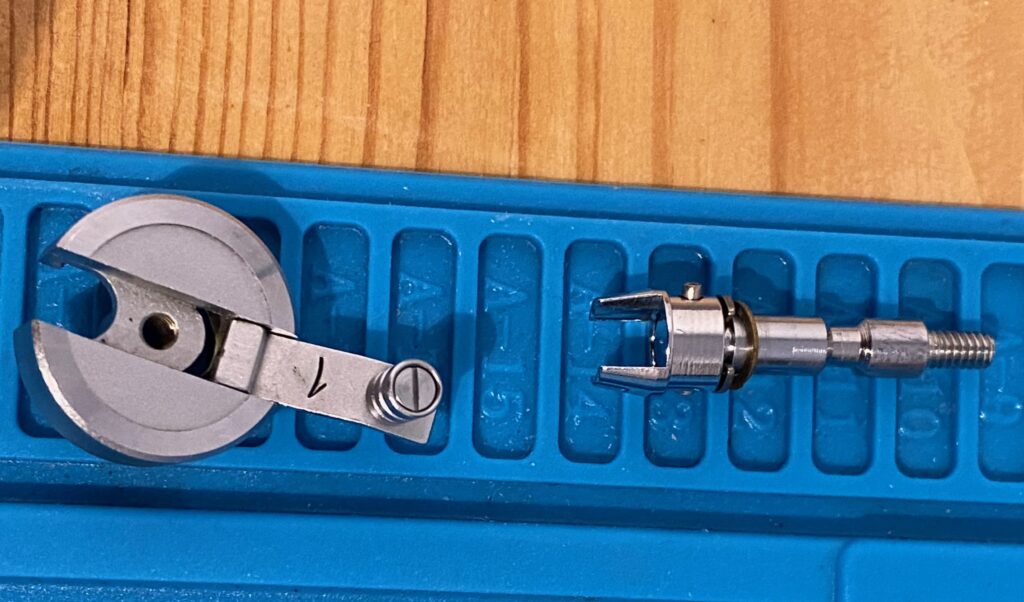
Next, take out the film rewind crank by inserting either a very wide flat blade screwdriver, wooden spudger or similar into the fork of the film holder inside the film chamber. You need to avoid slipping so as not to damage the inside of the camera.
Once you have the fork held in place you can unscrew the rewind lever on top of the camera. There is a washer inside the camera that sits on the shaft, again be careful not to lose this piece.
Step 3 – Remove the film door catch
Use a razor blade or very thin pry tool to lift up the leatherette. The glue is likely to be quite brittle on such an old camera but it can be surprisingly stubborn on the edges when you initially try to pry it up. Be careful when you start to pull it off as it can split if you use too much force.
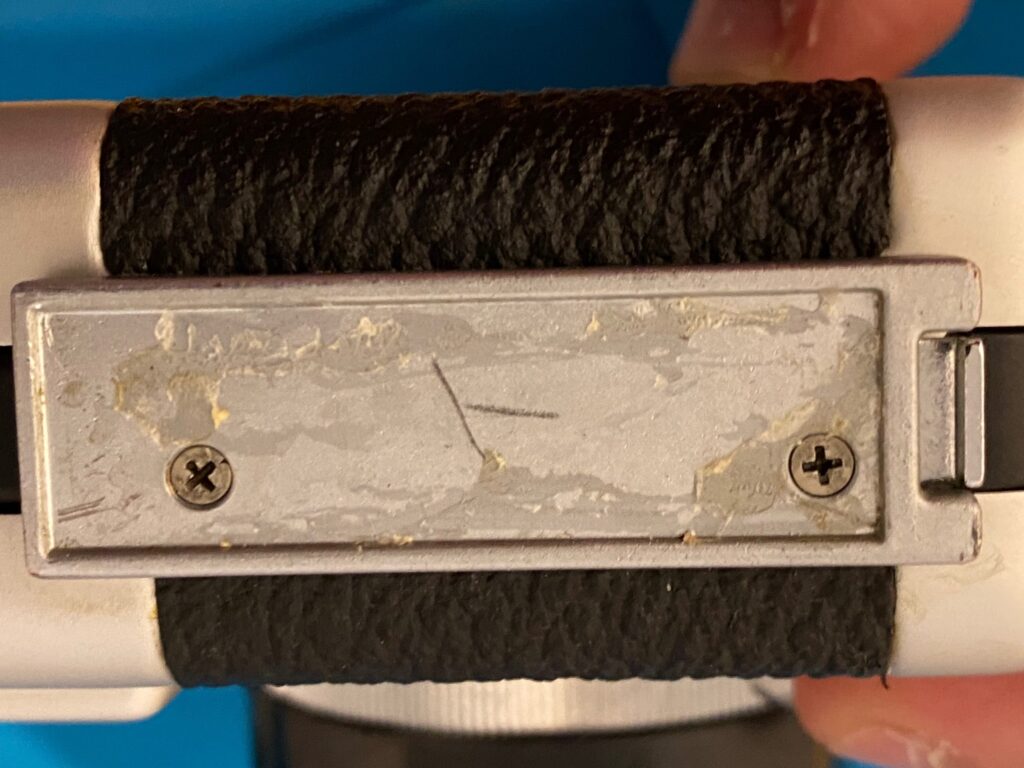
If the material refuses to come up, lift a small part, soak in isopropyl alcohol and gently try to pry a larger area up before pulling off.
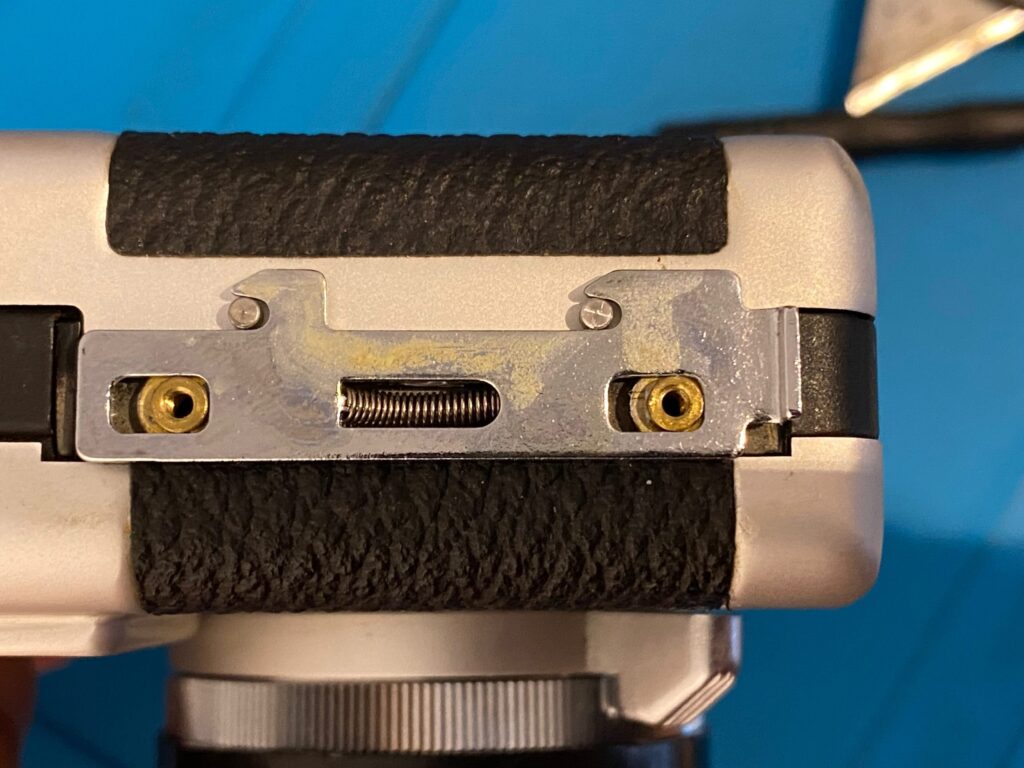
Remove the two screws that hold the catch in place then carefully lift off the catch plate and spring.
Step 4 – Remove the half front of the camera
The front of the camera is held together in two halves and it is only necessary to remove the top half for this repair.
Remove the leatherette from both sides of the body. If you are careful you only need to remove enough to fold it down out of the way of the top half. This will greatly help when replacing the material later on.
There are only two very small screws that hold in the case on each side. As soon as these are removed, the case will pull towards the front of the camera and you can safely put it to one side. Take the opportunity to clean the viewfinder window before reassembly.
Step 5 – Remove the top of the camera
The top is held in by four small black screws, two on the back and one on either side. Fold the film door all the way back to reveal the screw on the right hand side of the top piece.
Be gentle when removing the top of the body. You will need to carefully push in the counter reset lever and then lift from the right to the left (from the hinged side first). Once you have cleared the counter reset lever, check you are not catching on the flash socket and place the top piece to one side.
Disassembly is now complete and you can access the film counter dial.
The fix
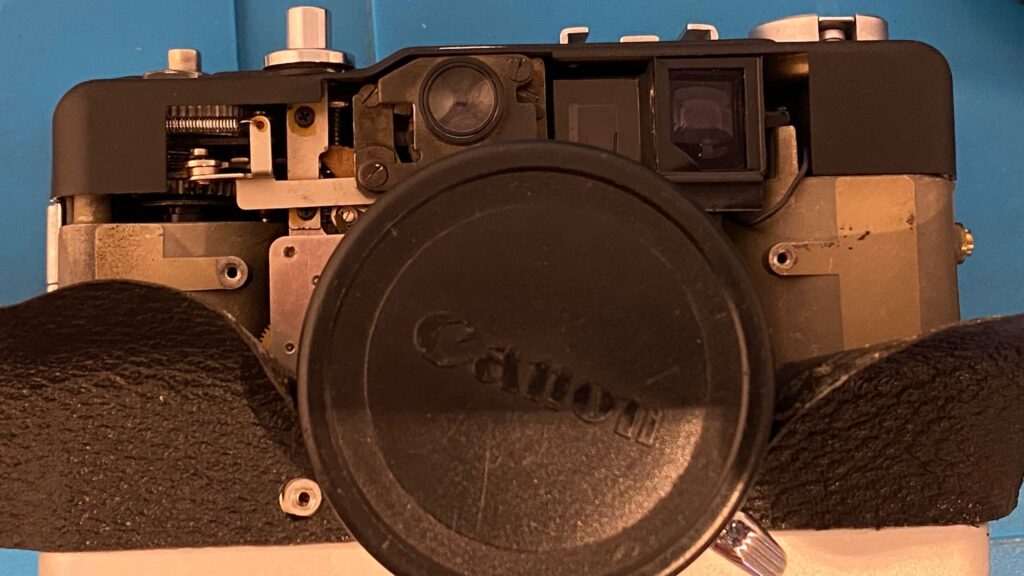
After removing the top of the camera, two small brass ratchets will spring out from underneath the frame counter. Don’t worry, they won’t spring off but they are delicate and you should be gentle when handling them. Carefully, rotate the dial with your fingers anti-clockwise and you should notice that some times it will return to zero, others it will simply stick in place.
The dial is held in place by a black locking spring which sits around the wind lever shaft. It is also aligned by two black screws either side. Do not undo these screws, they are not the problem and have probably been thread locked or glued in place from the factory to ensure correct alignment. If you do undo these it isn’t the end of the world but you may find that it no longer accurately displays the frame number.
The lack of movement is caused by friction between the lock ring, shaft and dial. From the factory I am guessing there was some kind of lubrication in here. Do not be tempted to whack some WD40 or normal oil in here as it’s the wrong type of lubricant. Surprisingly, normal oil is simply too thick and viscous and will actually worsen the problem, WD40 will eventually evaporate and often wears to a dirty mess over time.

The correct product to use is a “dry” lubricant. These are lubricants which do not leave an obviously liquid residue and they don’t tend to migrate to other parts of the camera. Furthermore, they are not thick or sticky in nature so won’t clog the mechanism and cause further issues.
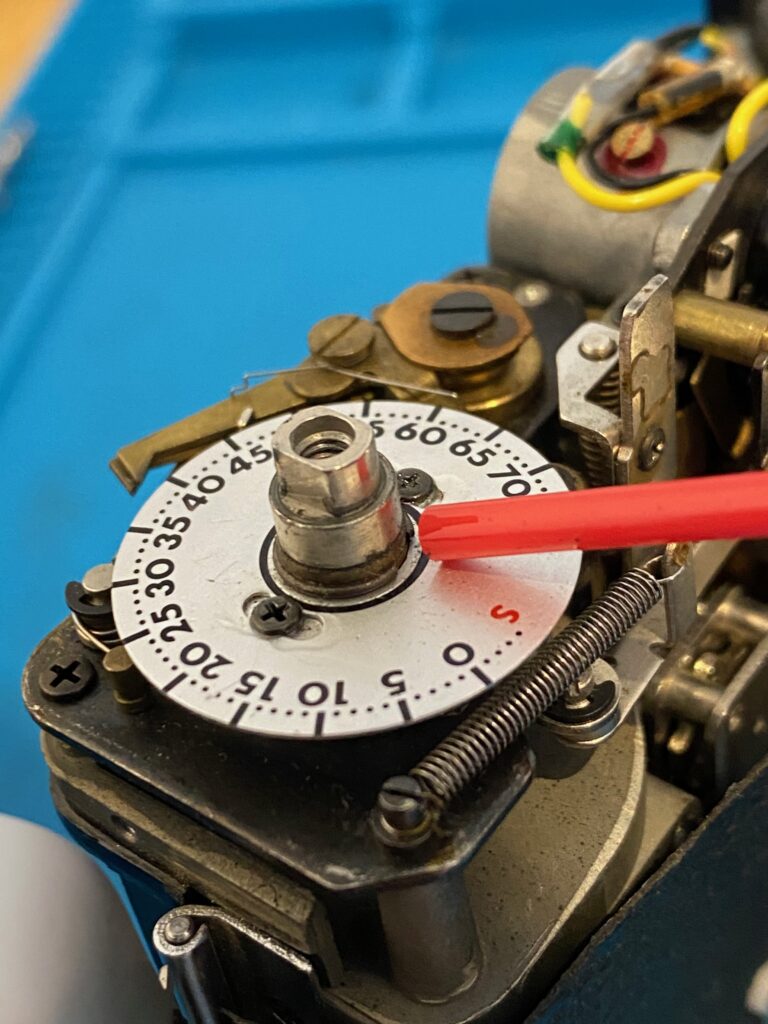
Using the straw attachment, look for the split in the locking ring and spray an extremely small amount into the middle of the dial. Do not be tempted to flood the mechanism, you only need a single drop.
Now spend some time rotating the dial gently anti clockwise and releasing it so that it springs back to S again. Do this repeatedly until there is no more resistance and the dial springs back reliably each and every time.
Reassembly tips and things to look out for
Reassembly is the exact reverse of the process explained above, however the few tips below should ensure you end up with a working camera at the end:
- When attaching the top cover, be extremely careful not to bend or otherwise damage the counter release lever. Place this in first, carefully push it under and allow it to spring back out of its hole before sliding the rest of the assembly back on.
- Clean all viewfinder components carefully and blow out with a rocket blower or similar
- Do not touch any of the metering components that are just above the main lens. There are some extraordinarily thin and delicate components here, do not even blow them out with canned air or a blower.
- When putting screws back in, use the minimum possible force, they are very small and prone to stripping if you try and torque them up too much. If you feel any resistance, wind the screw backwards until it clicks, then try again.
- To re-attach the leatherette, do not use the instant setting type of superglue, this will harden the material and feel hard to the touch. It is better to use a slower setting glue, a fabric specific glue or at a stretch, contact adhesive.
When you’re done, give the shutter a few test shots and wind the counter on before opening the back of the camera. The dial should spring back to S immediately as below: